Bicycle lights explained: lumen, lux and candela
Bicycle lights explained: lumen, lux and candela
Ready story
Some parts of your bike can be too long. Especially when you bought them separately. Think about your handlebars or seat post. To make those parts fit you perfectly, you might have to shorten them a little bit. This process can be quite risky, as you have to do it right straight away! There is no second chance.
This blog will help you to get through it with confidence so that you don't have to worry about it too much. Just read through it, do as we say, and you will be fine! We advise you to first read this whole blog, and then start the prep work, to make sure you know all the upcoming steps.
Before you grab the biggest saw out of your shed and place it on your handlebar, we would like you to read through our handlebar buyer's guide to make sure you have the right handlebar for your body and bike.
Besides that, we would like to advise you to gain more information about handlebars and what width would be best for you. Visit your local bike shop and ask them for some advice. Search on the internet, and maybe ask some of your cycling friends. If you are not confident in shortening your own bike parts, your local bike shop will be able to help you out. If you still feel like doing it yourself, we advise you to purchase our MultiTube or SteererTube. These tools will help you to make a perfectly straight cut. Later, you will read more about this. First, let's start whit a list of what you need:
The first thing to do is prepare your handlebar, seat post or other bike parts you want to shorten. It is important to know that every step in the process has the goal of making the cuts as straight, clean, and symmetrical as possible.
The best way is when your handlebar is attached to your bike to create a nice and solid stand. Start with taking your grips, brake levers, and other accessories off your handlebar to make sure you have enough space to shorten it. In case of shortening a seat post, take your saddle off the seat post.

After you have taken all the parts off your handlebar or seatpost, you mark the spots where you want to cut. All our handlebars have markings on both ends of the handlebar that you can use as guides for your shortening job. Although, it is always a good idea to measure and mark it yourself, just to be 100% sure.
Further, it may seem obvious, but when shortening your handlebar you cannot shorten only one side of the handlebar. It is important to shorten both sides. This means that if you want to shorten your handlebar by 2 centimeters for example. You have to cut 1 centimeter from both ends. Otherwise, your handlebar will be uneven as the center stays in the same spot.
Mark the spots on your handlebar or seat post where you want to cut with some tape and make sure it is straight so that you can use it as a guideline for your cut. Besides, the tape will reduce the number of sharp bits left behind on the cut.
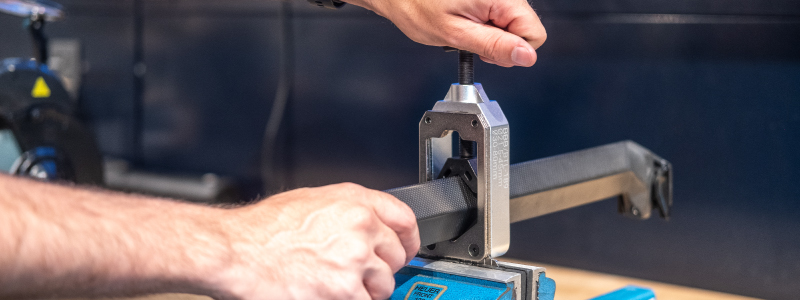
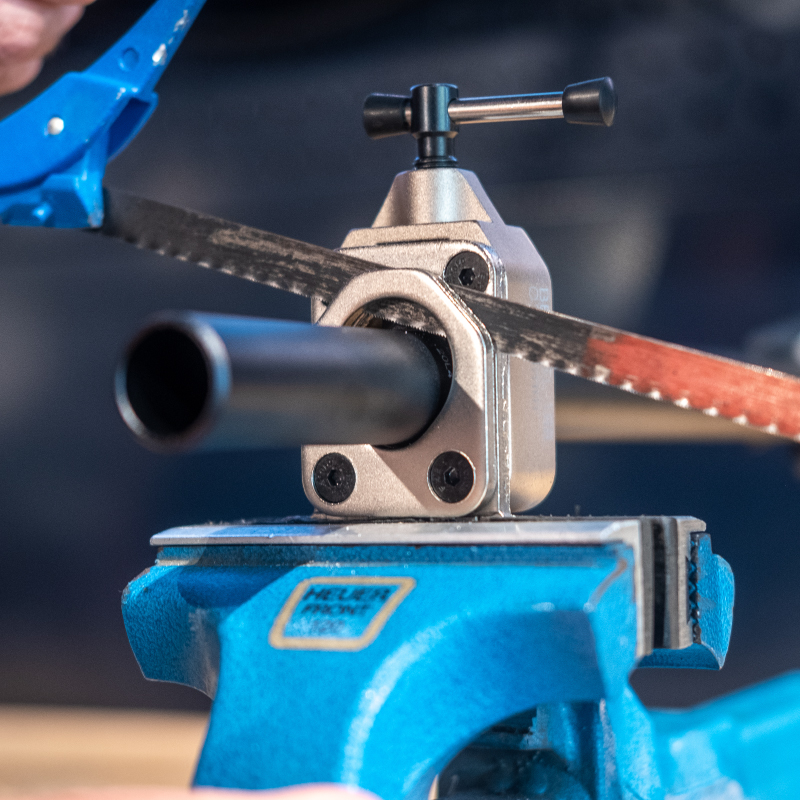
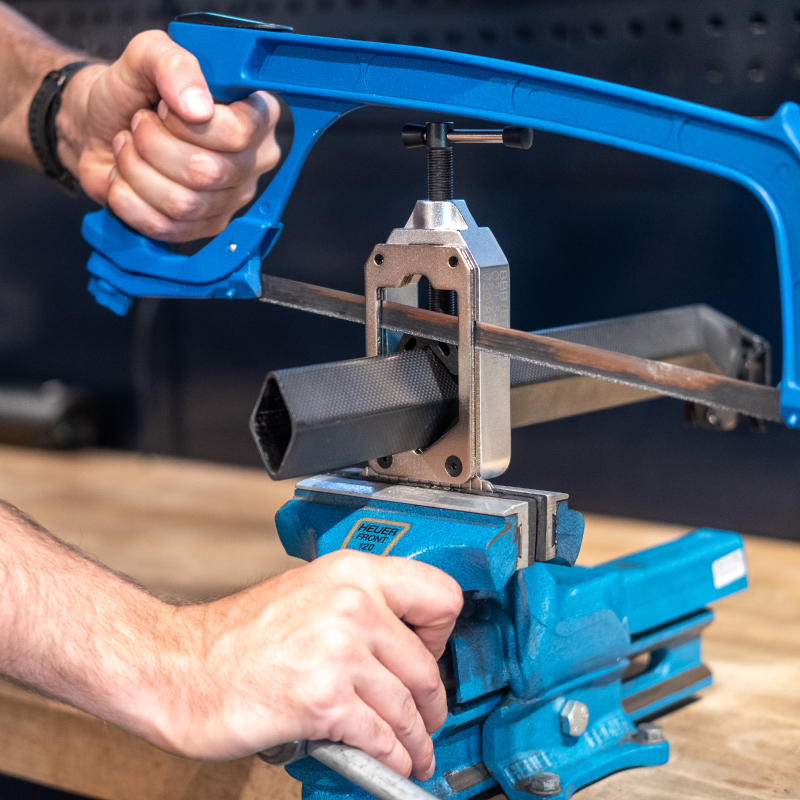
Now, you are ready to start the cutting. The best way to make sure you will have a straight cut is to use the SteererTube or the MultiTube. These handy tools can be mounted in a vise for a secure hold. Your saw will be guided by this tool for the cleanest and straightest cut.
It is important to build up the pressure very slowly to make a clean cut. If you have a carbon handlebar or seat post, we advise you to use a fine metal saw or a special carbon saw blade for the best result.
Last but not least; the final cut! When you have cut both sides of your handlebar or just the one on your seatpost, you are almost done and ready to put everything back together. Take a piece of sanding paper or a file to sand both the inside and outside of the fresh cut. Don't overdo it, but just make sure the edges are not sharp anymore, so it won't damage other parts of your bike. Now, you can put your brake levers and grips back on or your saddle back in position.
And with that, your bike is ready for your next ride!

Bicycle lights explained: lumen, lux and candela
Ready story
