James Shirley | Changing Seasons
James Shirley | Changing Seasons
Ready story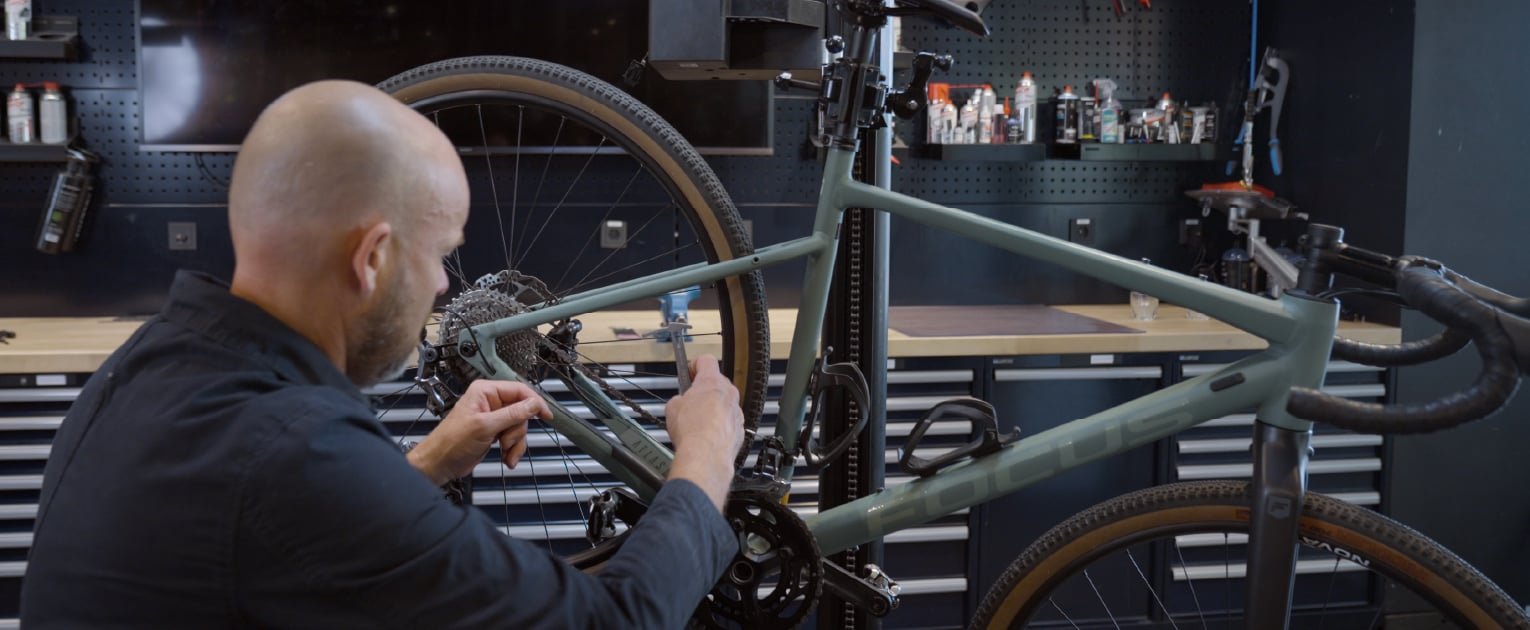
TEXT / BBB CYCLING | PHOTOS / BBB CYCLING
Manuals, you often get them with your new products, but who actually reads them? And even if you do, how much can you still remember of it? Exactly! That's why we make working on your own bike a bit easier, with Watch That Manual! In this series, we show you exactly what to do and what not to do.
Replacing your bike chain is essential to keep your bicycle running smoothly and avoid wear and tear on other components on your bike. Unfortunately, your bicycle chain will wear out, but changing your chain in time will keep everything running optimally. We will explain step by step how you can check your chain and how to replace it all by yourself.
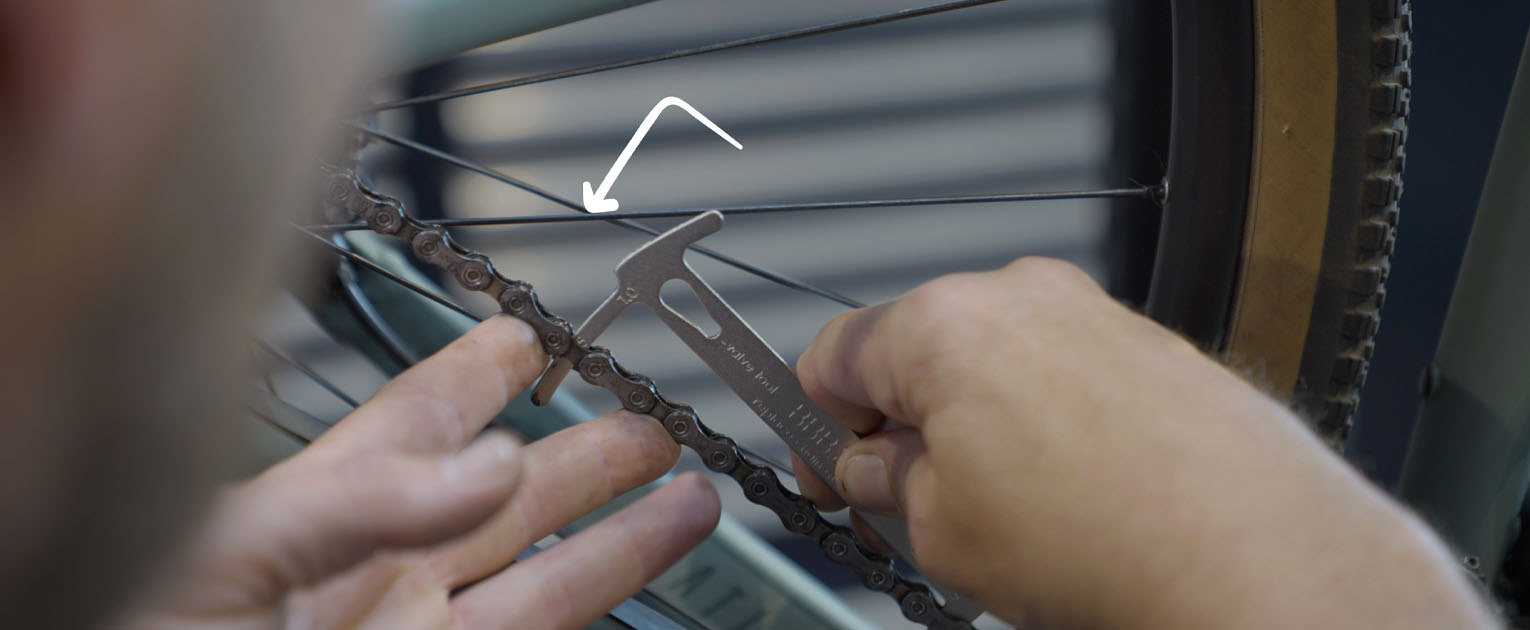
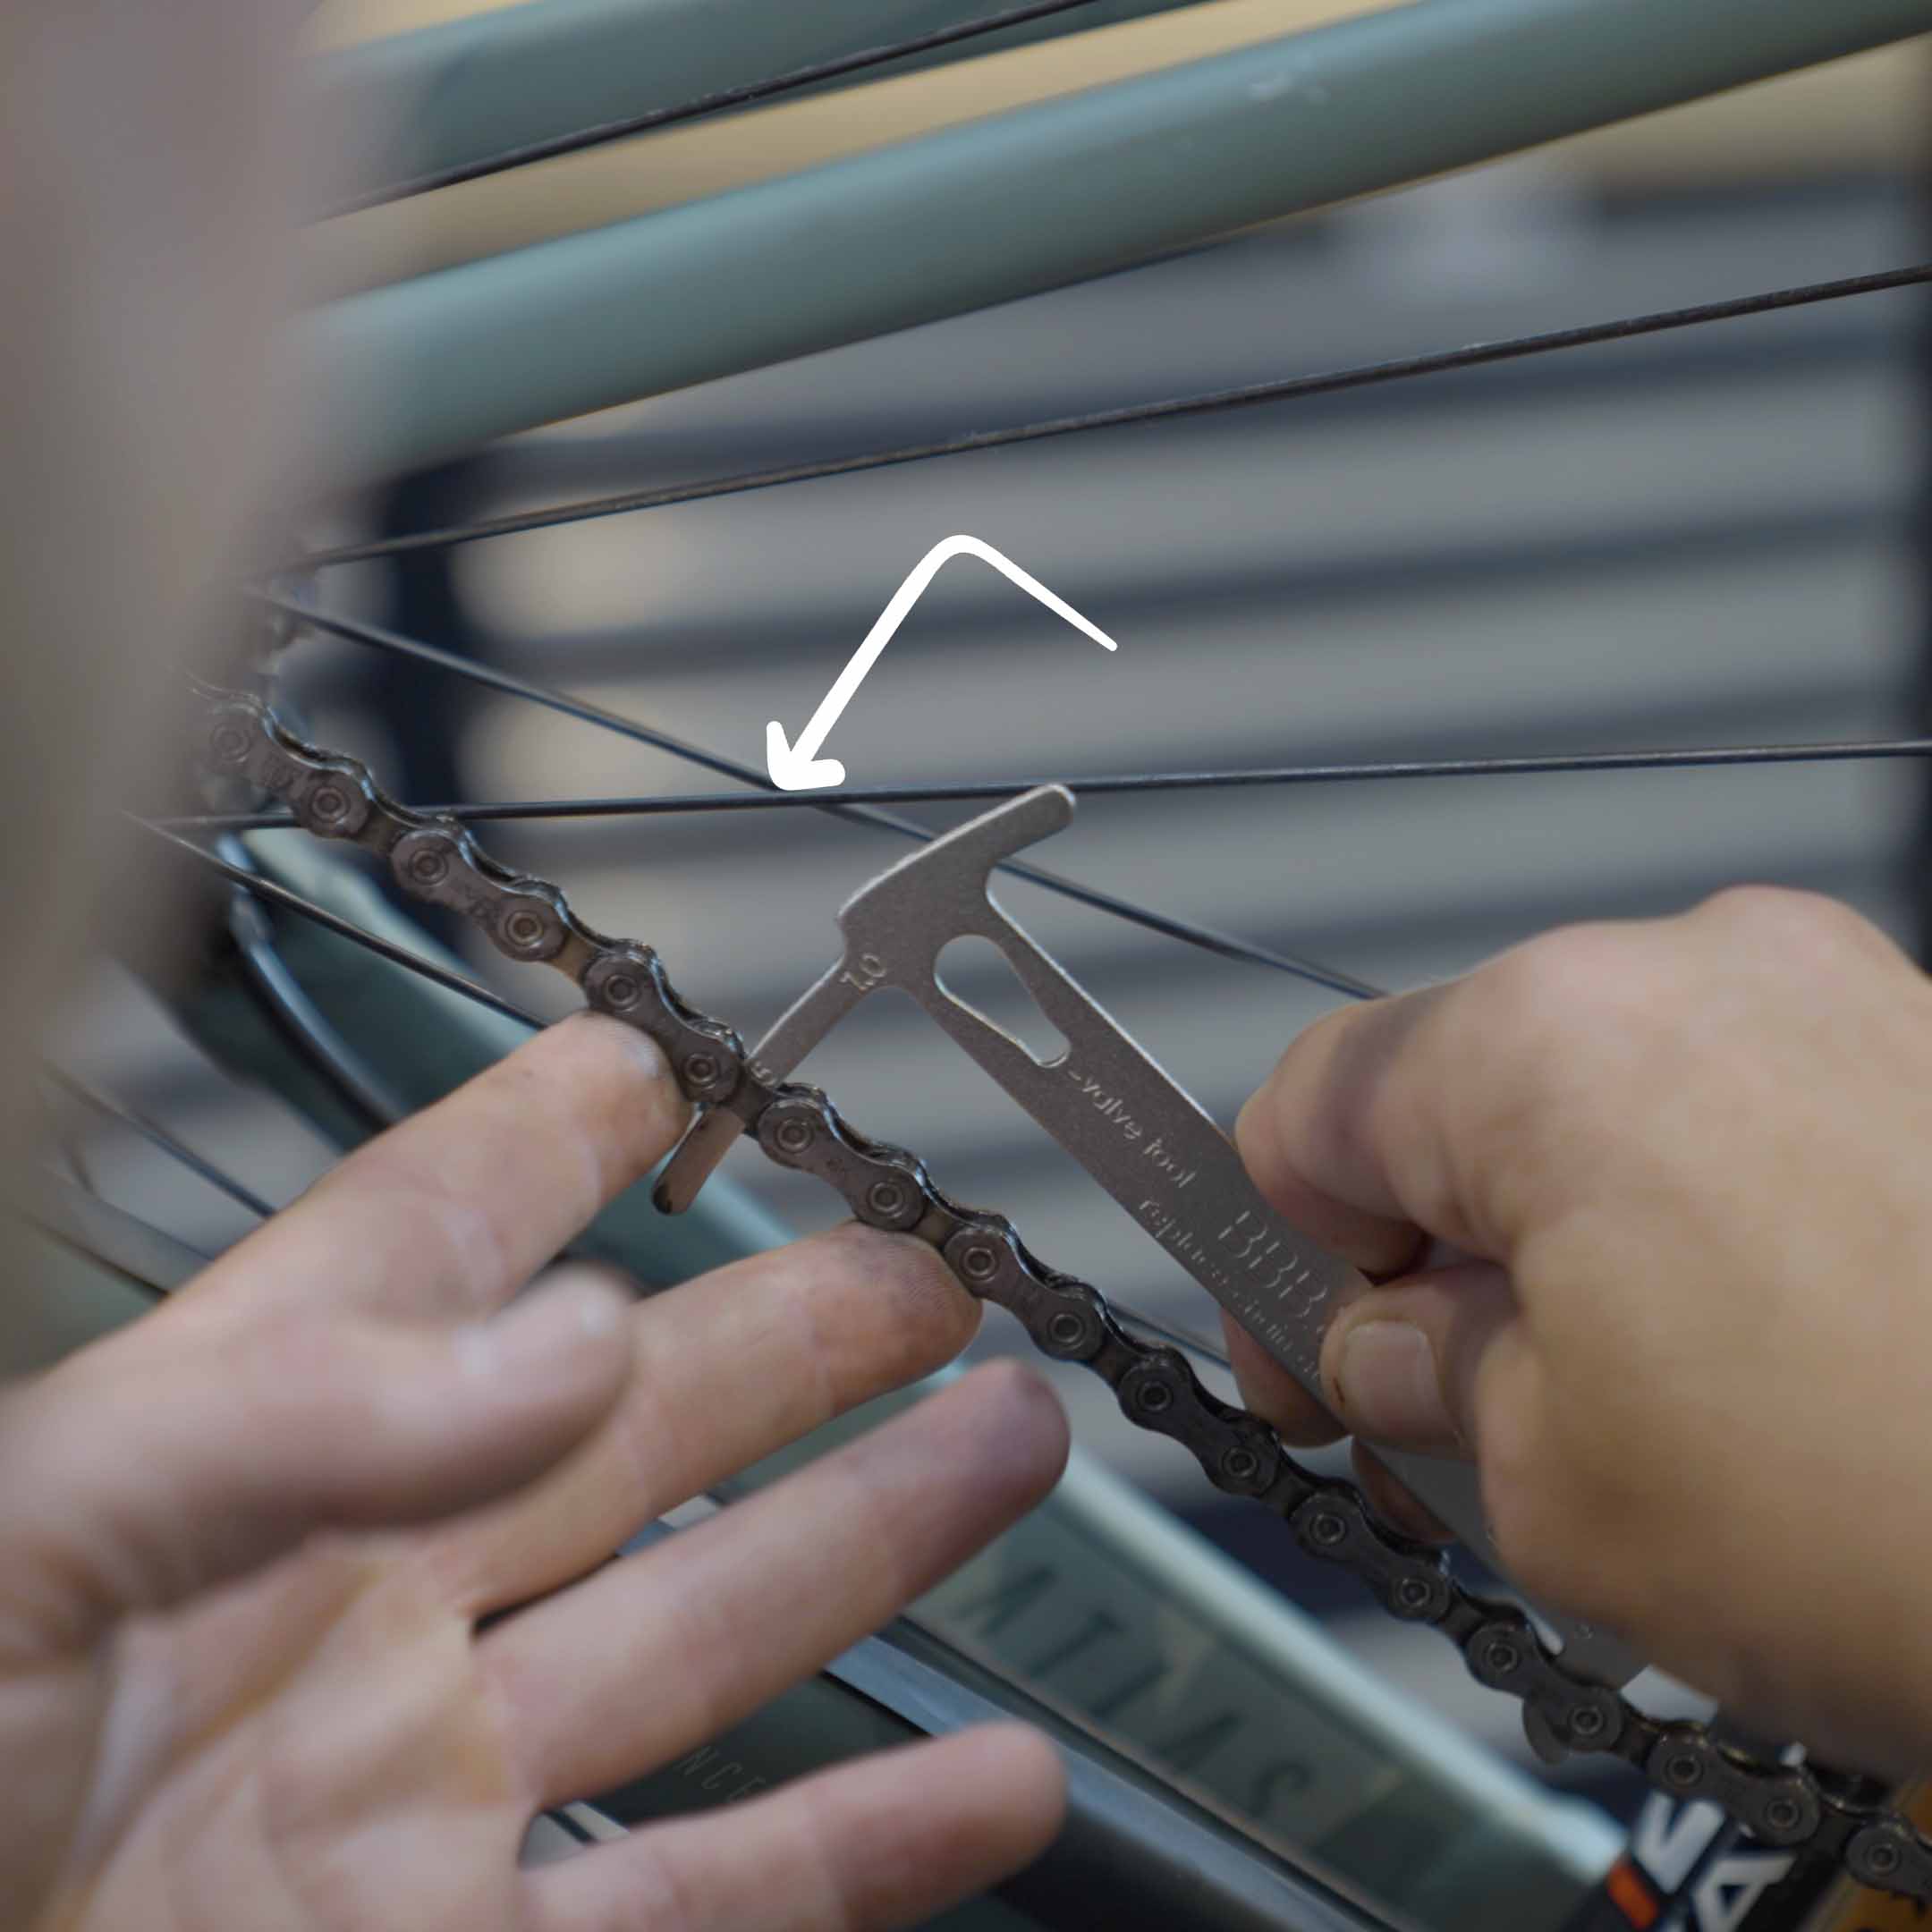
Place the ChainChecker on your chain and see if it is time to be replaced. Makes sure to check your chain on a few different spots. If the ChainChecker falls through to 0.75 or more, it is time to replace your chain.

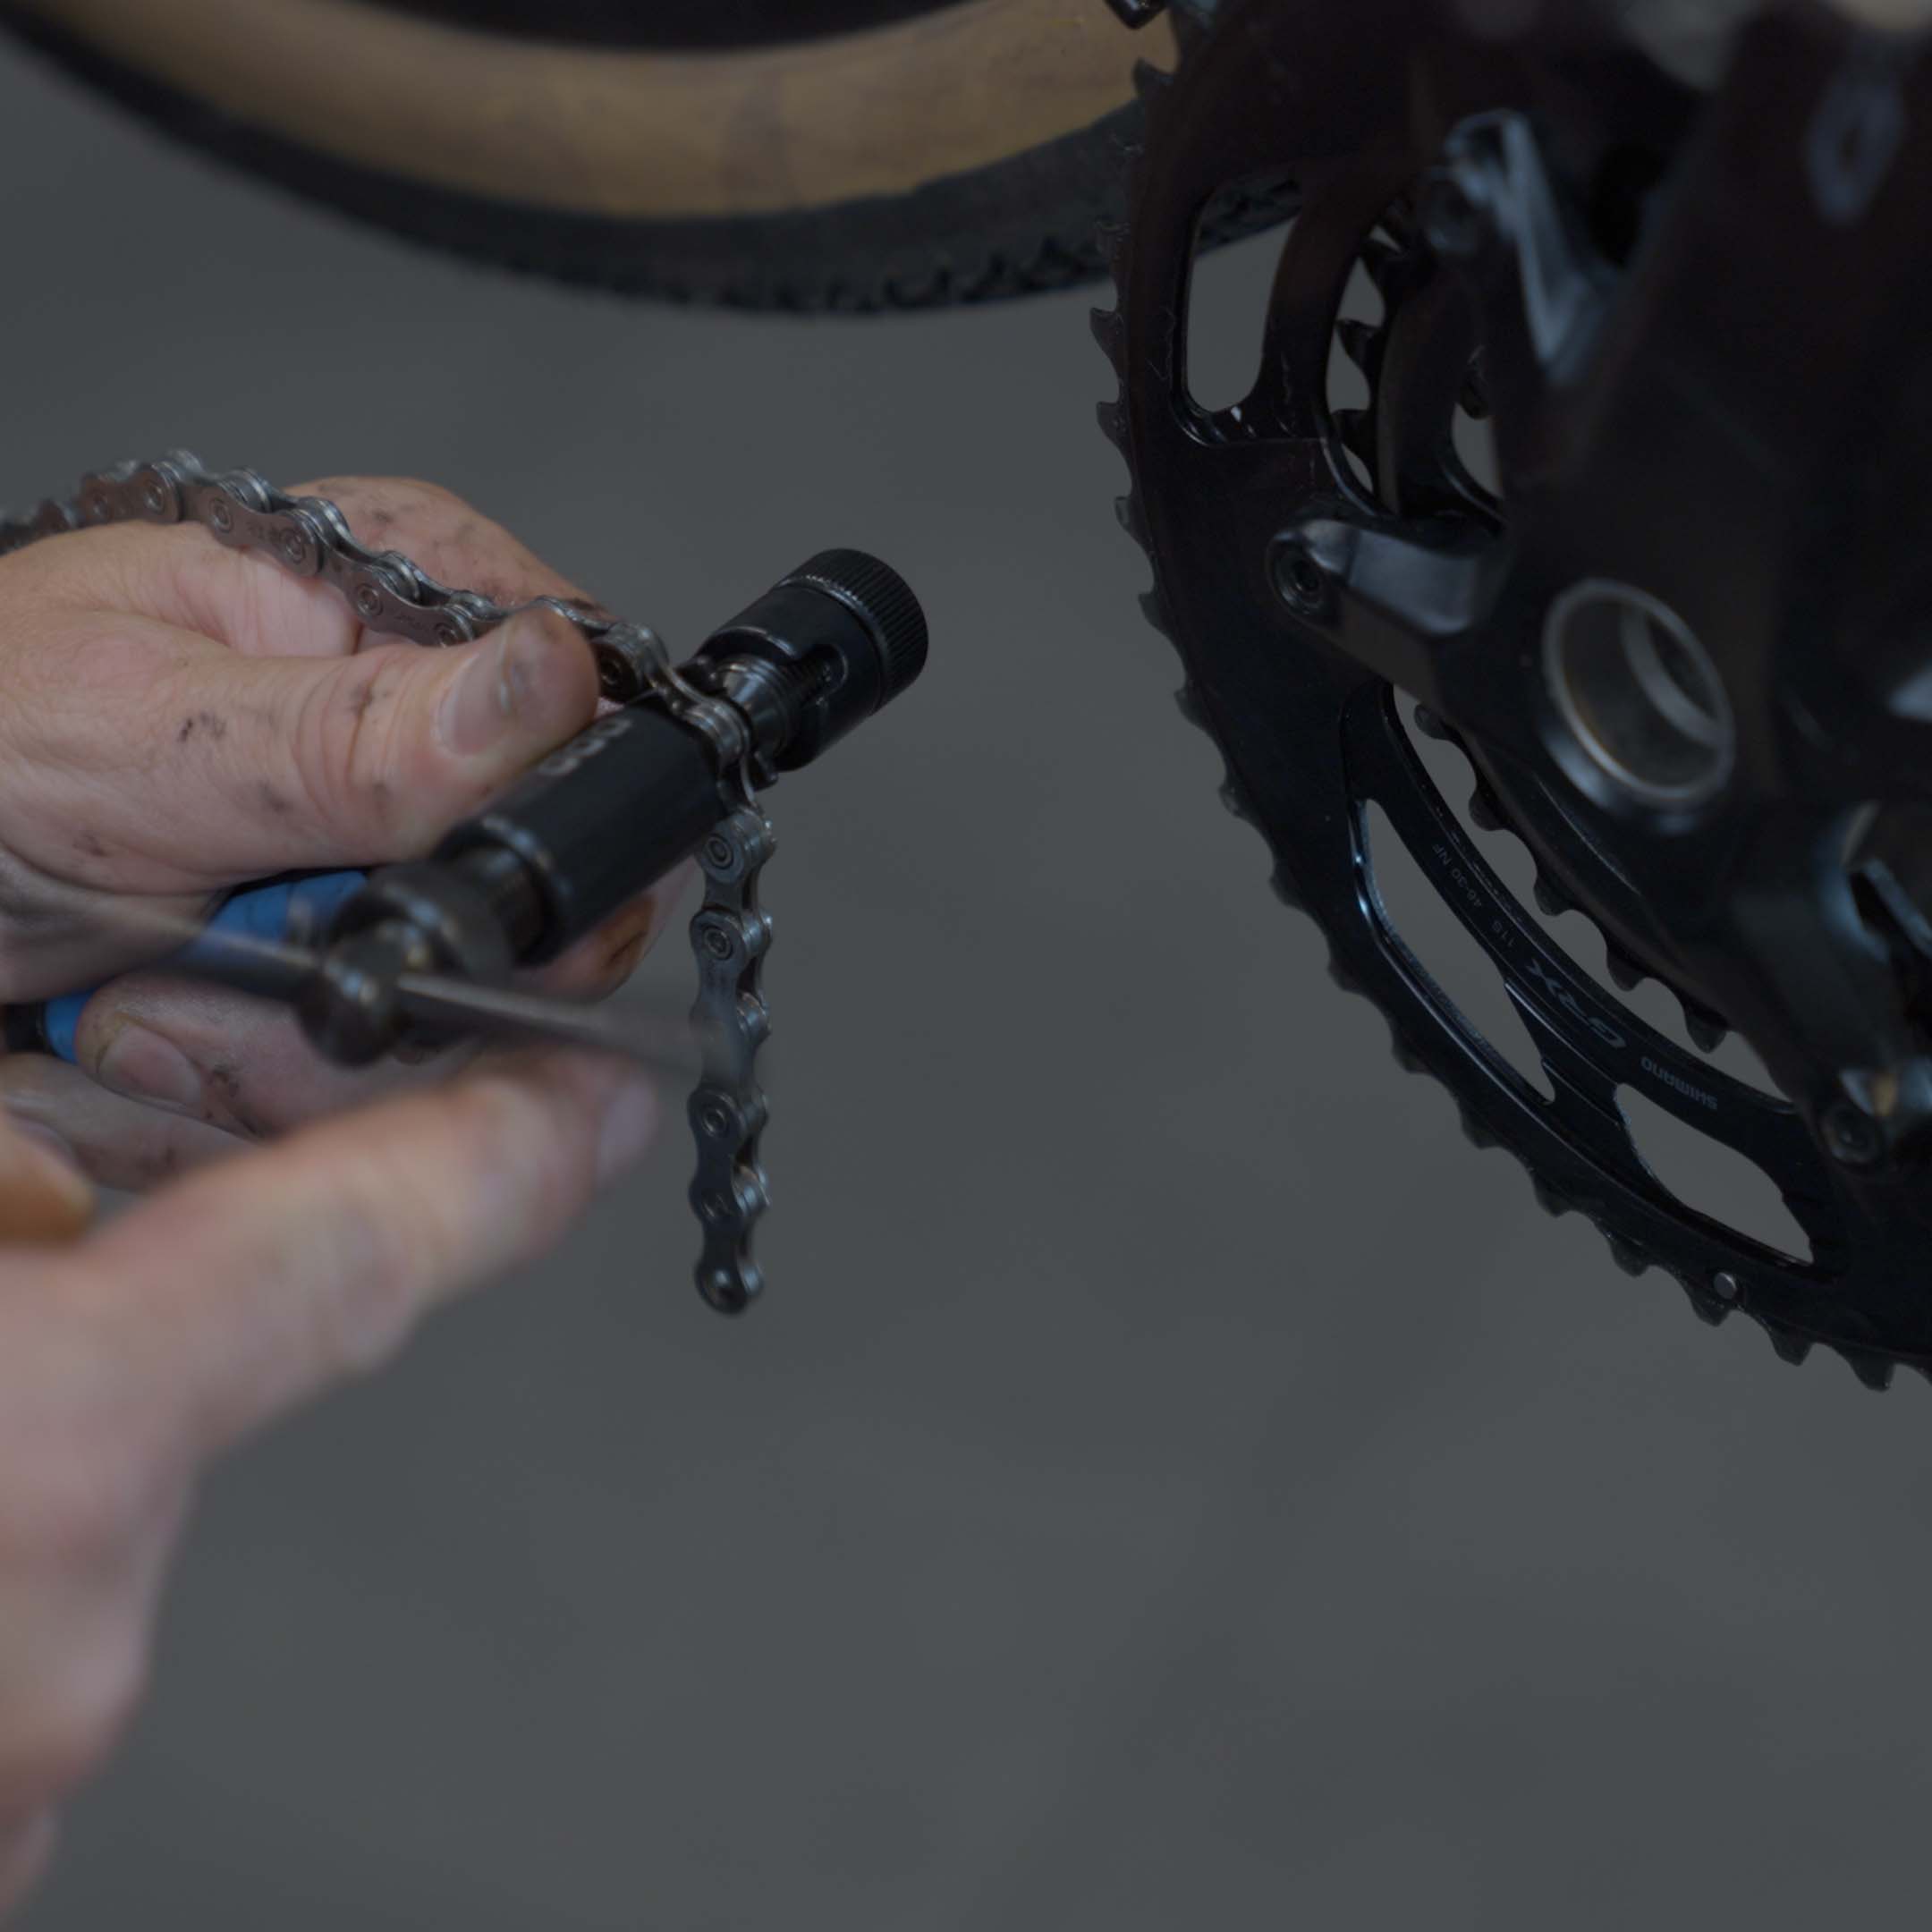
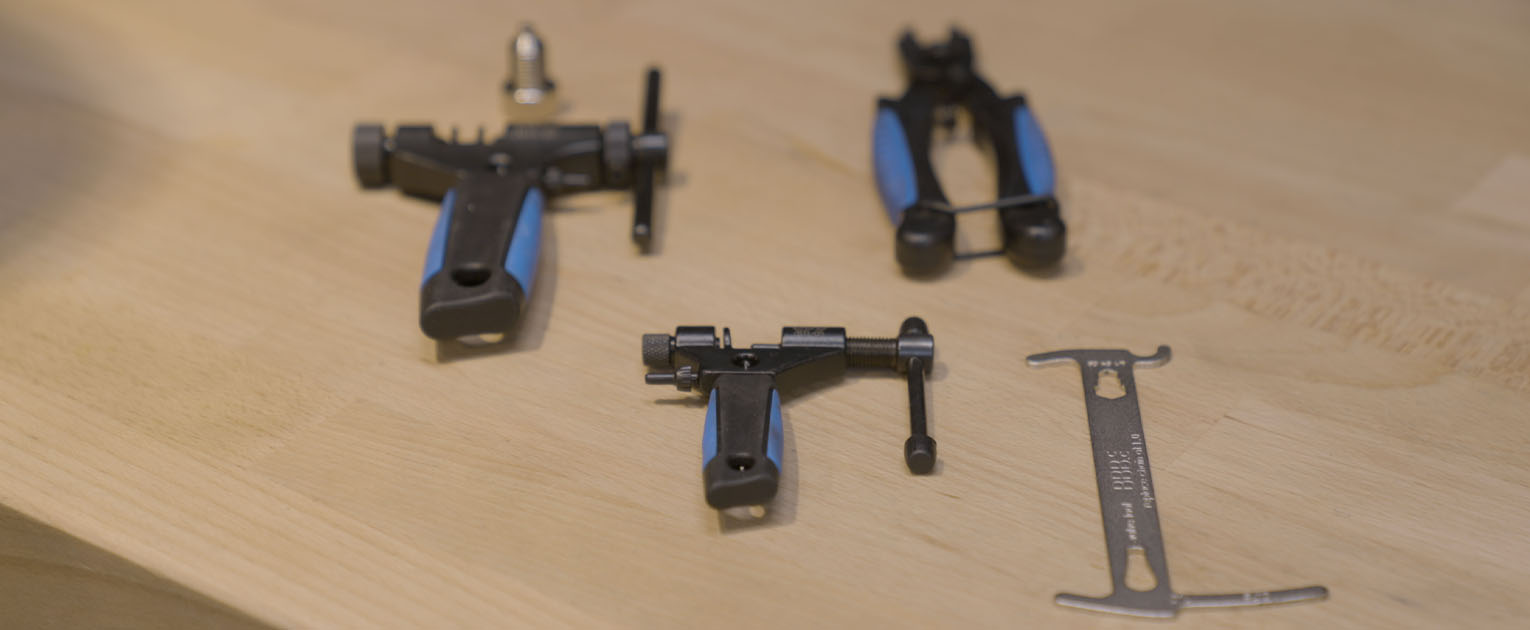
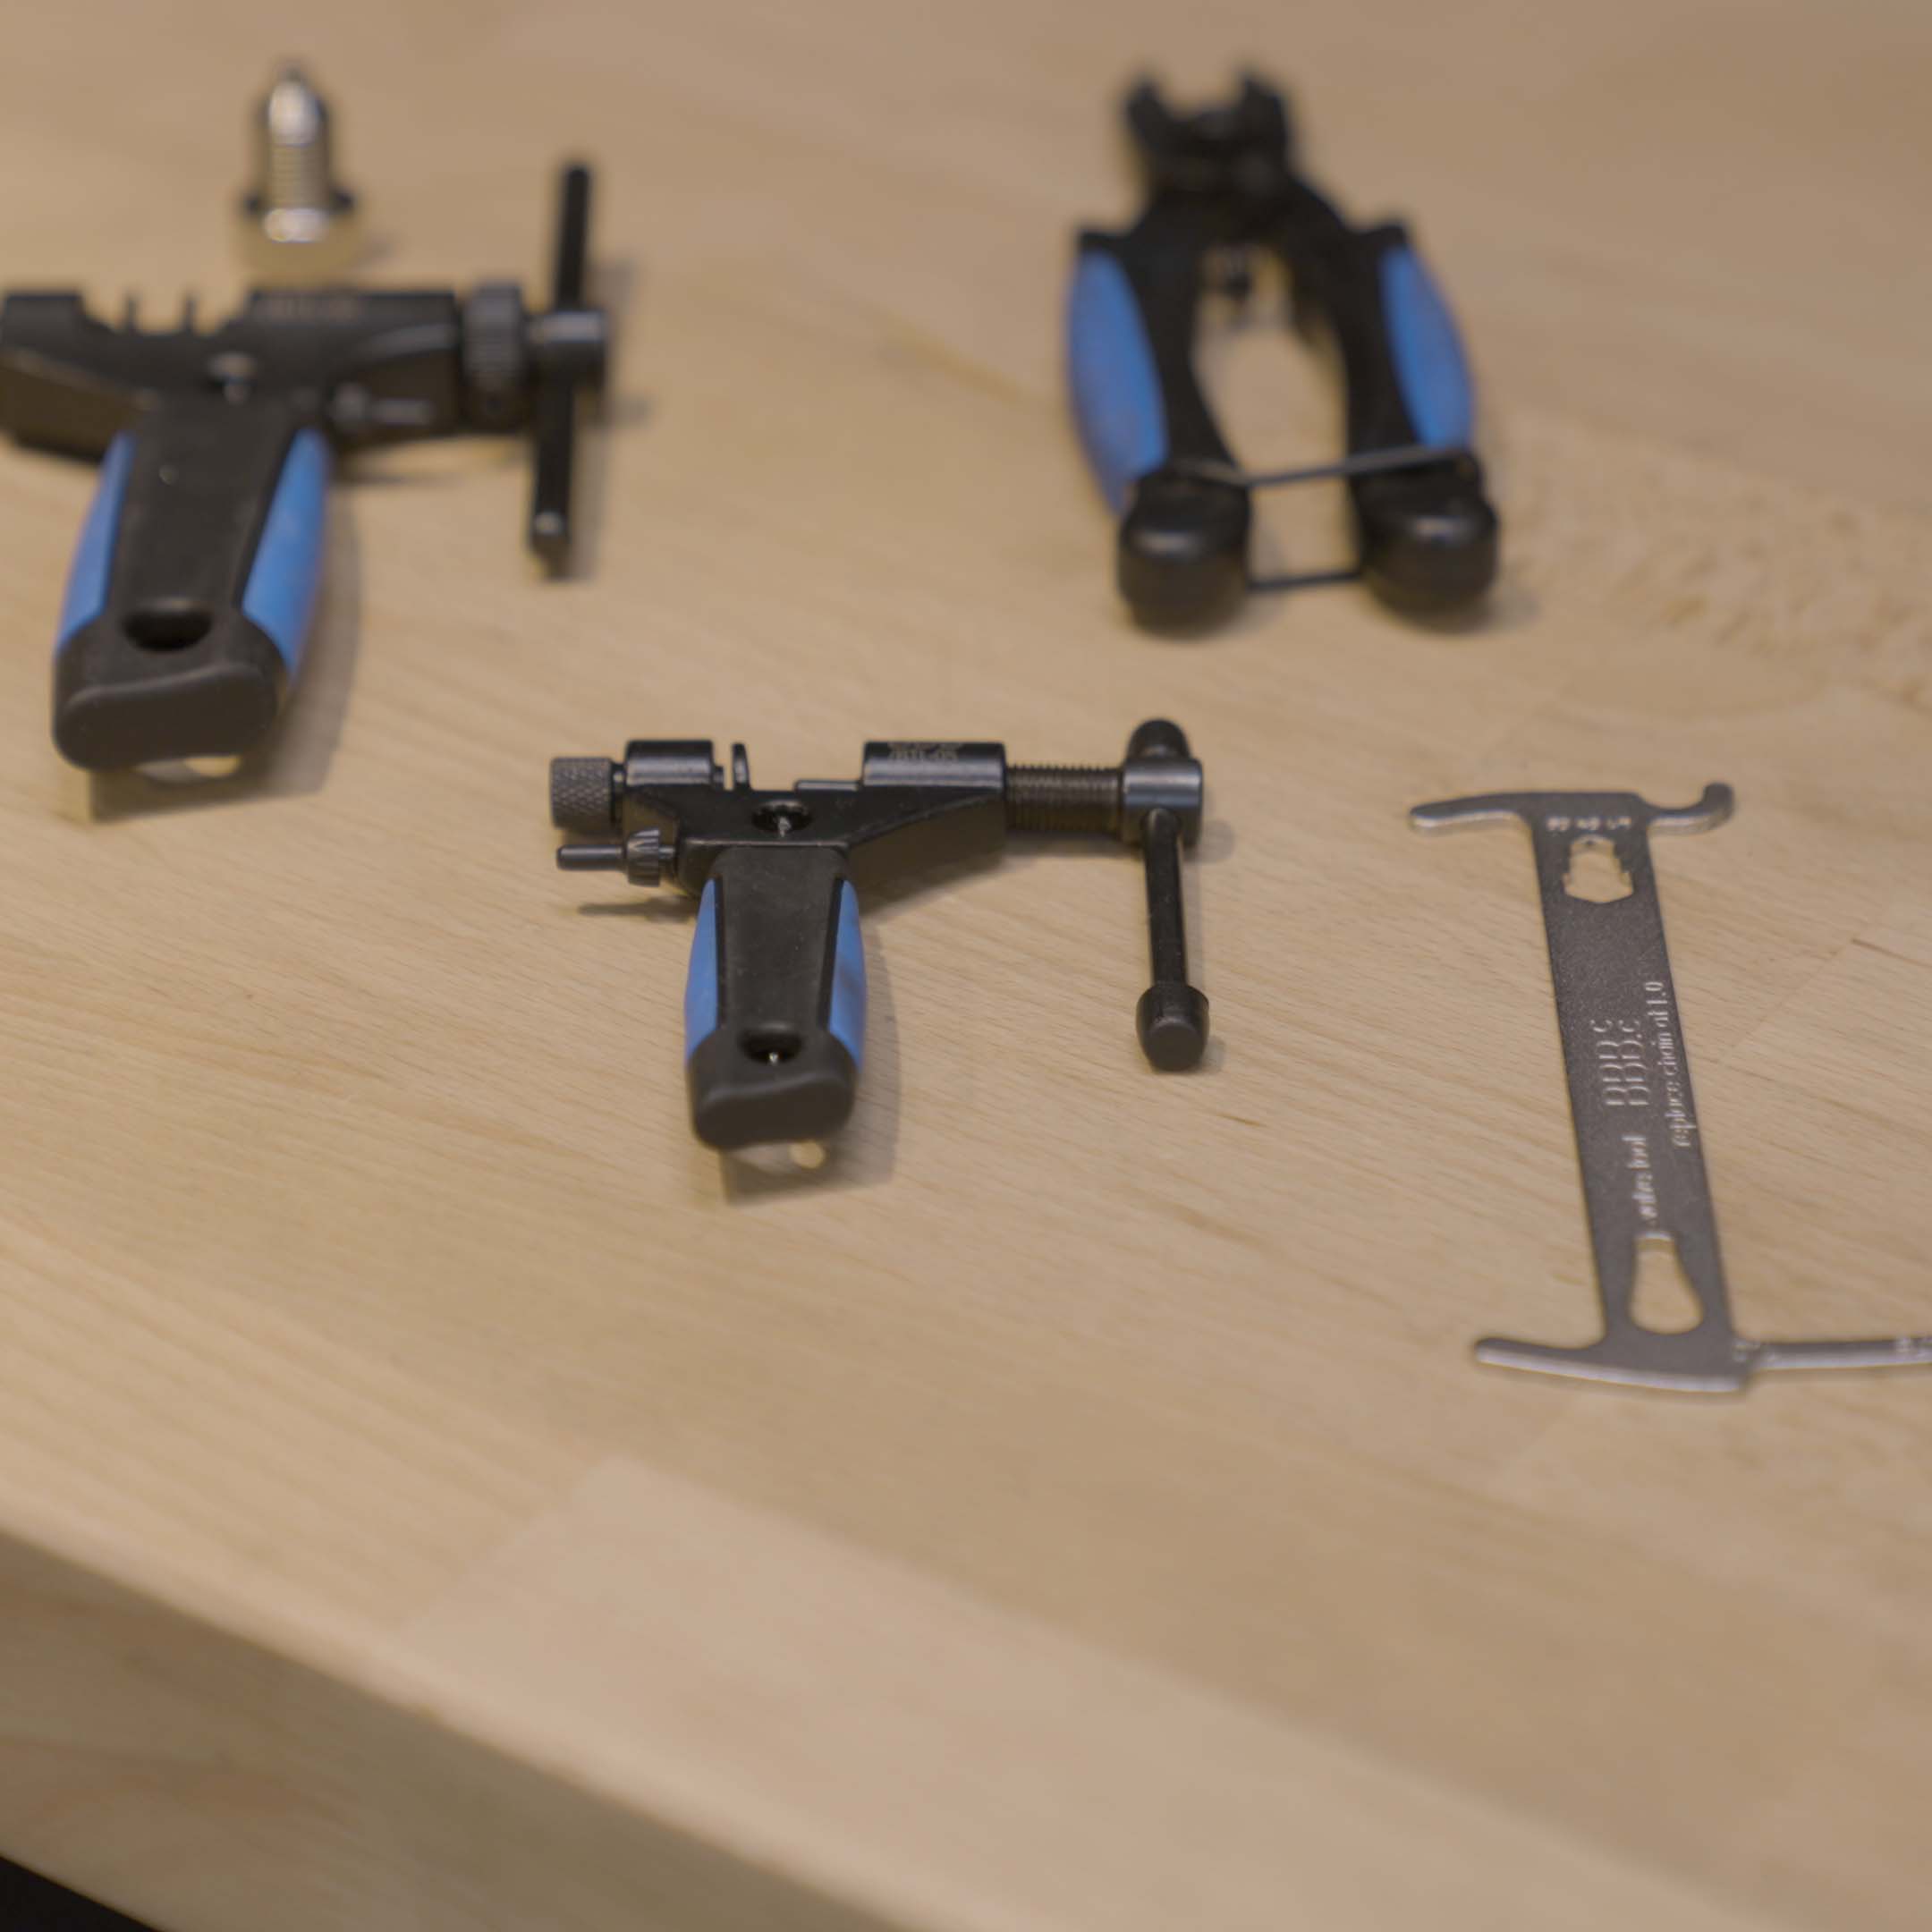
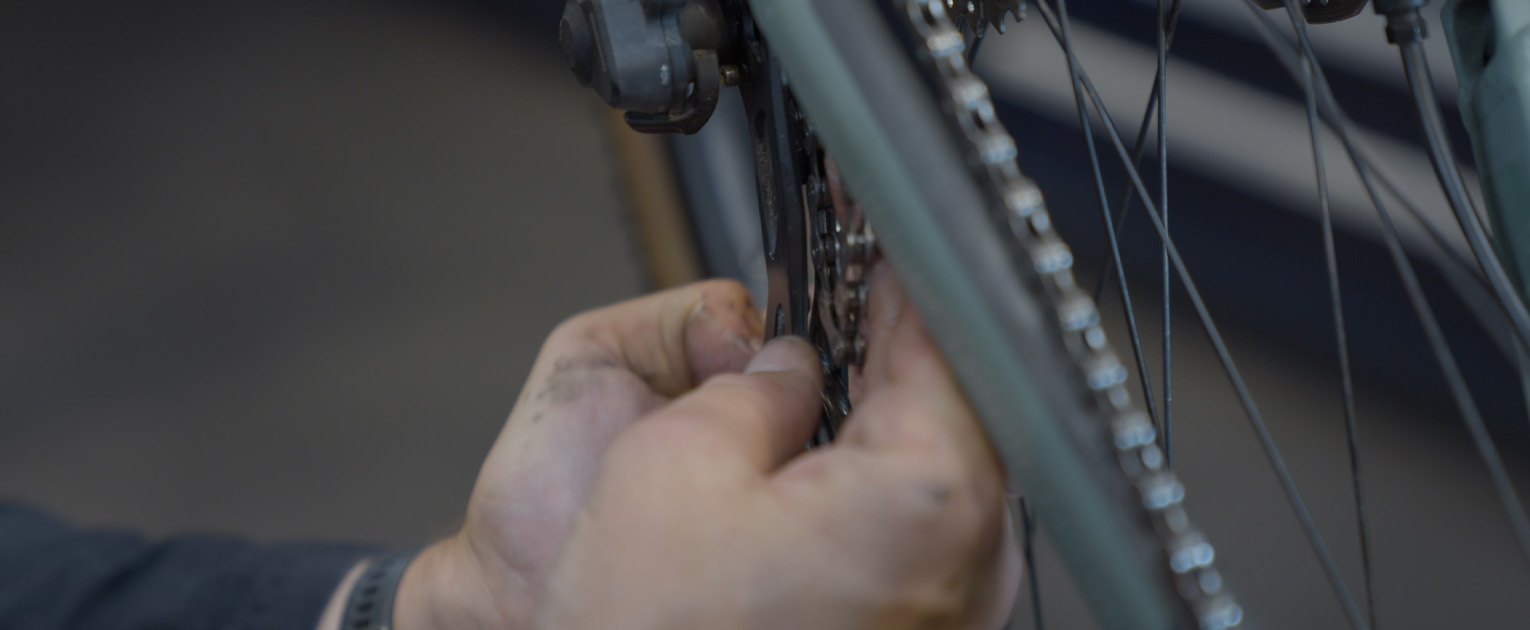
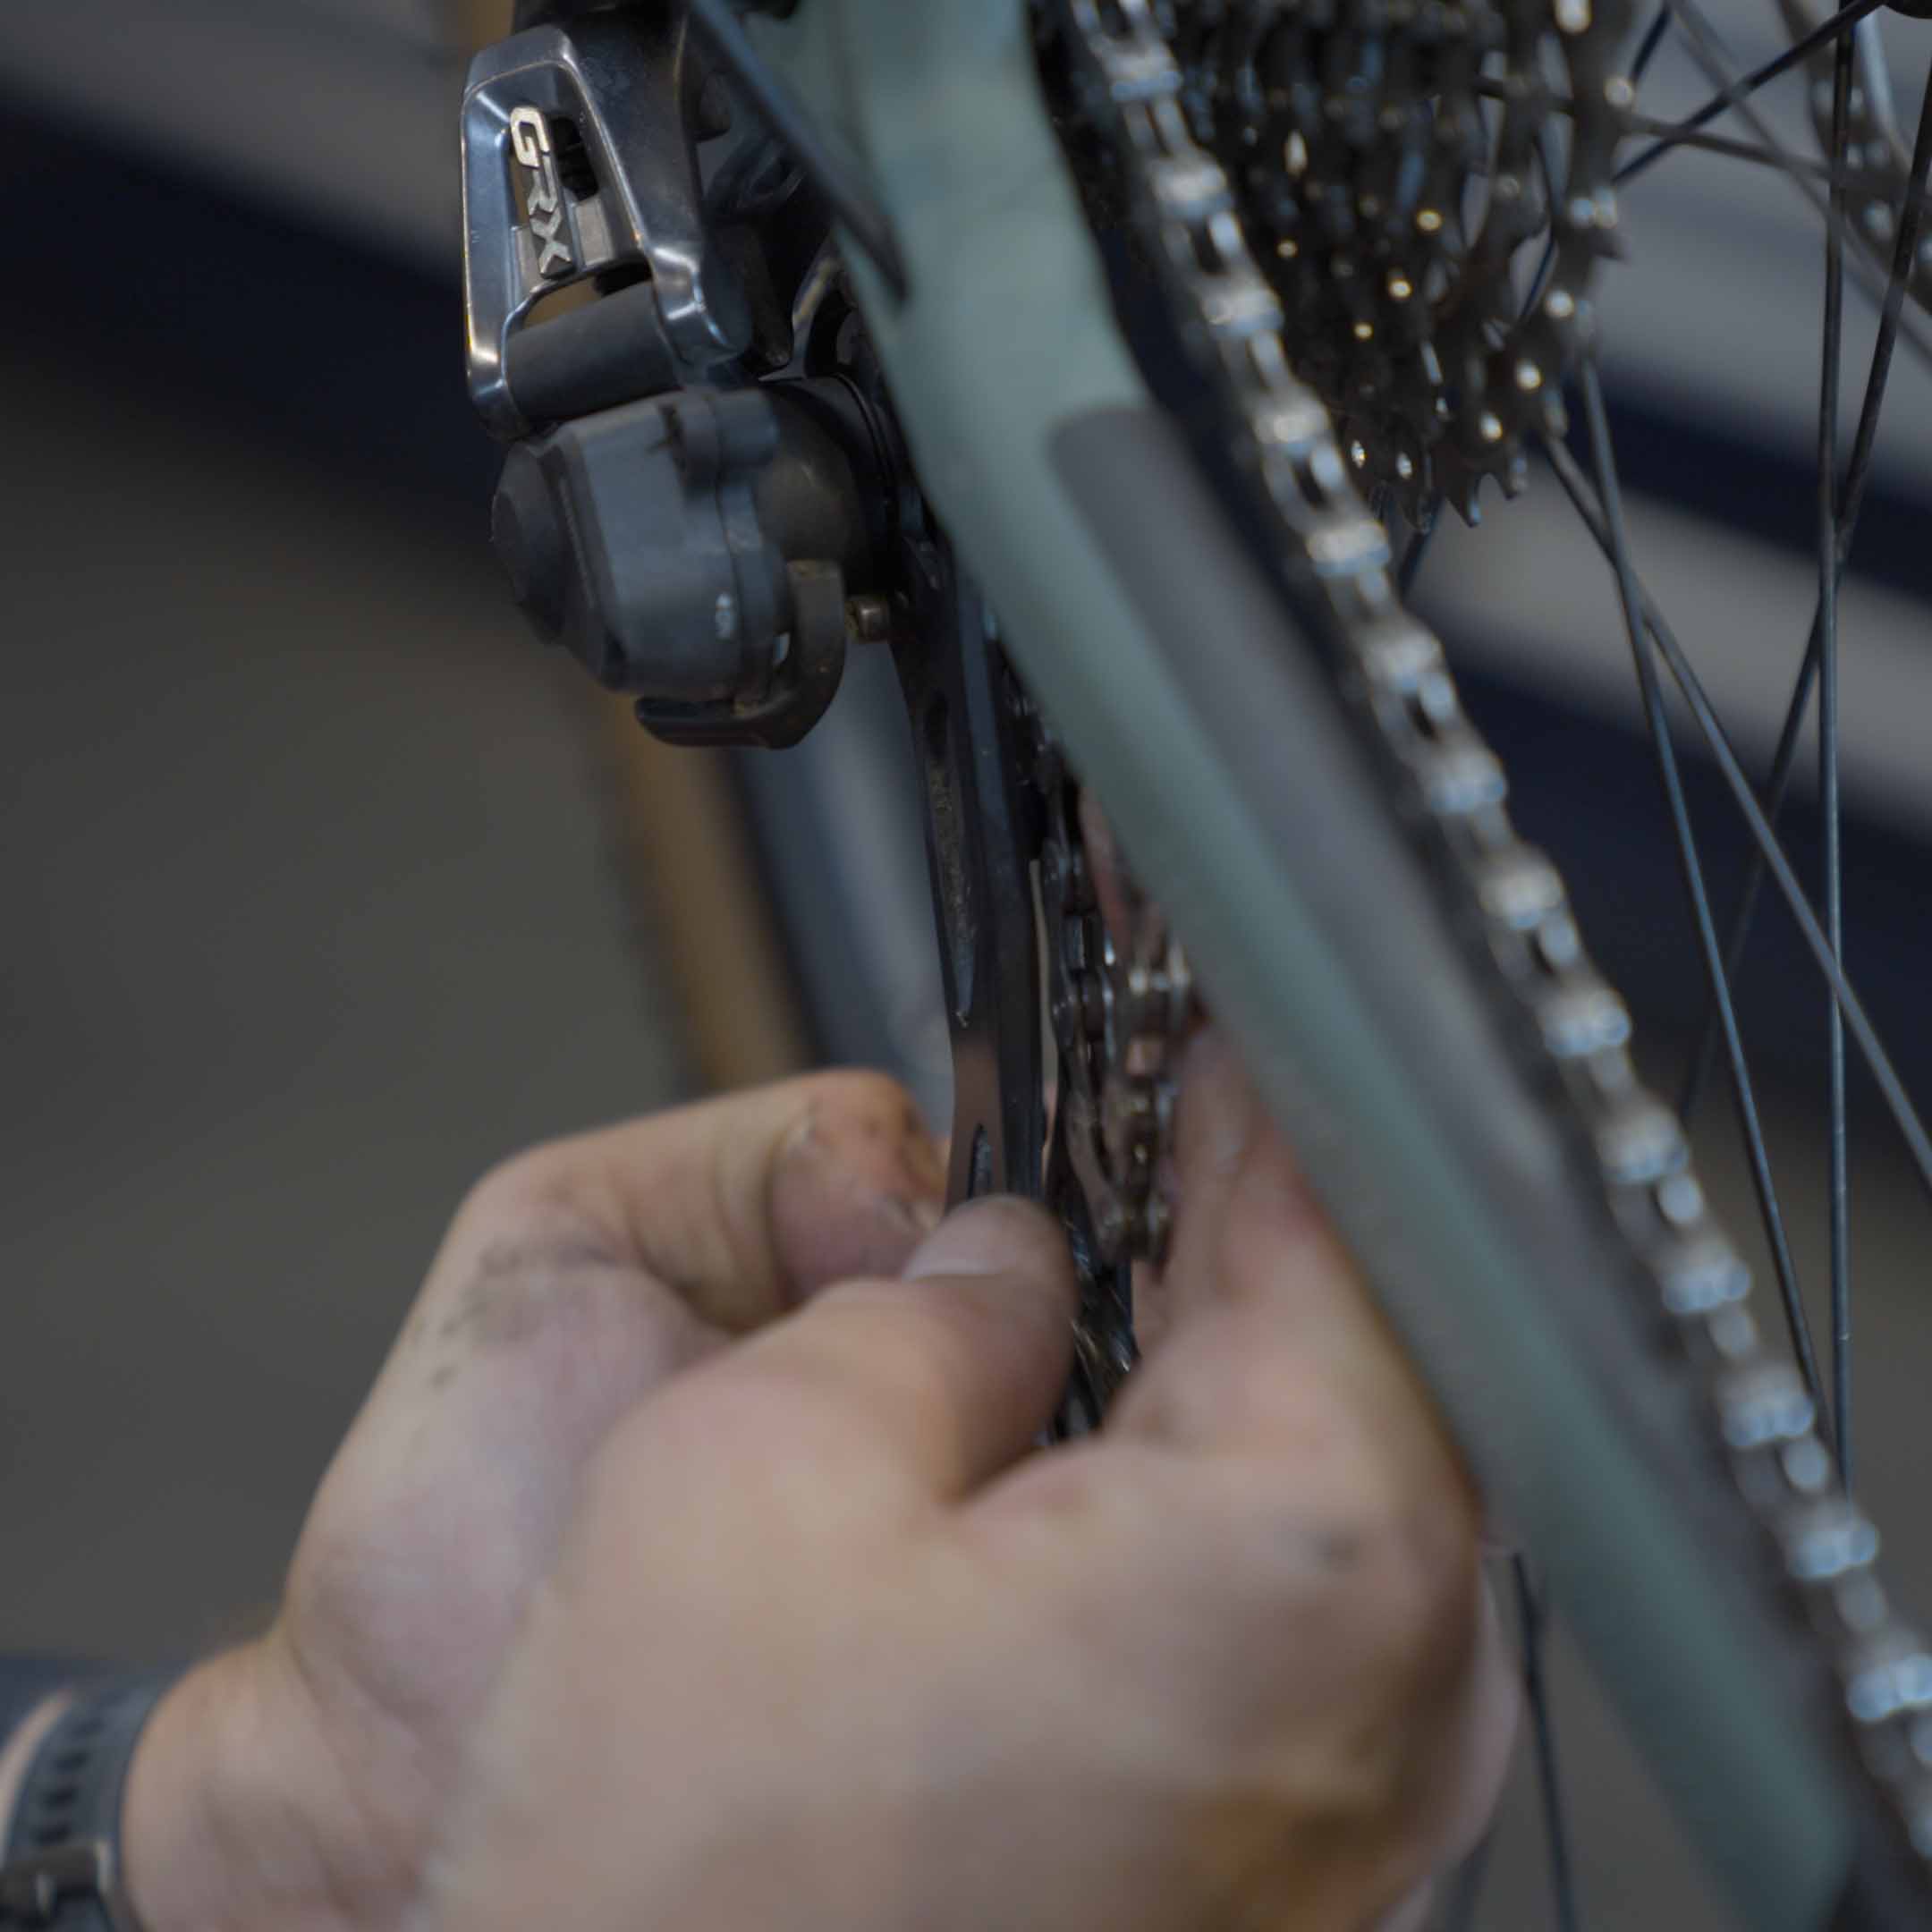
Detach your old chain with the help of the Nautilus II or ProfiConnect by placing it on the pen of one of the links and fastening the chain breaker until the pen comes out.
In case of a smartlink, simply use the LinkFix by pressing the link together (from axle to axle) and the smartlink will come off.
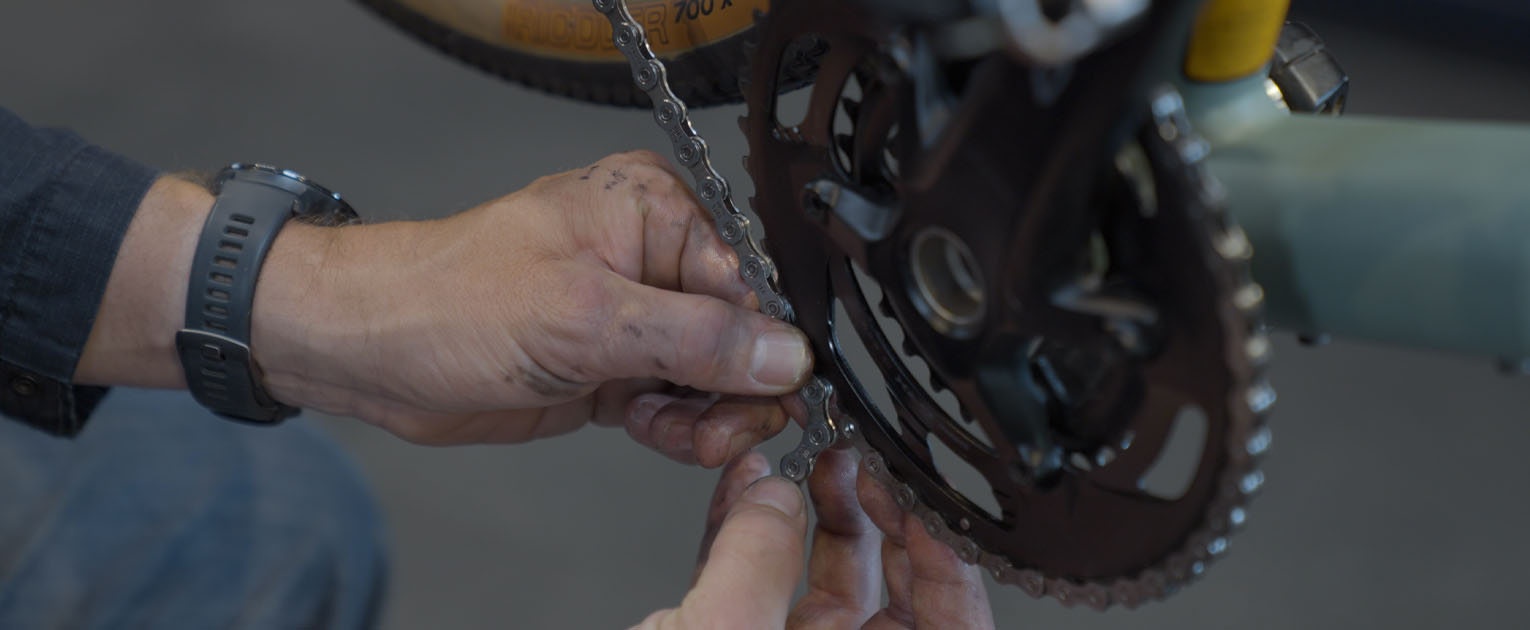
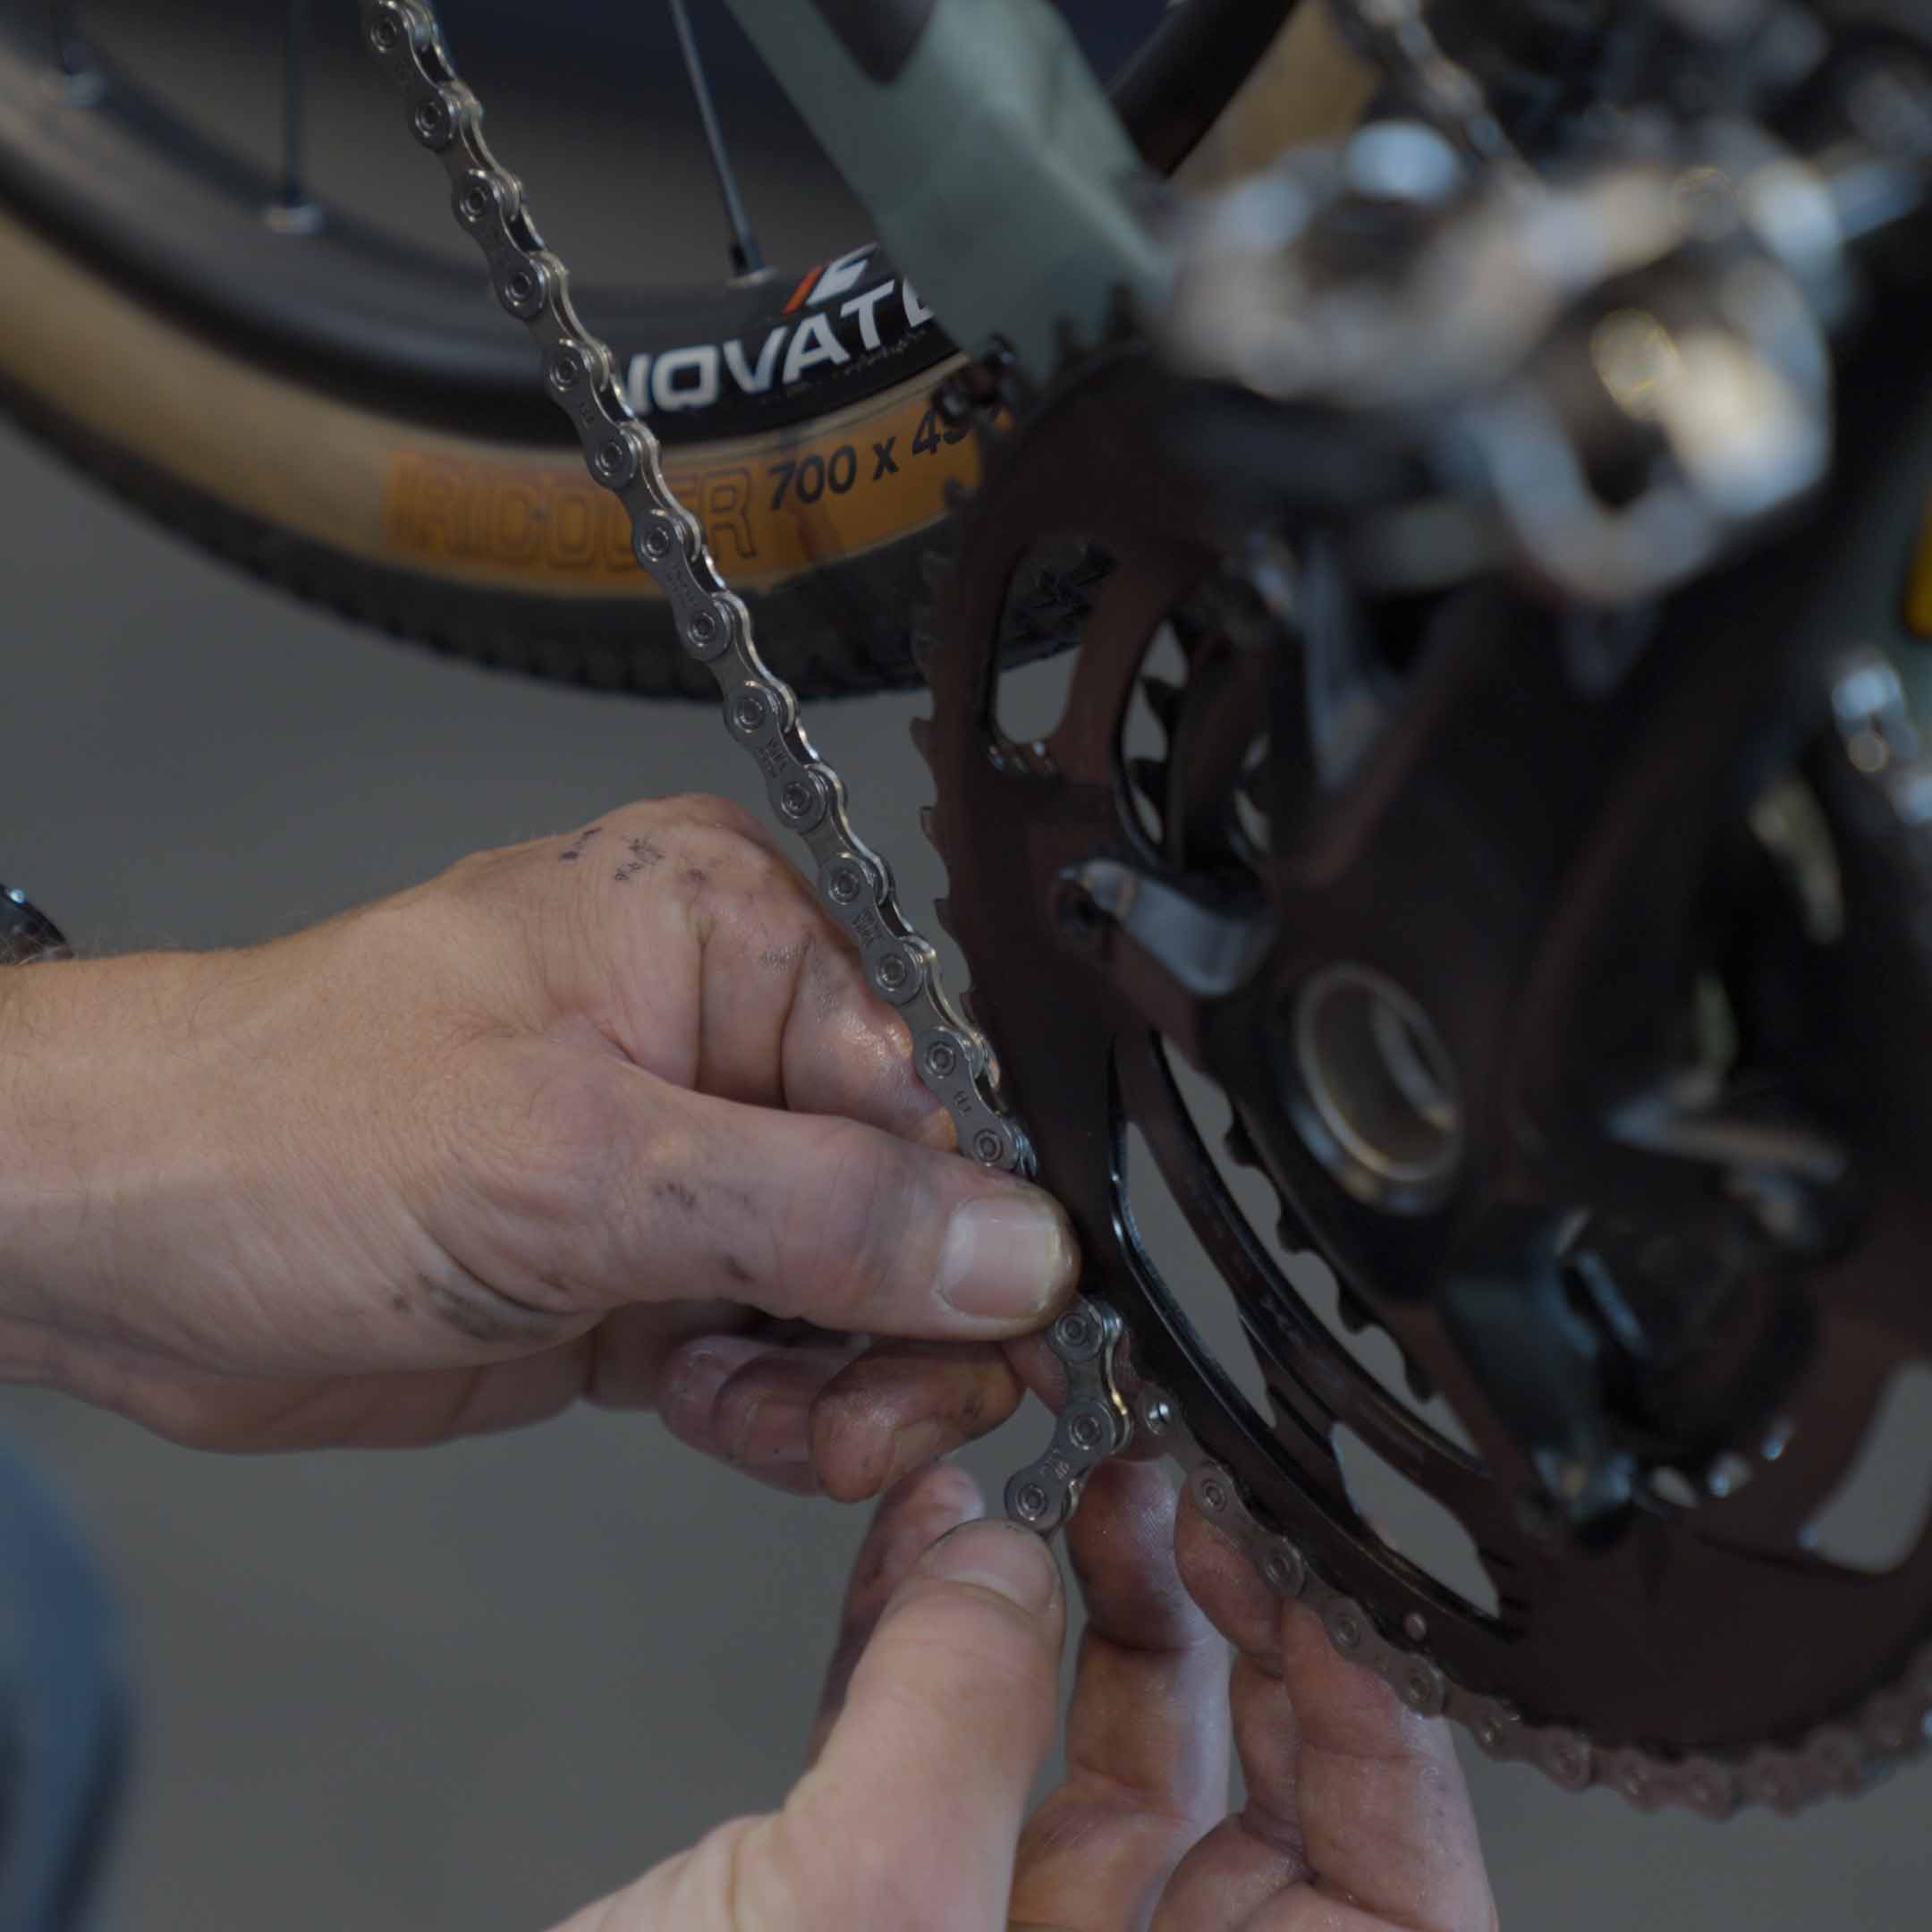
If you have the old chain available, make sure you shorten your new chain to exactly the same amount of chain links as your old one. If you don’t have your old chain available, place your new chain at the front and back on the biggest chain rings without going through the derailleur. Note the link where the chain meets.
For a one-by drivetrain (a drivetrain with only one chainring at the front), add two wide and two narrow link parts to where you shorten your chain. For a two-by drivetrain (a drivetrain with two chainrings at the front), add only one wide and one narrow link to where you shorten your chain.
After correcting the length of the chain, pull the chain back and lead it through the derailleur. Make sure the chain goes through the derailleur the right way.
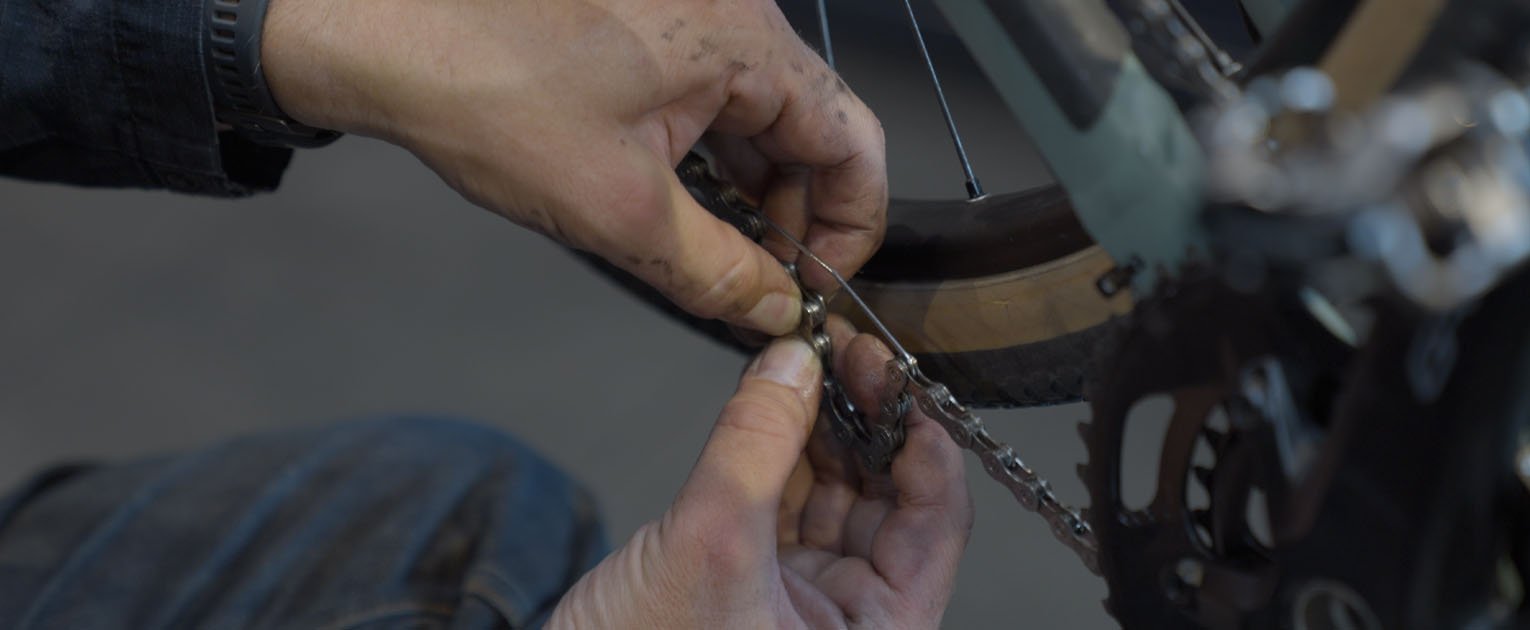
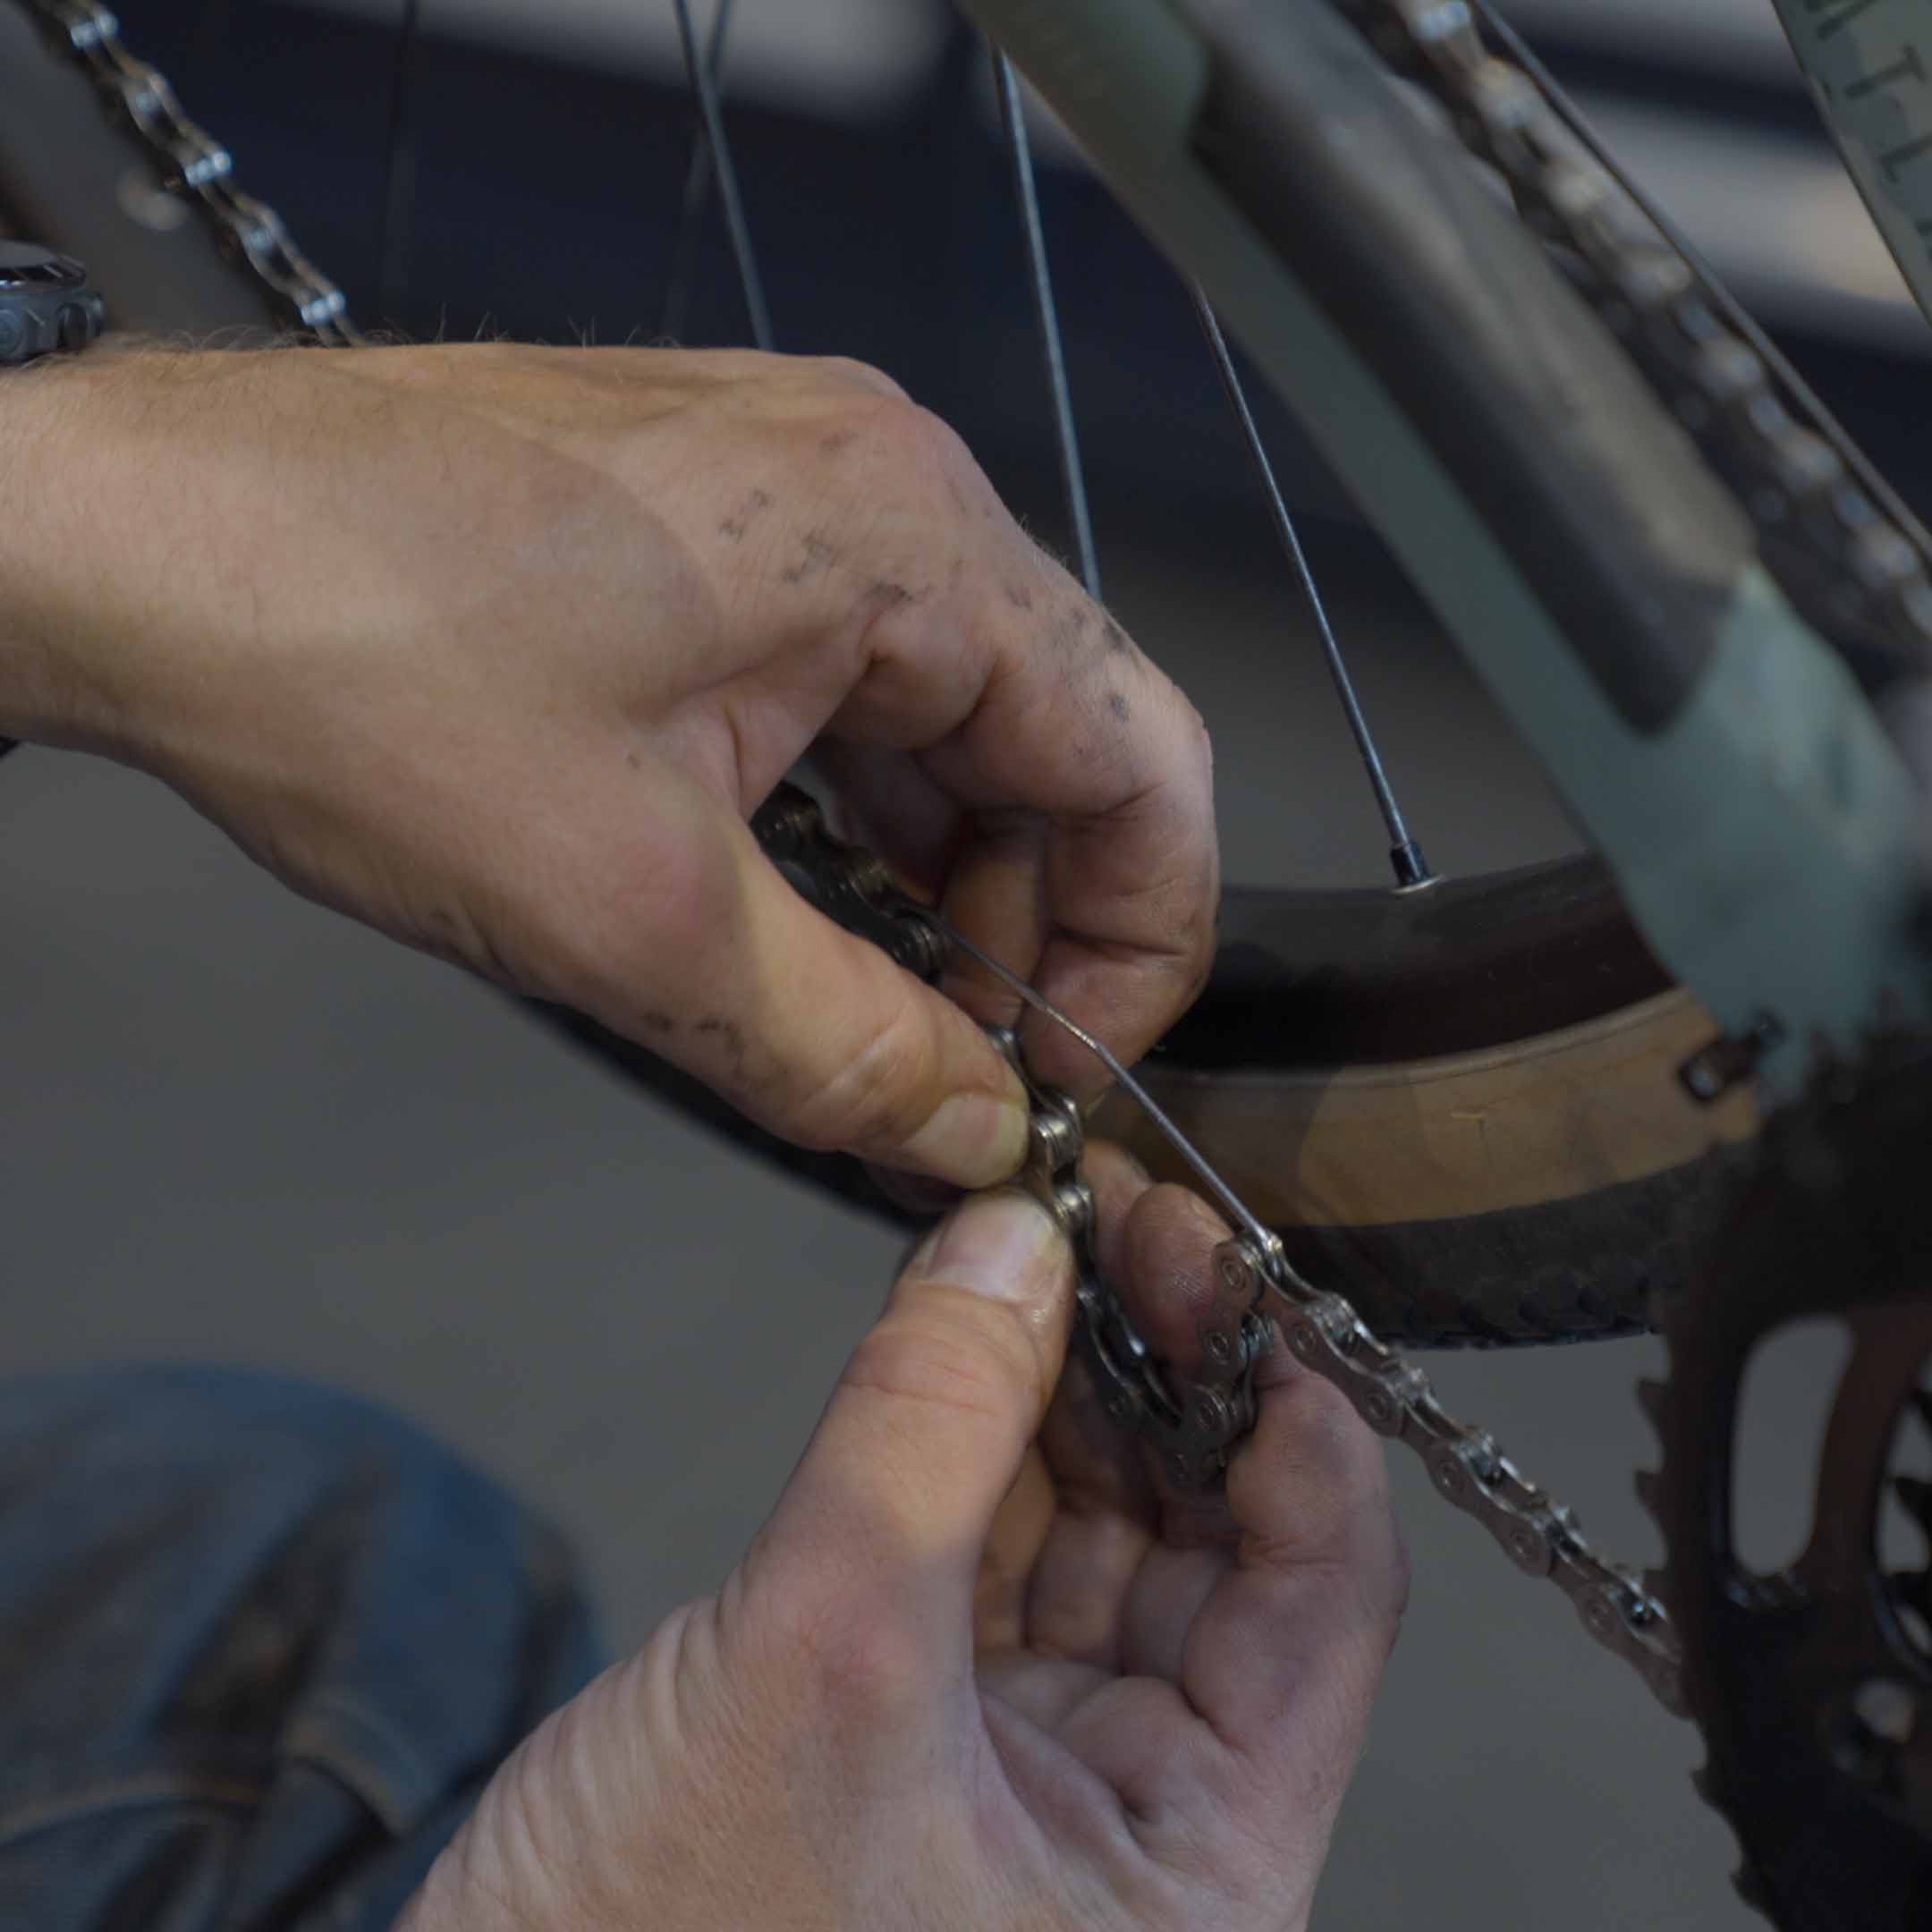
Connect your new chain with the smartlink that is included with your new chain. It is best to start this at the bottom of your chain. Simply hook the smartlink to one side of the chain, and do the same with the other side of the smartlink. Once connected, move the smartlink to the top of your chain (by rotating the pedals). Hold your rear wheel and put some pressure of your pedal. You will hear the smartlink click in its place.
After the click, you are ready for your next ride! Always do a quick check if everything is running properly. Is your chain correctly put through your derailleur etc., go for a quick little test ride to check your gears. Now, your bike with a brand-spanking new chain is ready to roll for many kilometers!


Watch That Manual | How to replace disc brake pads?
Ready story
Watch That Manual | How to replace a handlebar stem?
Ready story