James Shirley | Changing Seasons
James Shirley | Changing Seasons
Ready story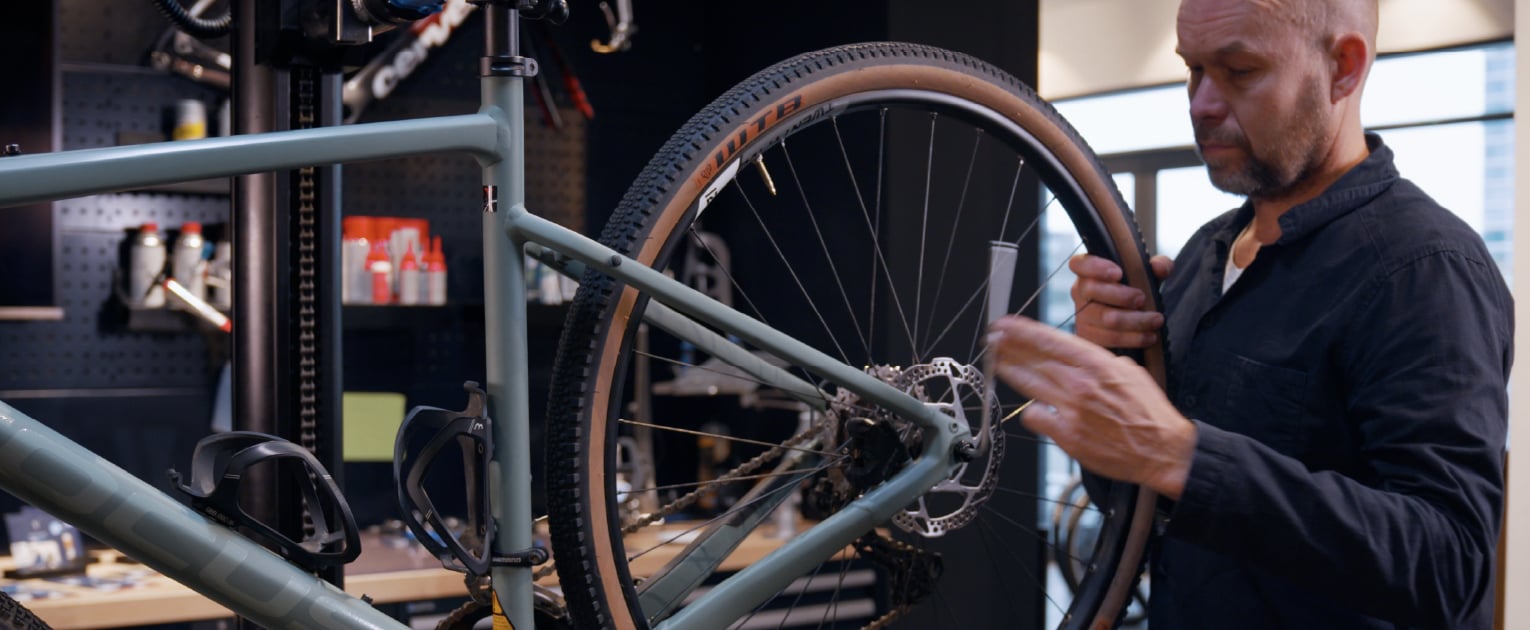
TEXT / BBB CYCLING | PHOTOS / BBB CYCLING
Manuals, you often get them with your new products, but who actually reads them? And even if you do, how much can you still remember of it? Exactly! That's why we make working on your own bike a bit easier, with Watch That Manual! In this series, we show you exactly what to do and what not to do.
Replacing your brake pads has to be done the right way! It is not a hard job, but you have to make sure you do it right. In this blog, we explain everything you need to know about replacing your brake pads. Step by step, we take you through the process and give you a few tips on what to look out for to make your brake pads last longer!
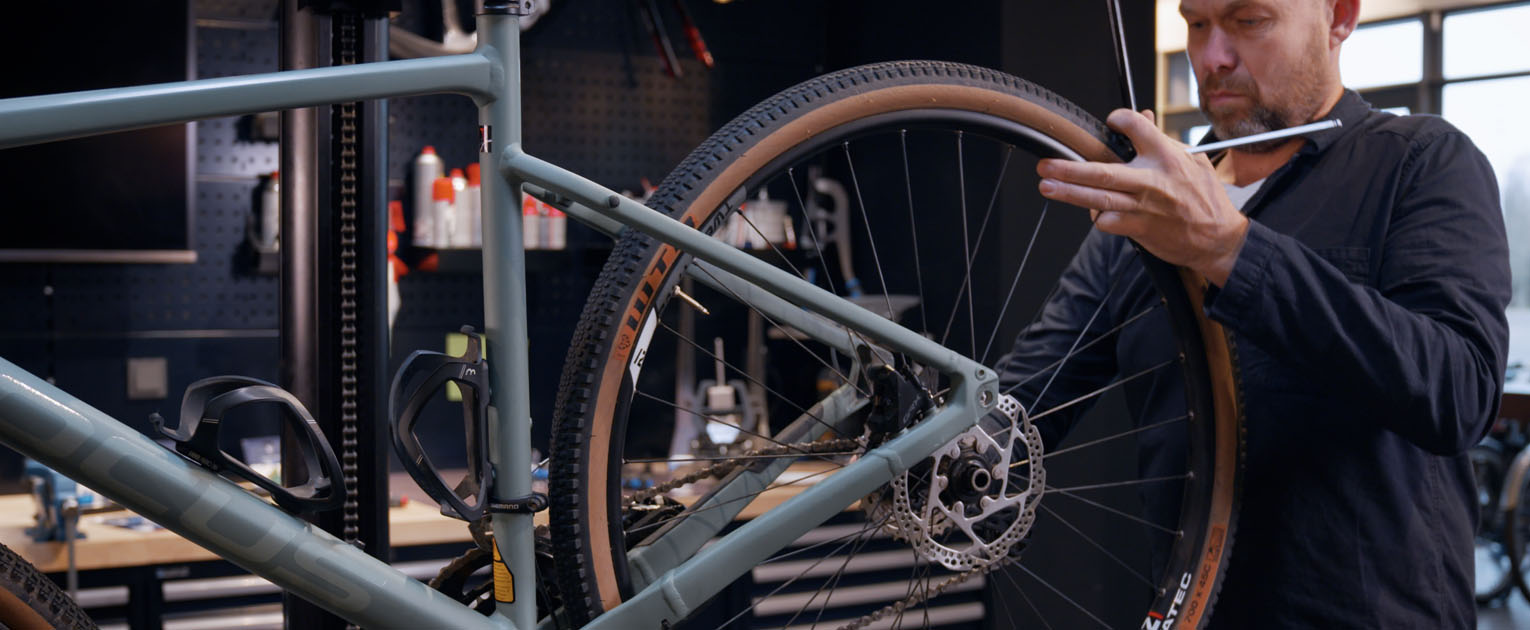
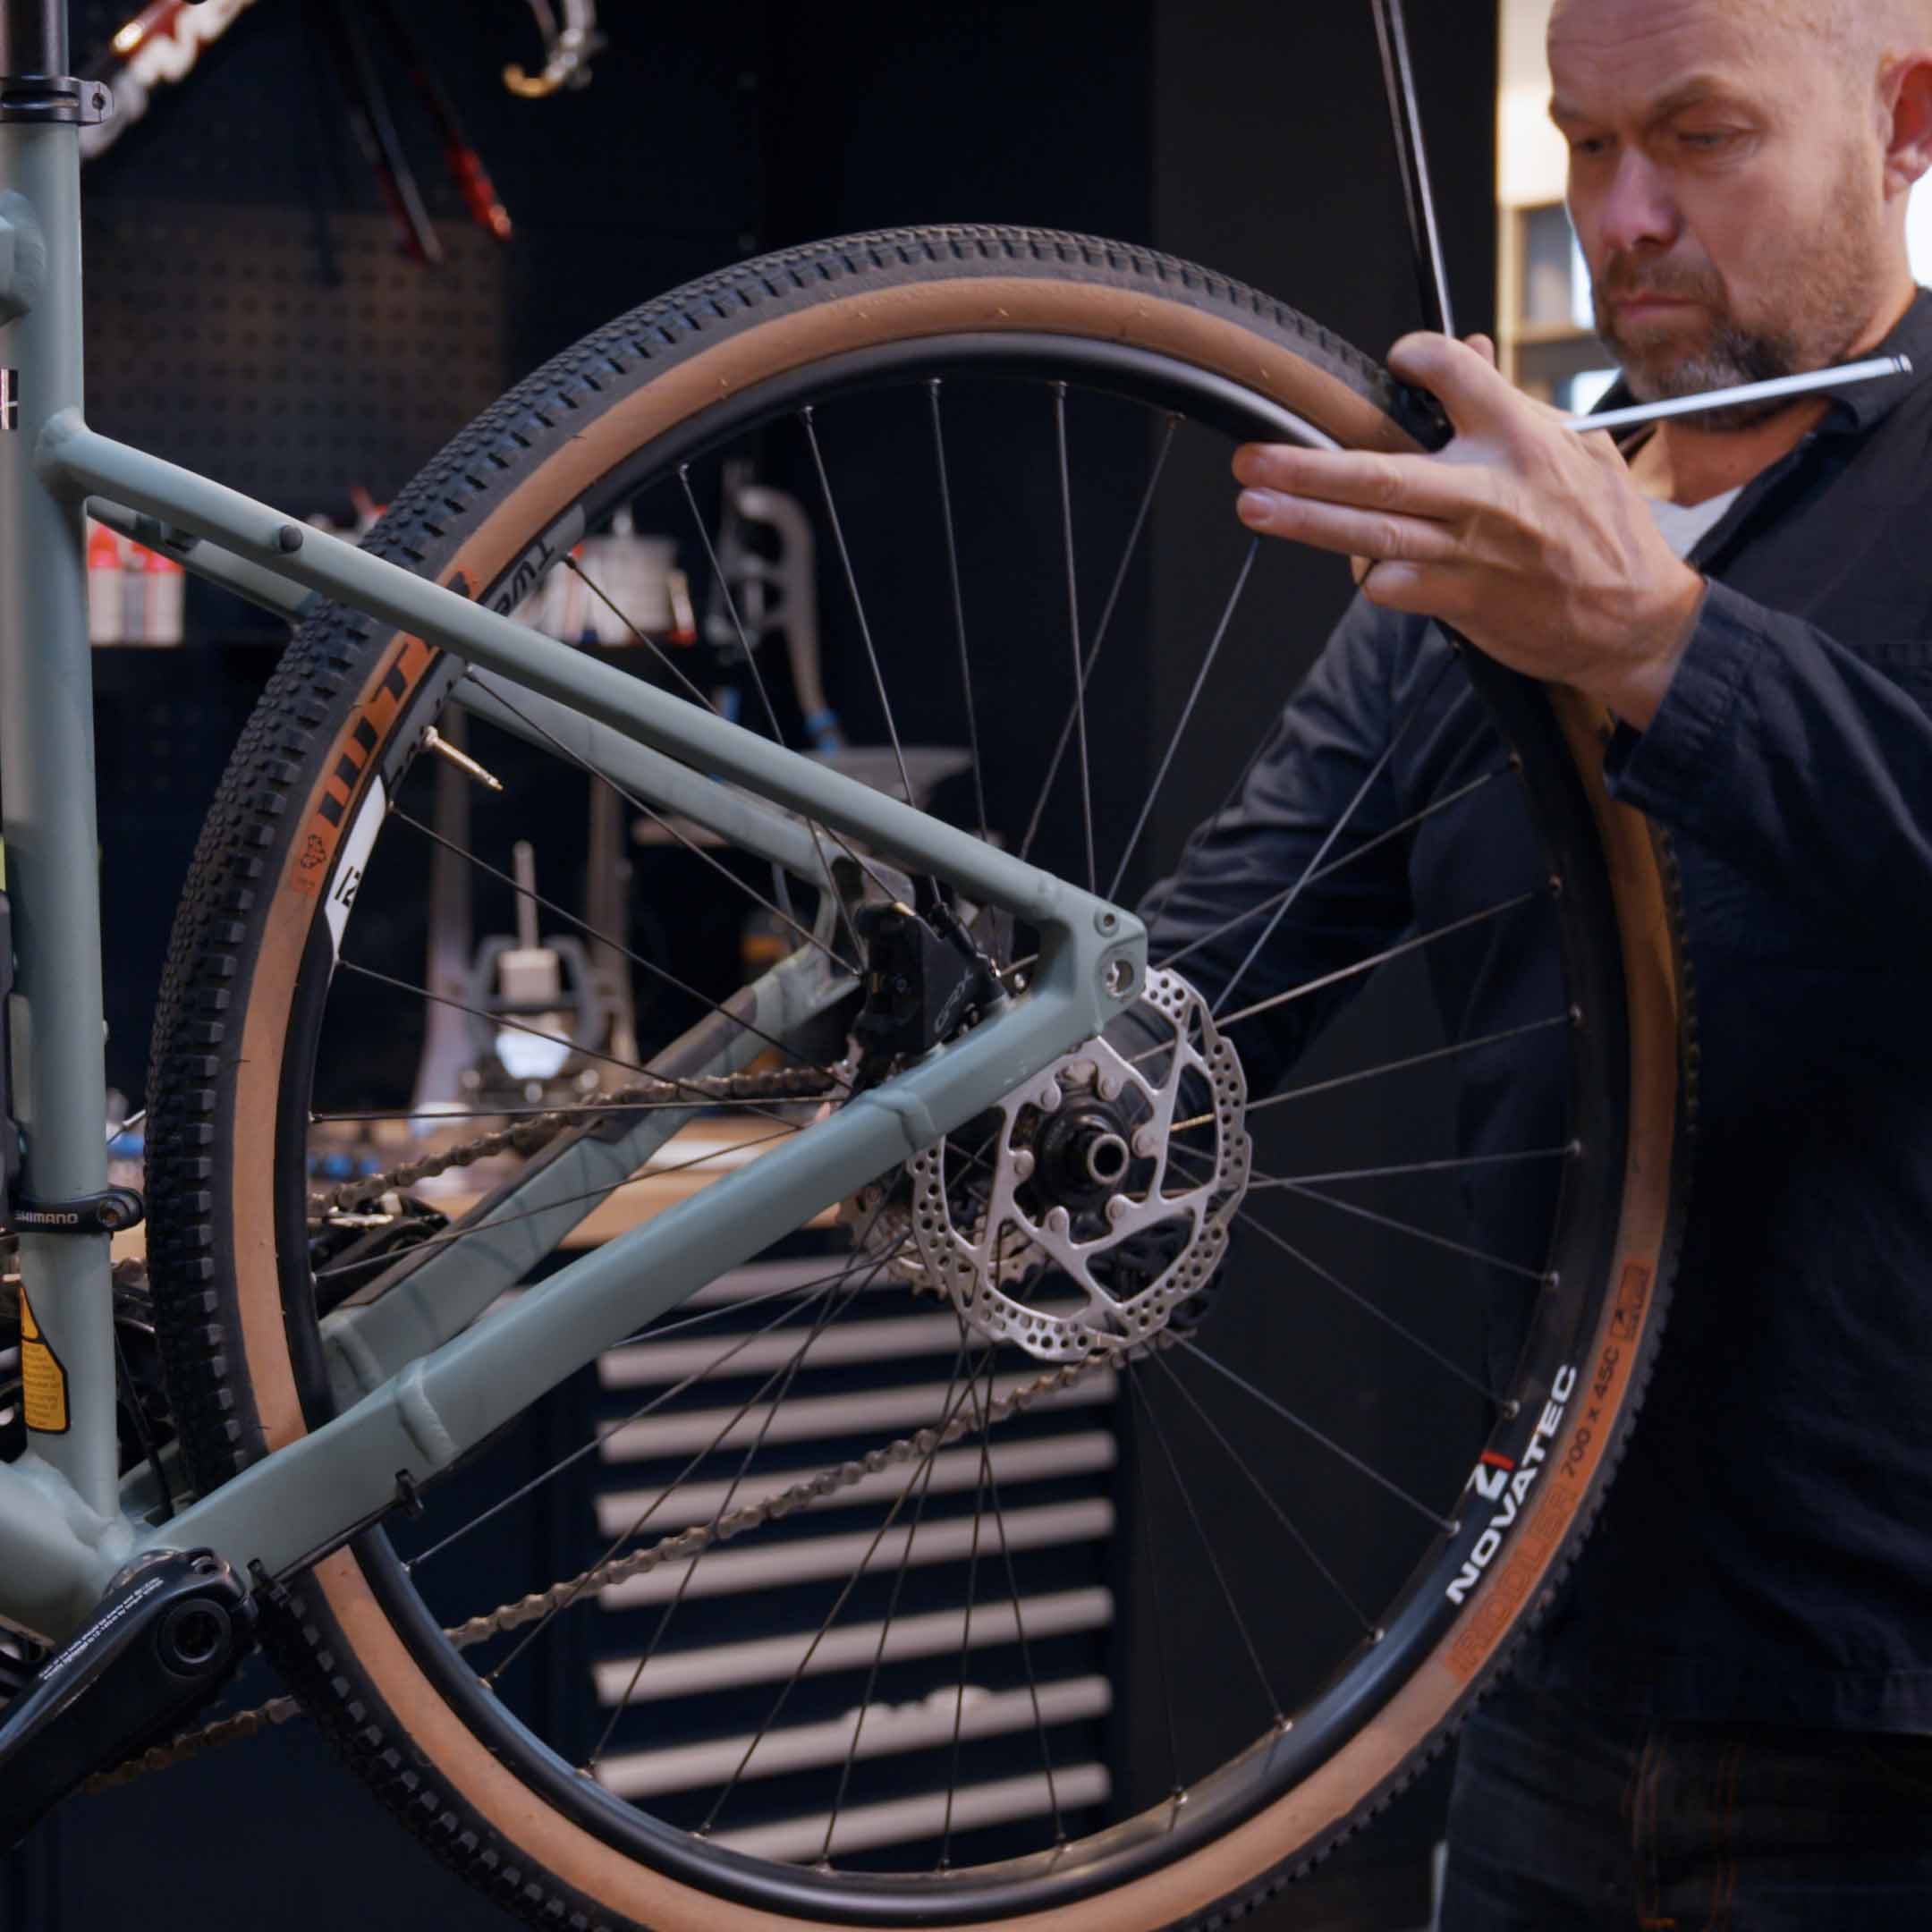
Shift your gears back to the smallest sprocket to easily take your rear wheel out. Most likely you will have a thru-axle, so you will need an Allen key to take your wheel out of your bike frame.
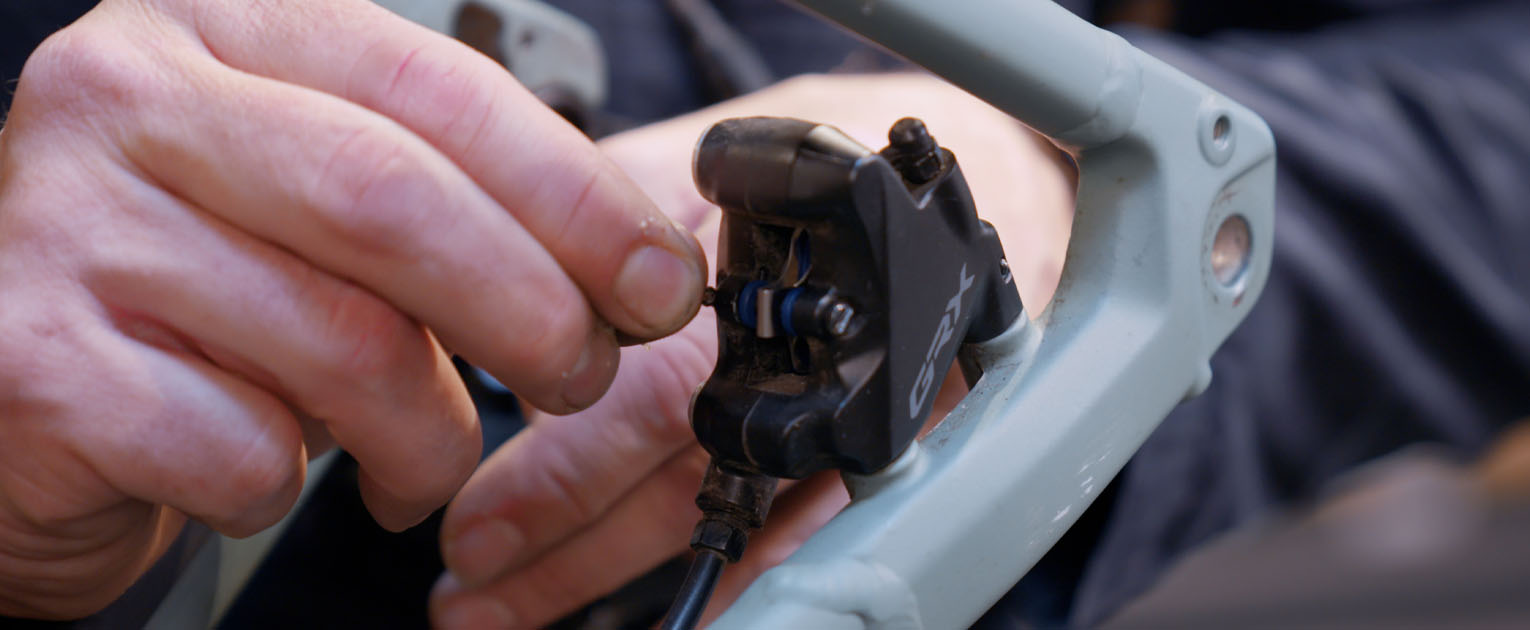
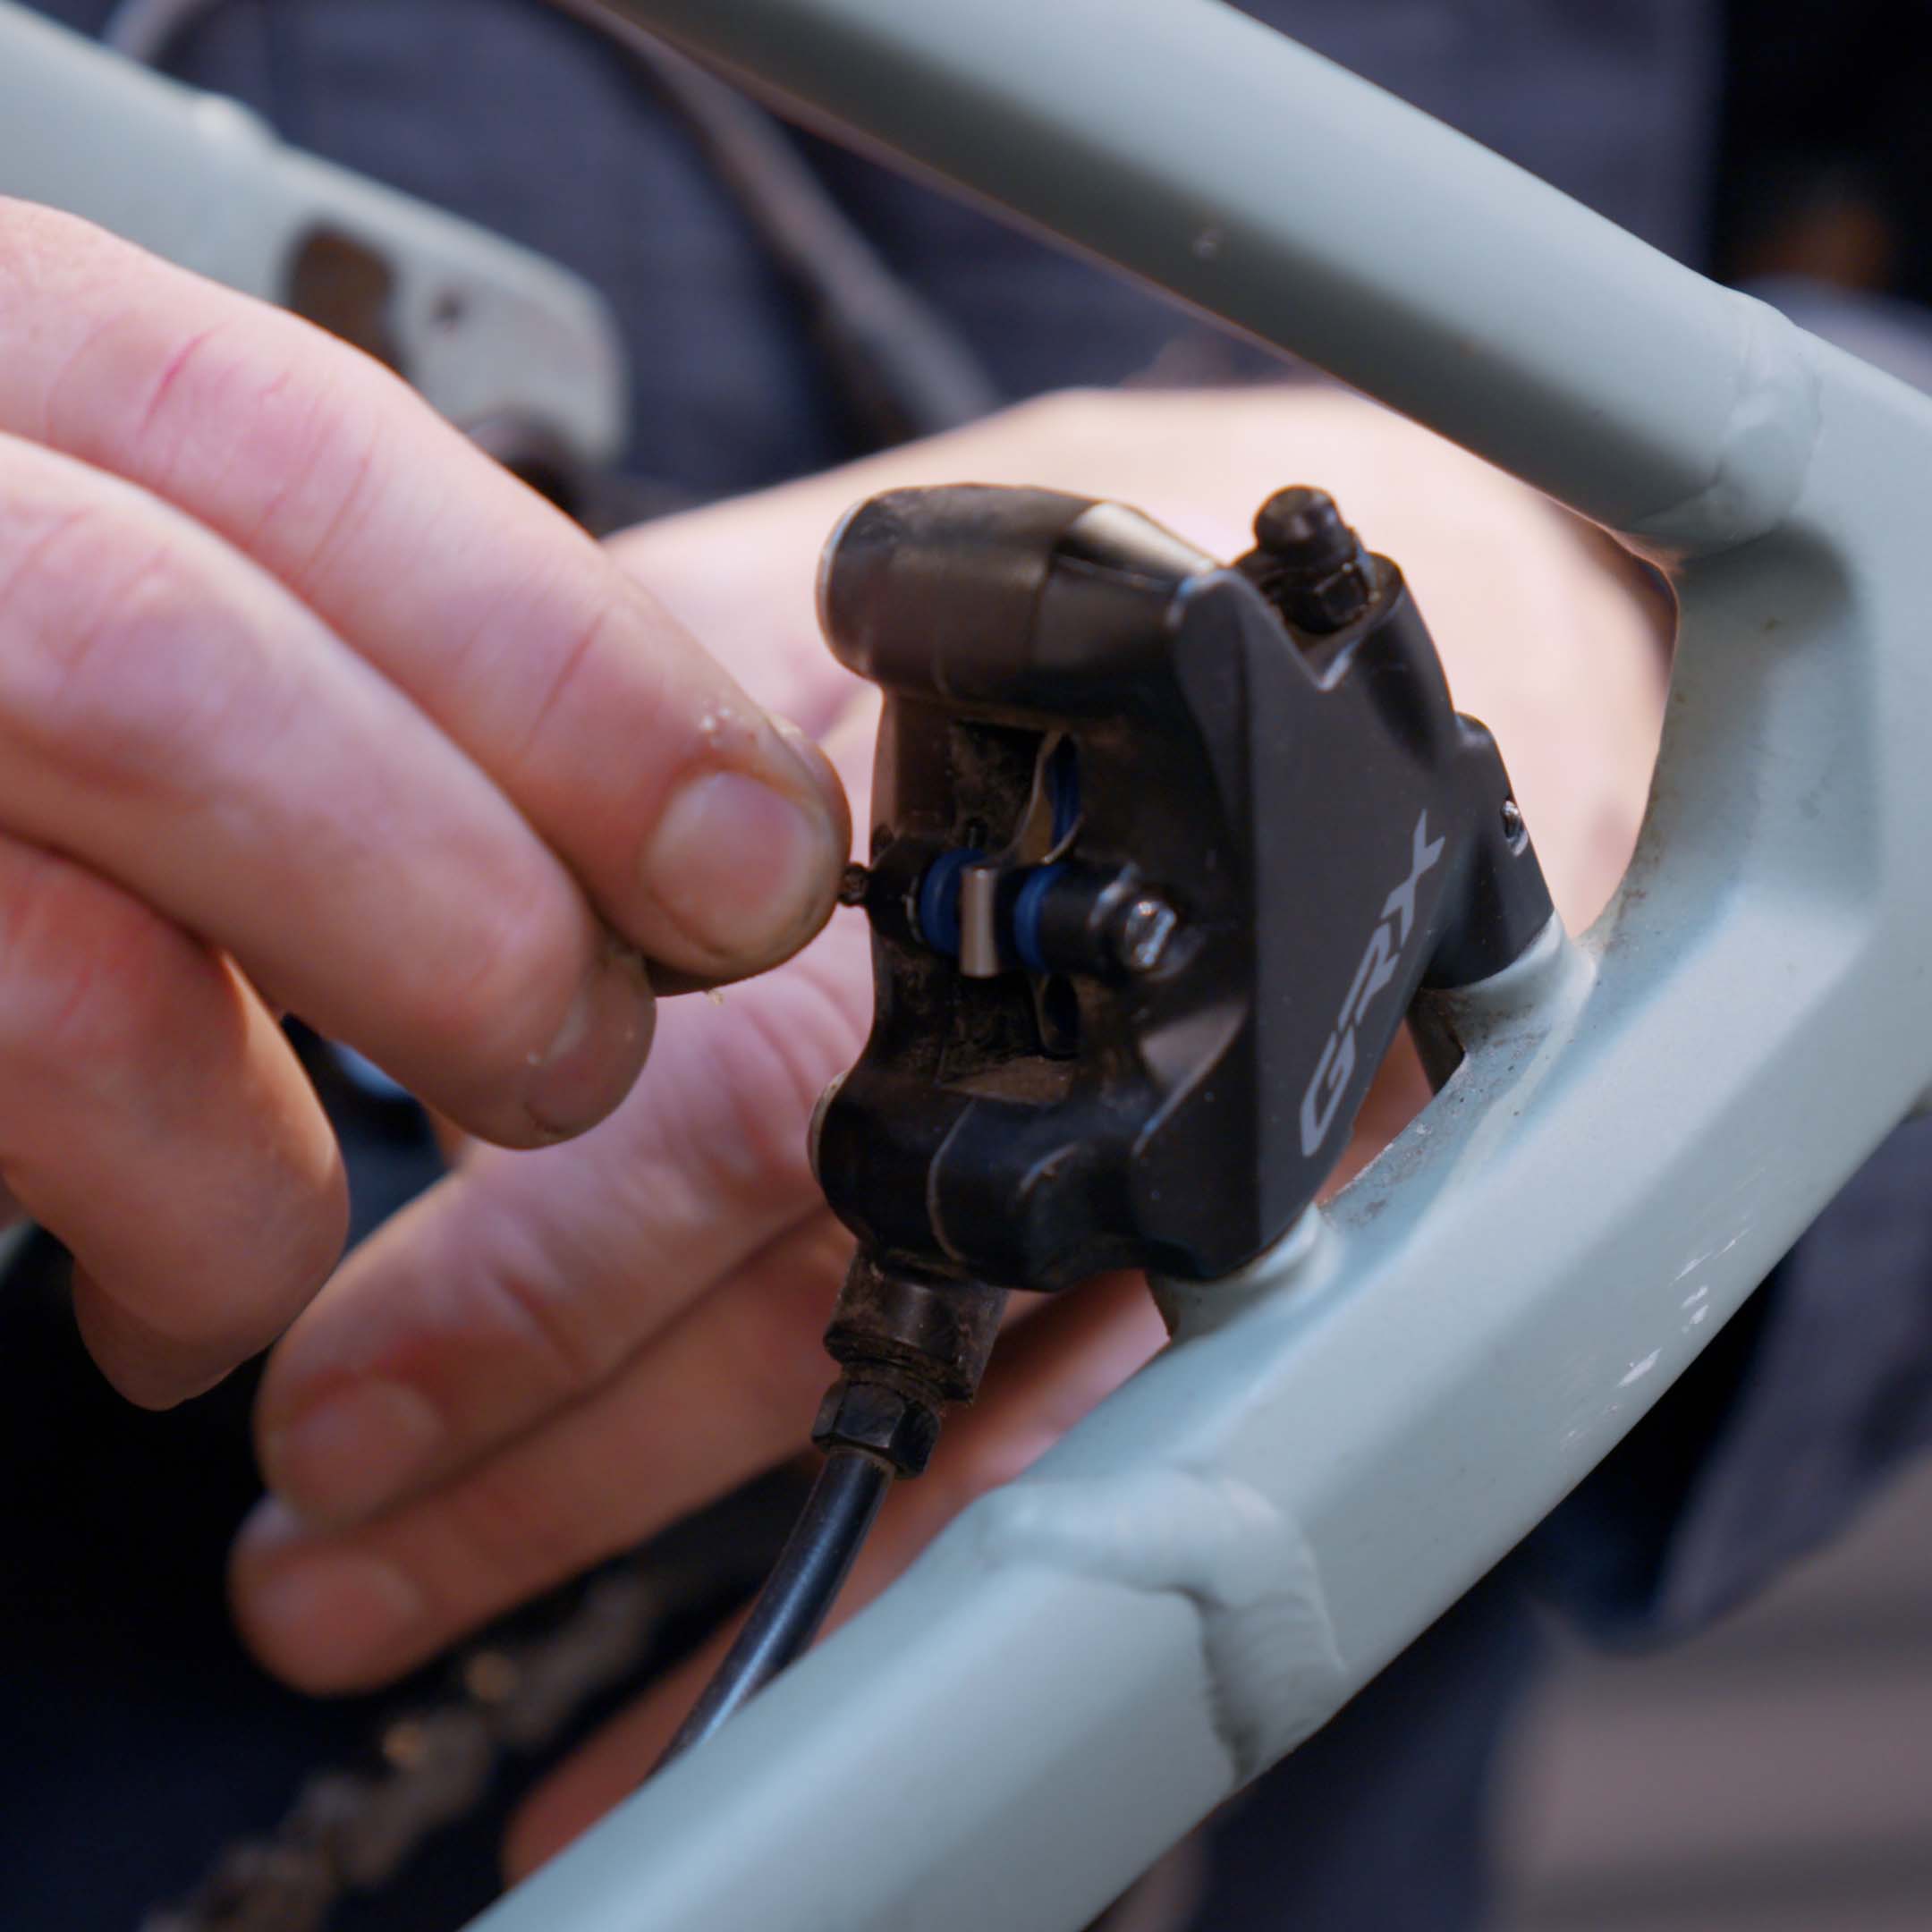
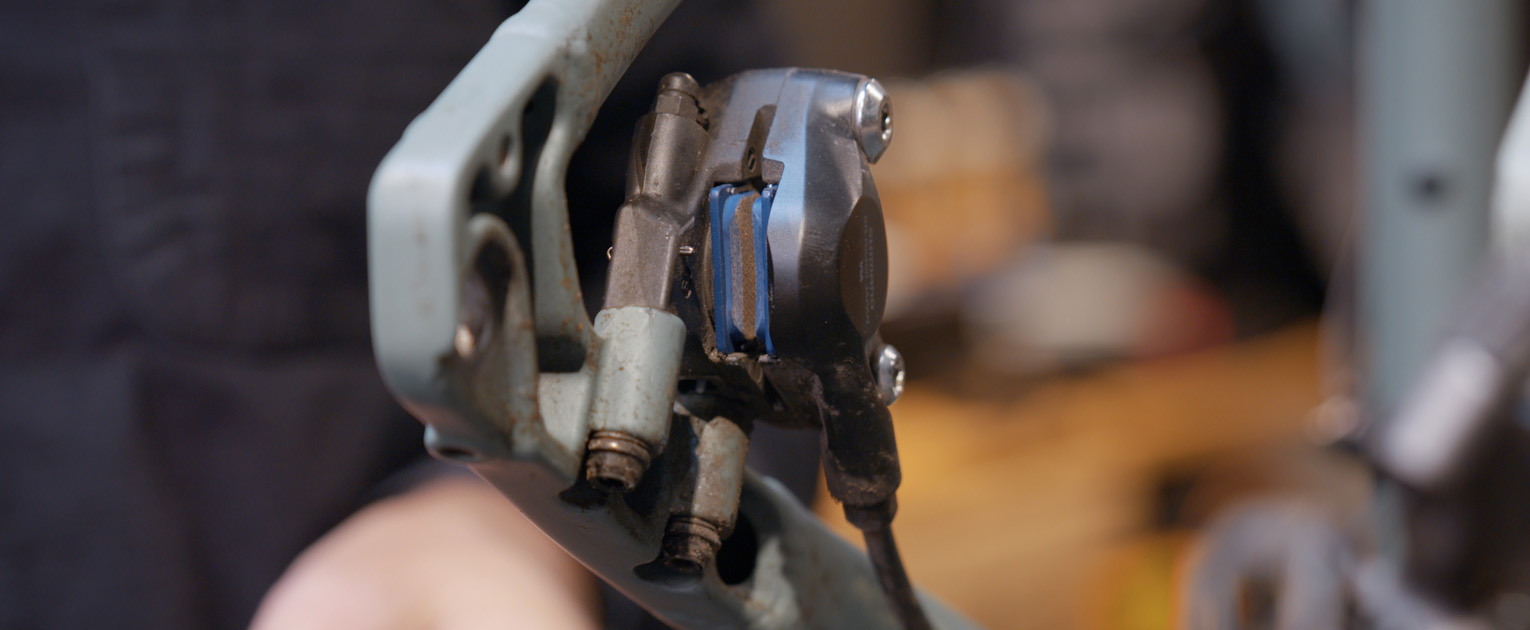
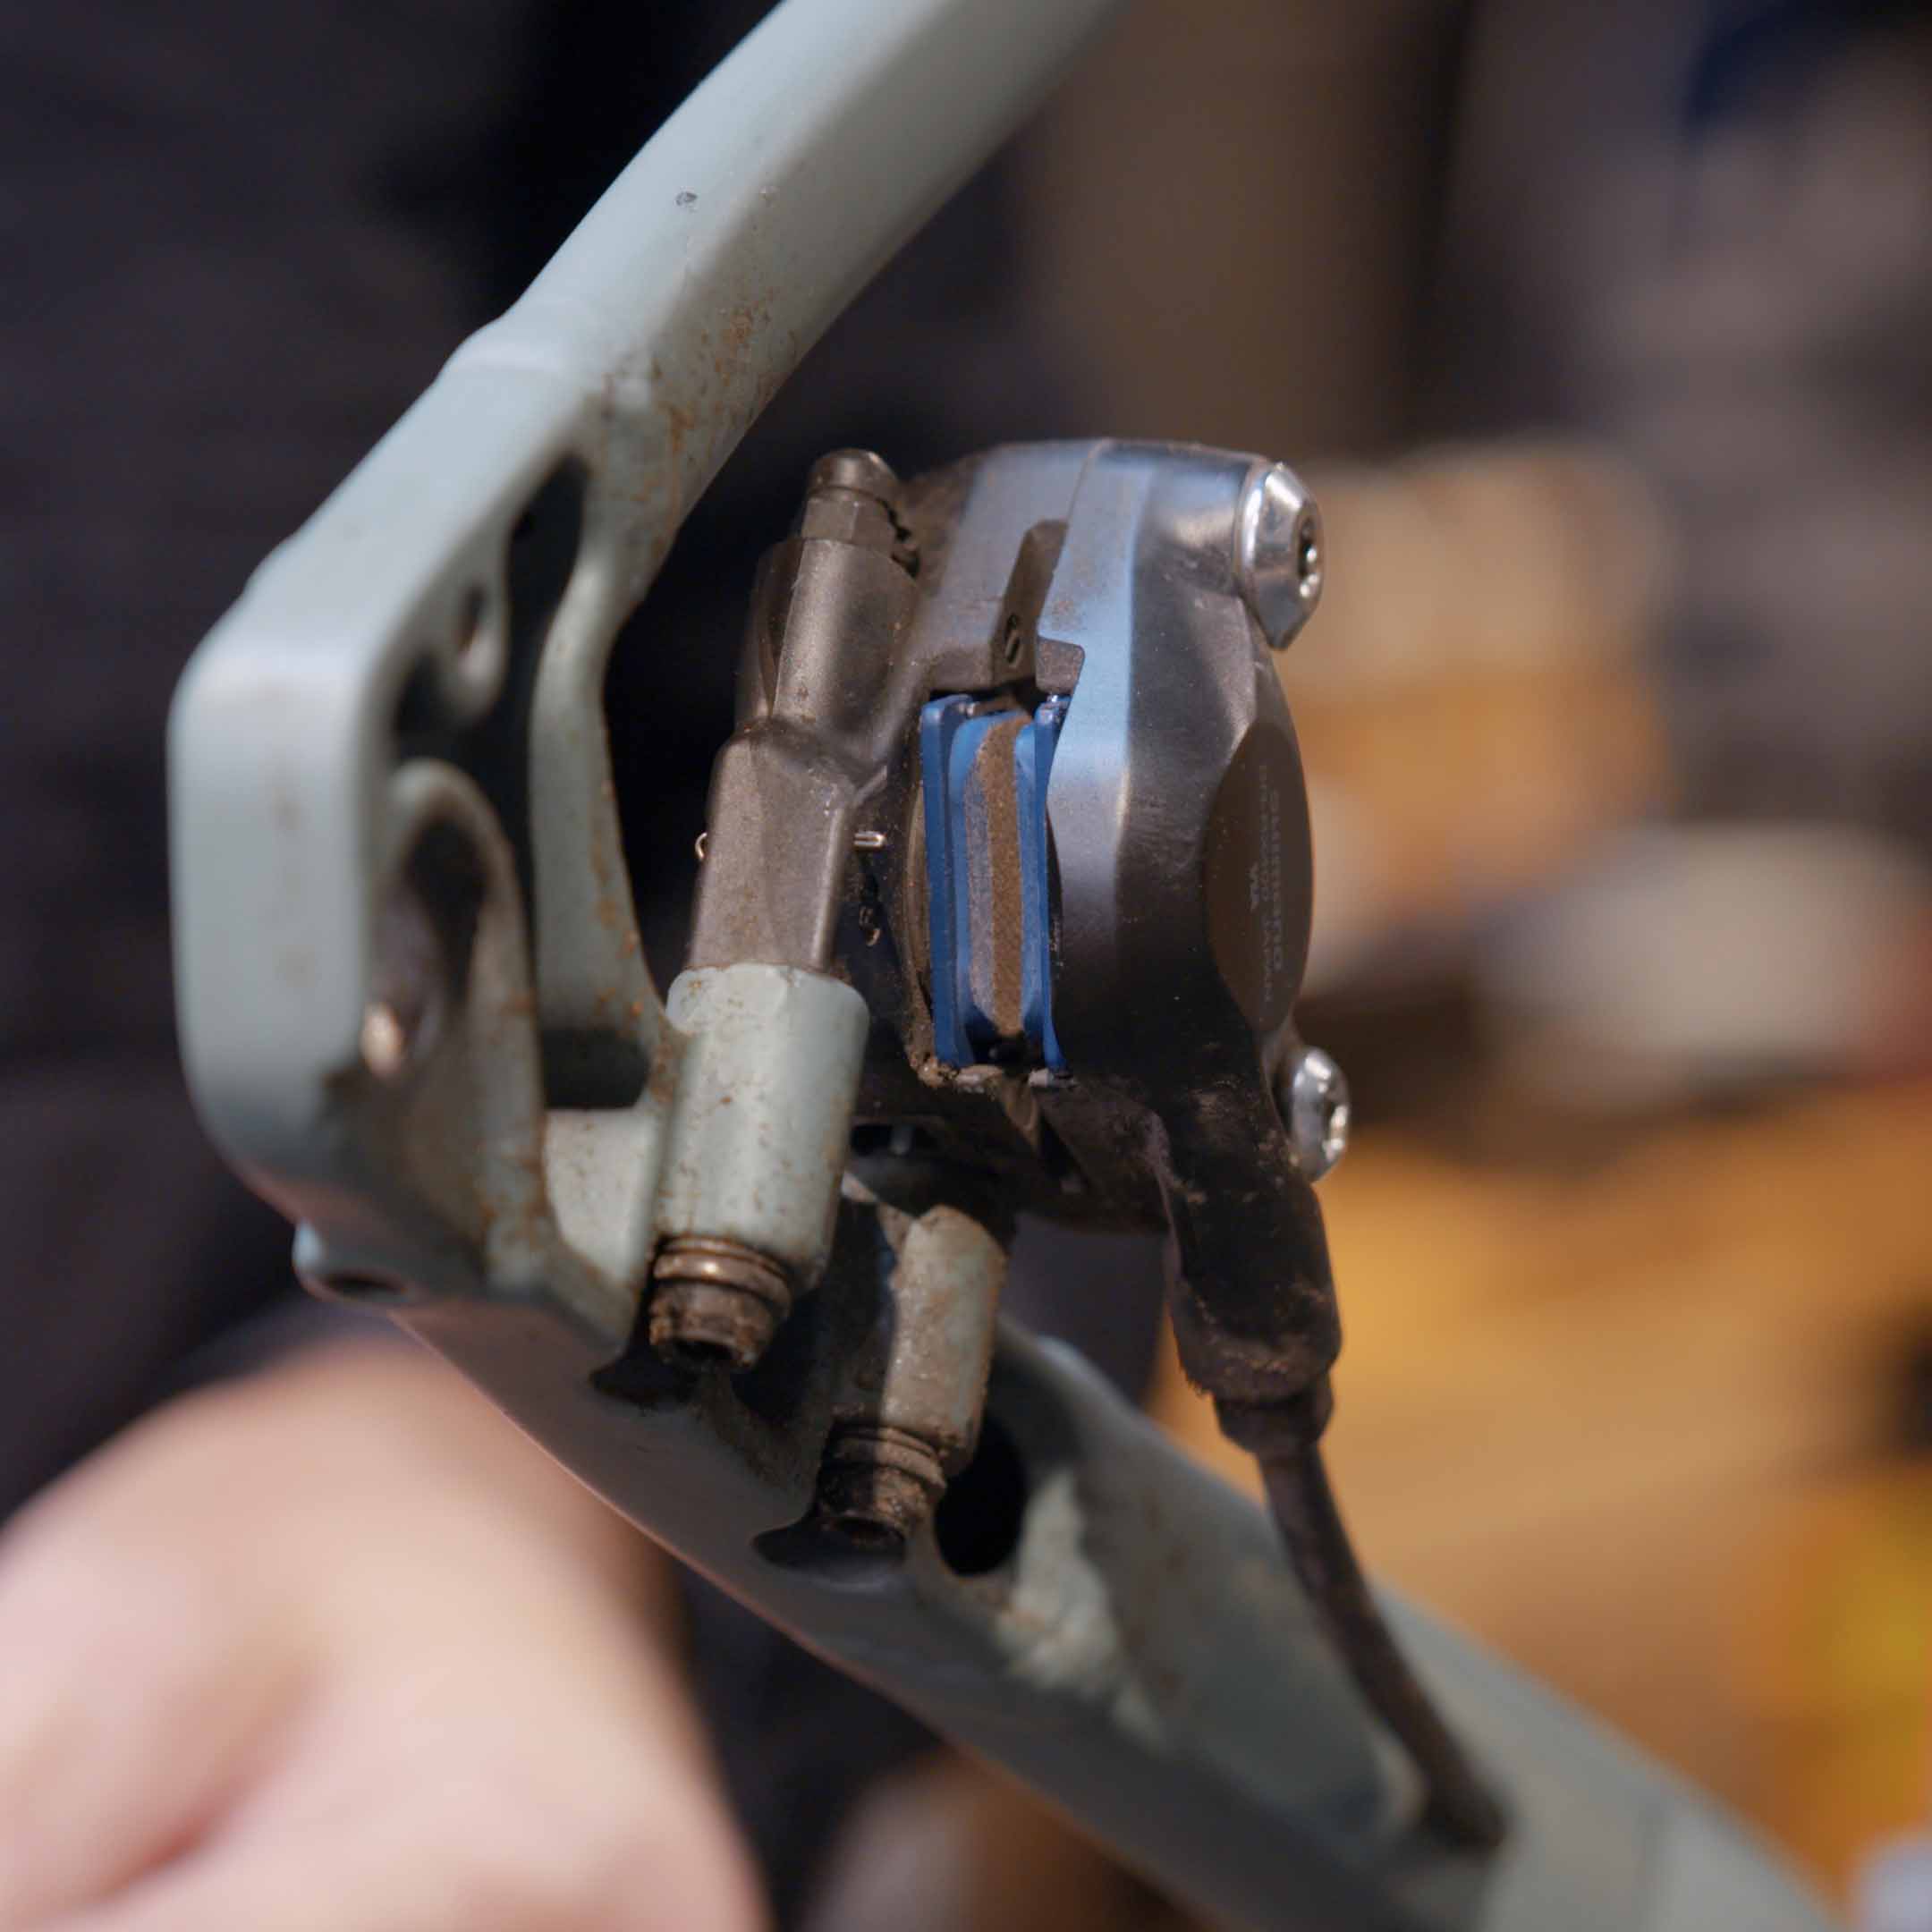
Pull the little safety clip off your brake caliper and ensure you don’t lose it. Please leave it in a safe place, because you will need it again once your new brake pads are back in its place.
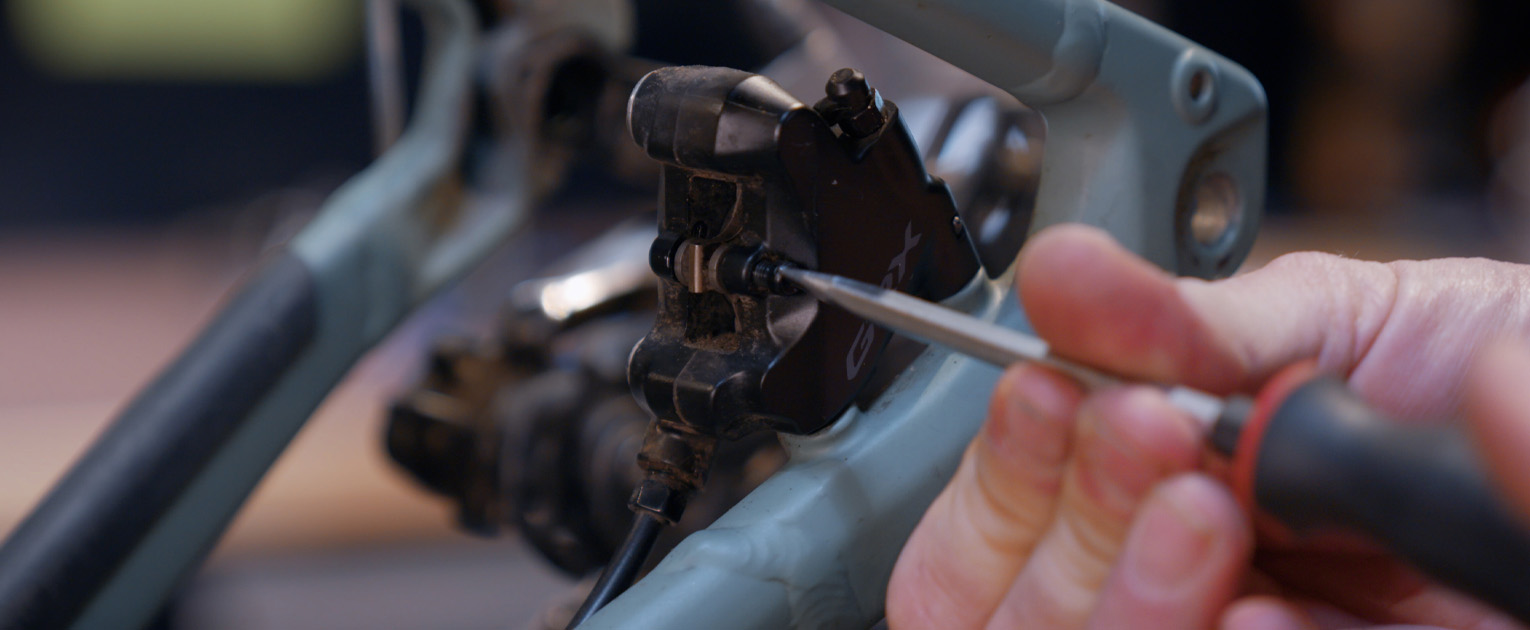
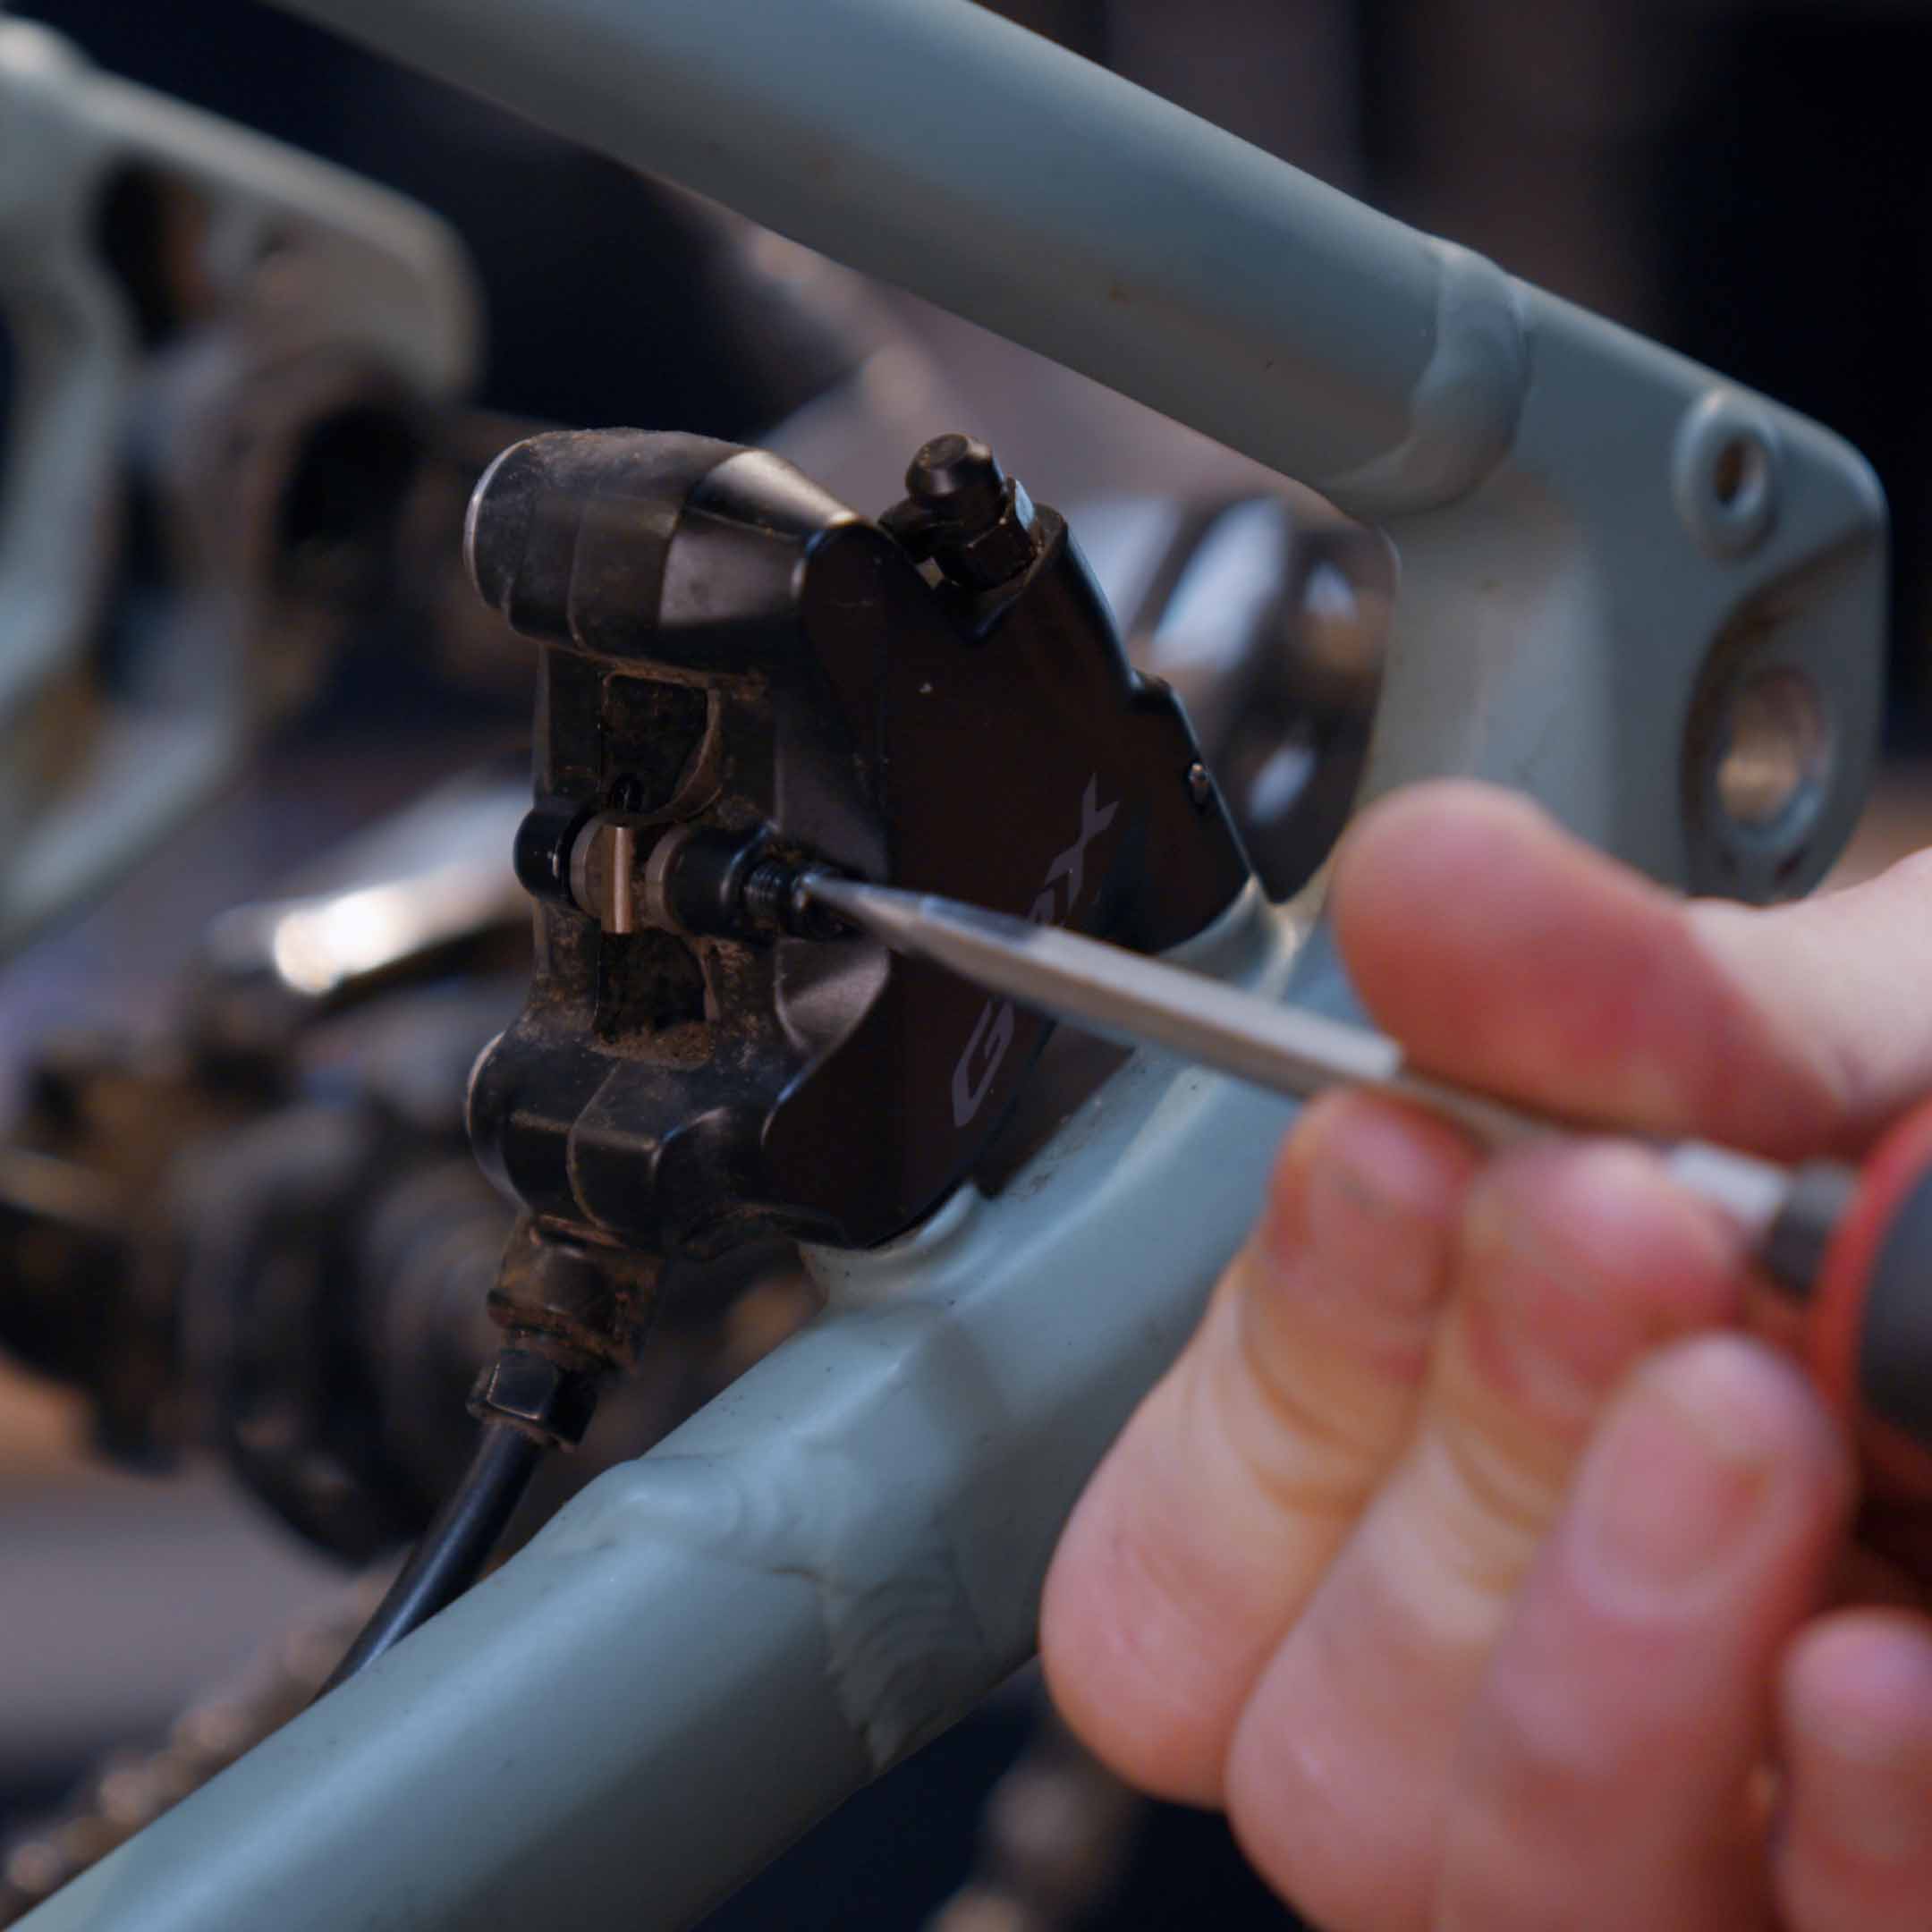
Loosen the little safety screw that holds the brake pads in place with a Philips screwdriver or small Allen key depending on your brake caliper type.

Push the old brake pads apart from each other with the help of the PistonFix to place the pistons in their original position. Wedge the PisotnFix in between the pistons a slowly push them apart.
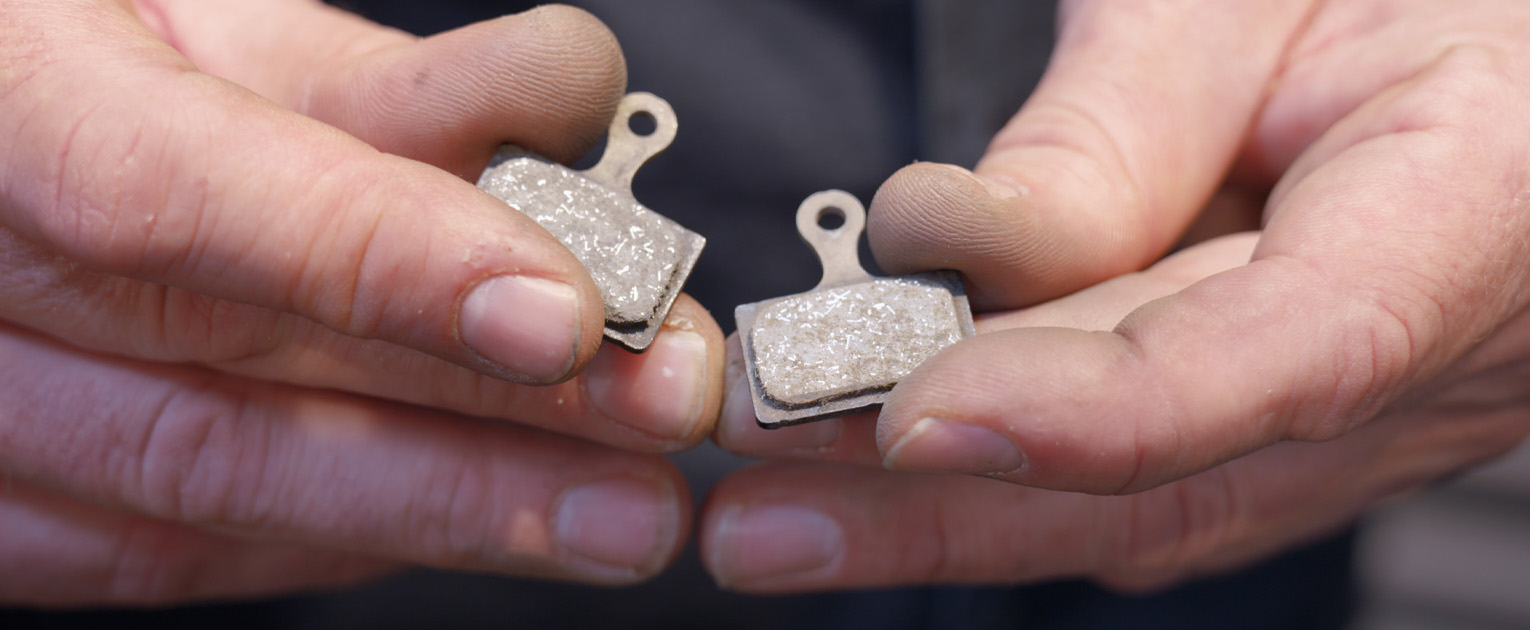
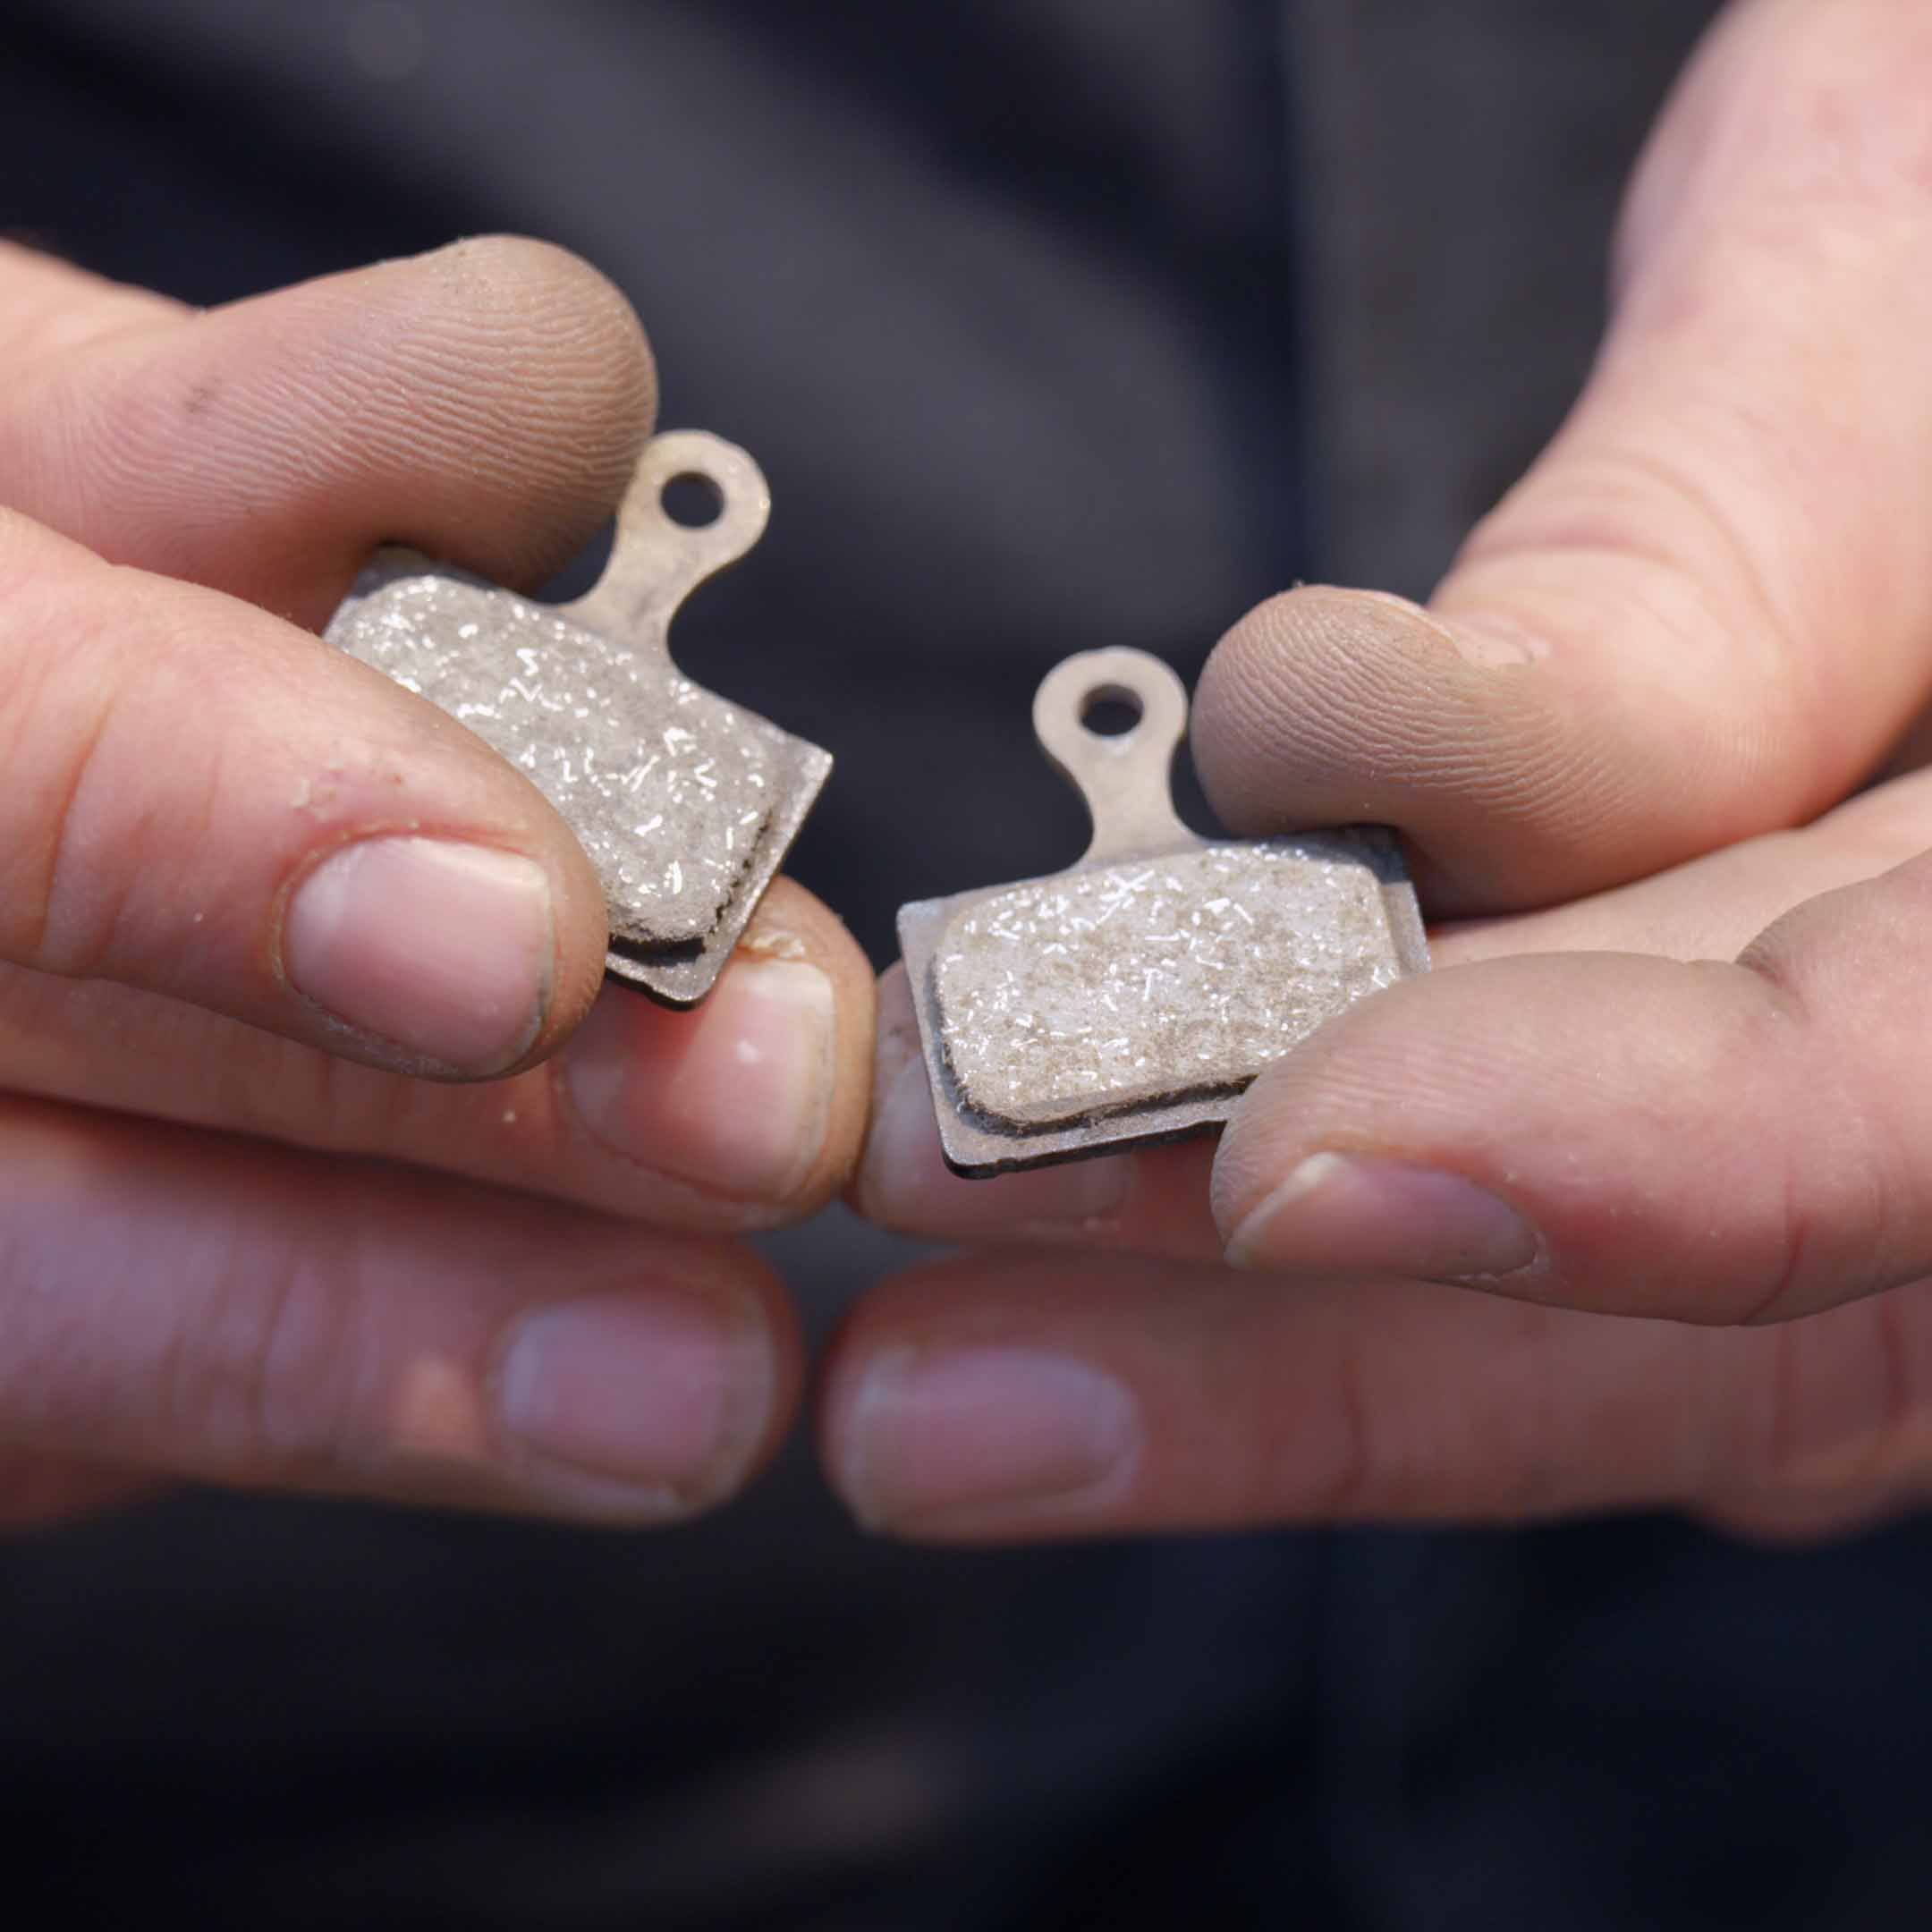
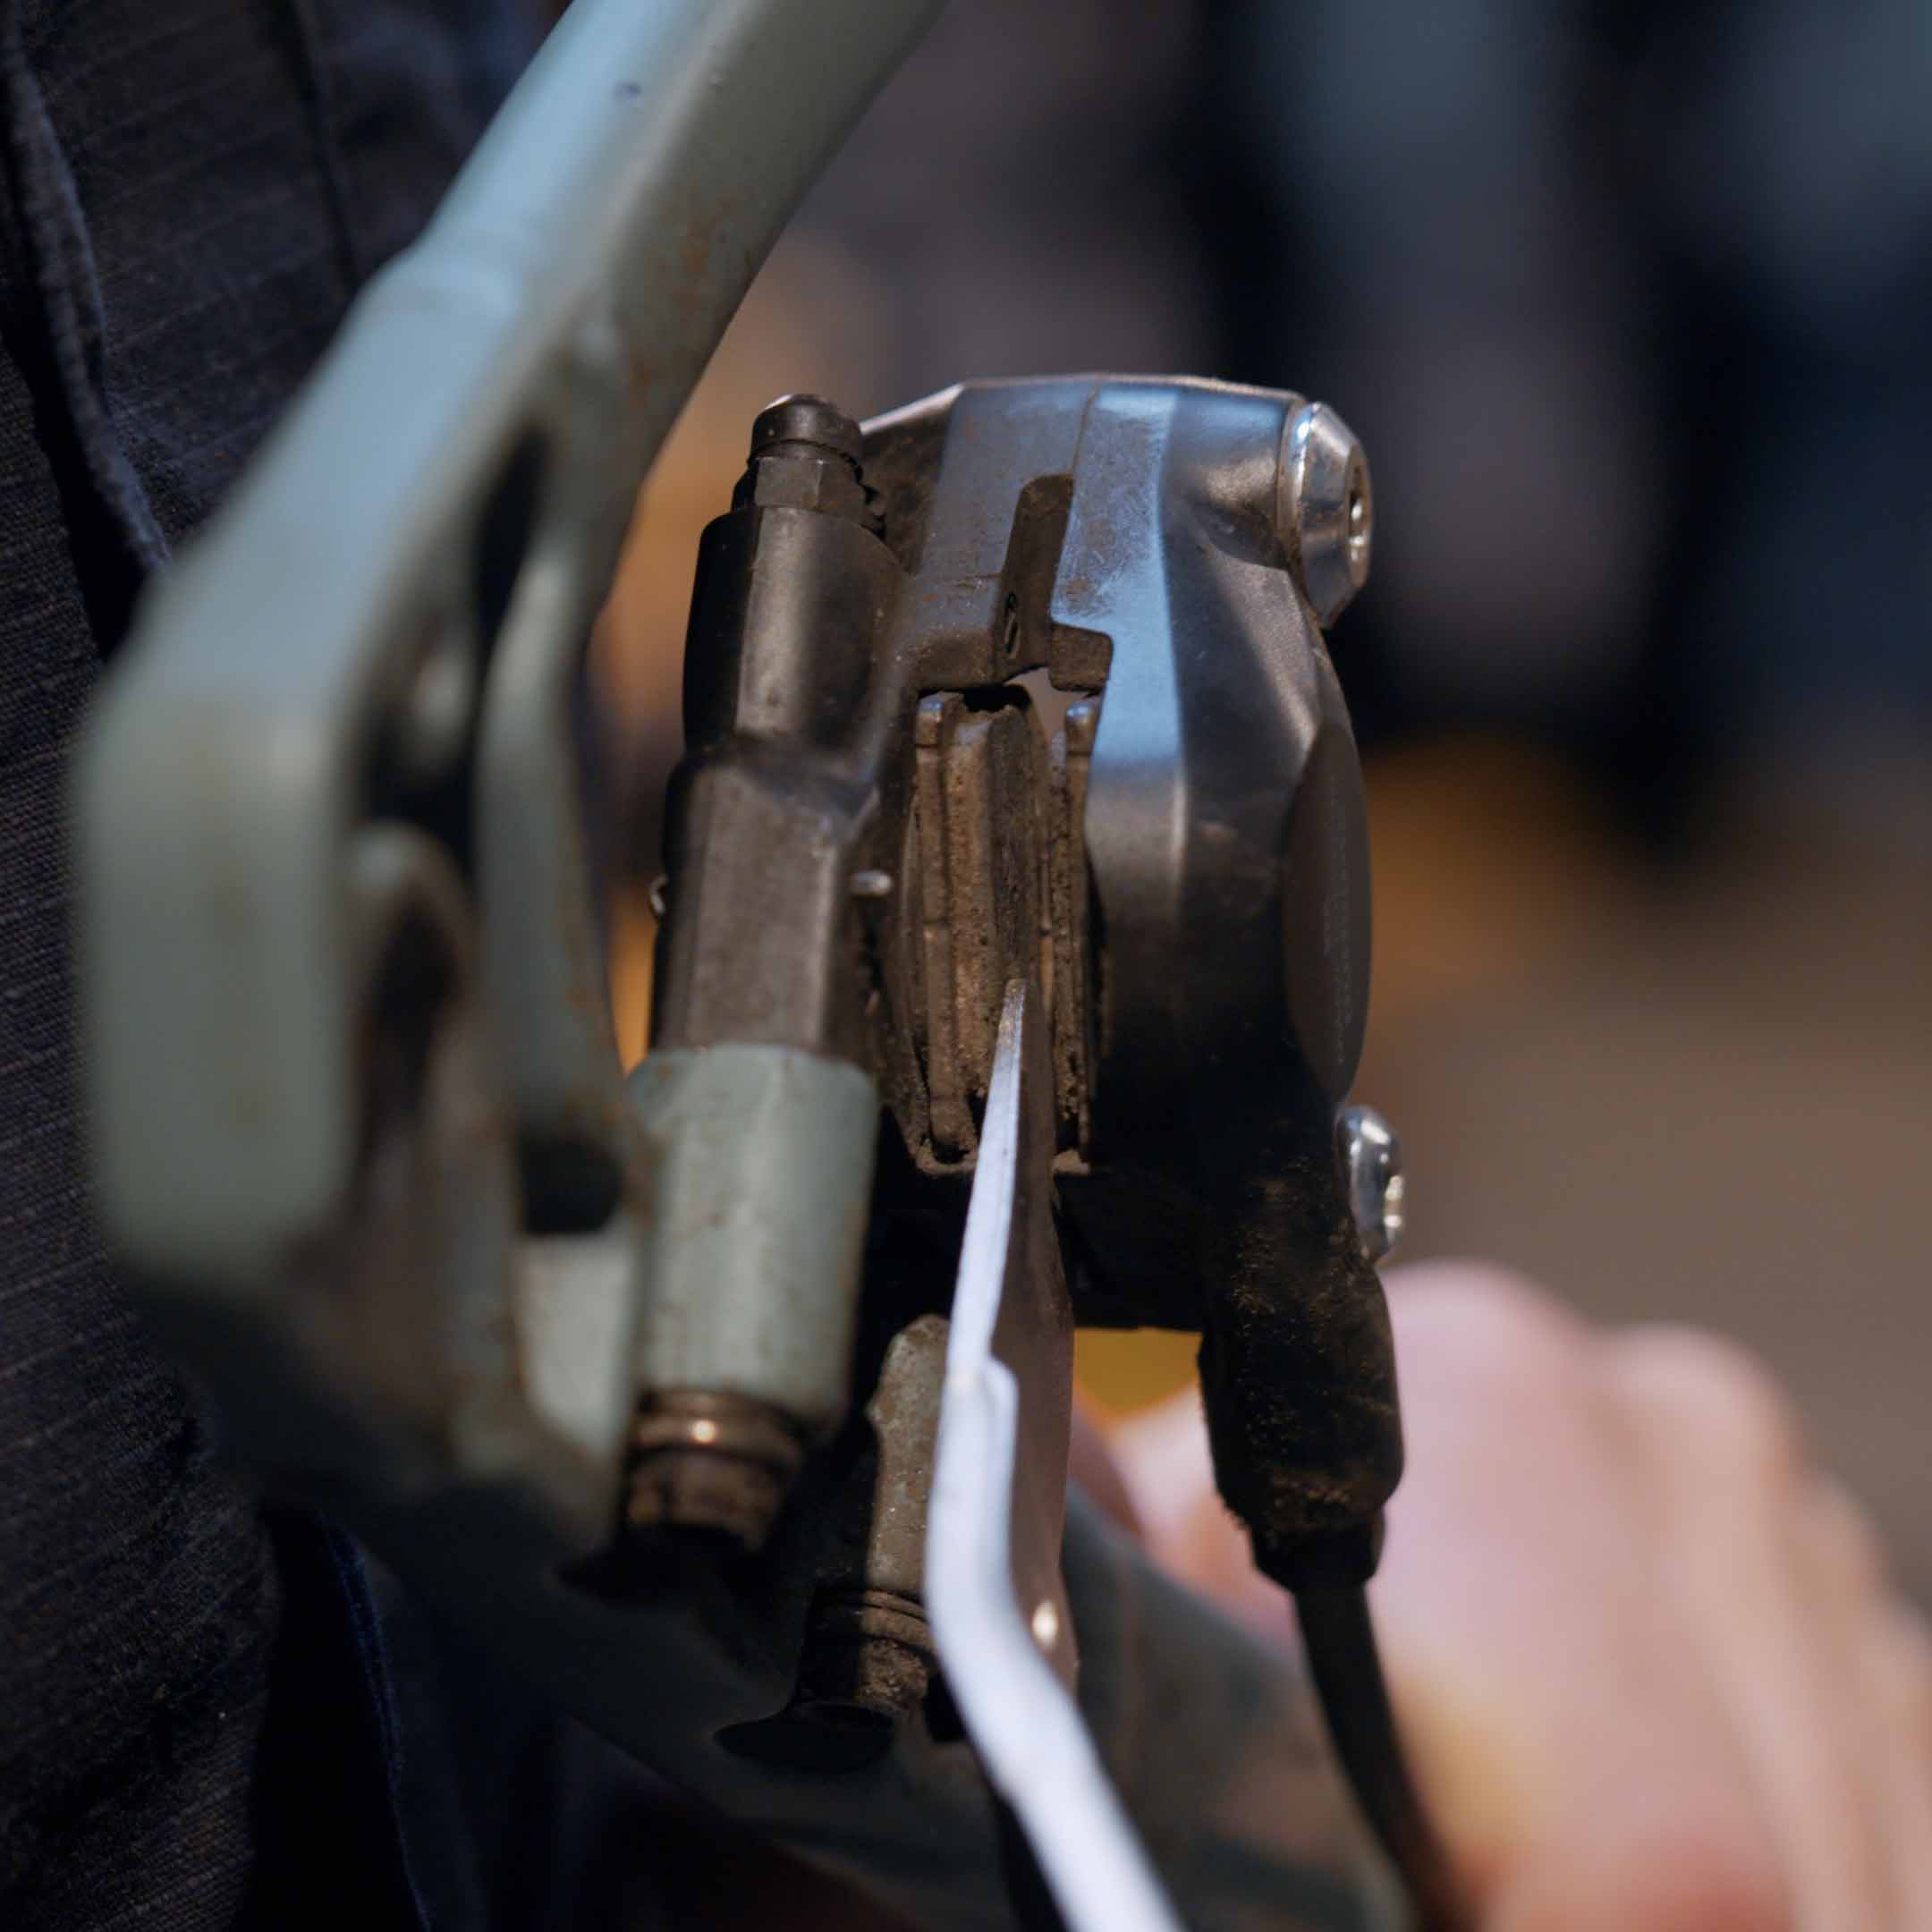
Now, you can take the old brake pads out and have a good look at how they have worn off, they can tell you exactly if your caliper is not aligned with your disc when the pads are not worn off evenly. Besides, if the braking surface is still more than 2 mm thick, you are able to use the old brake pads once more.
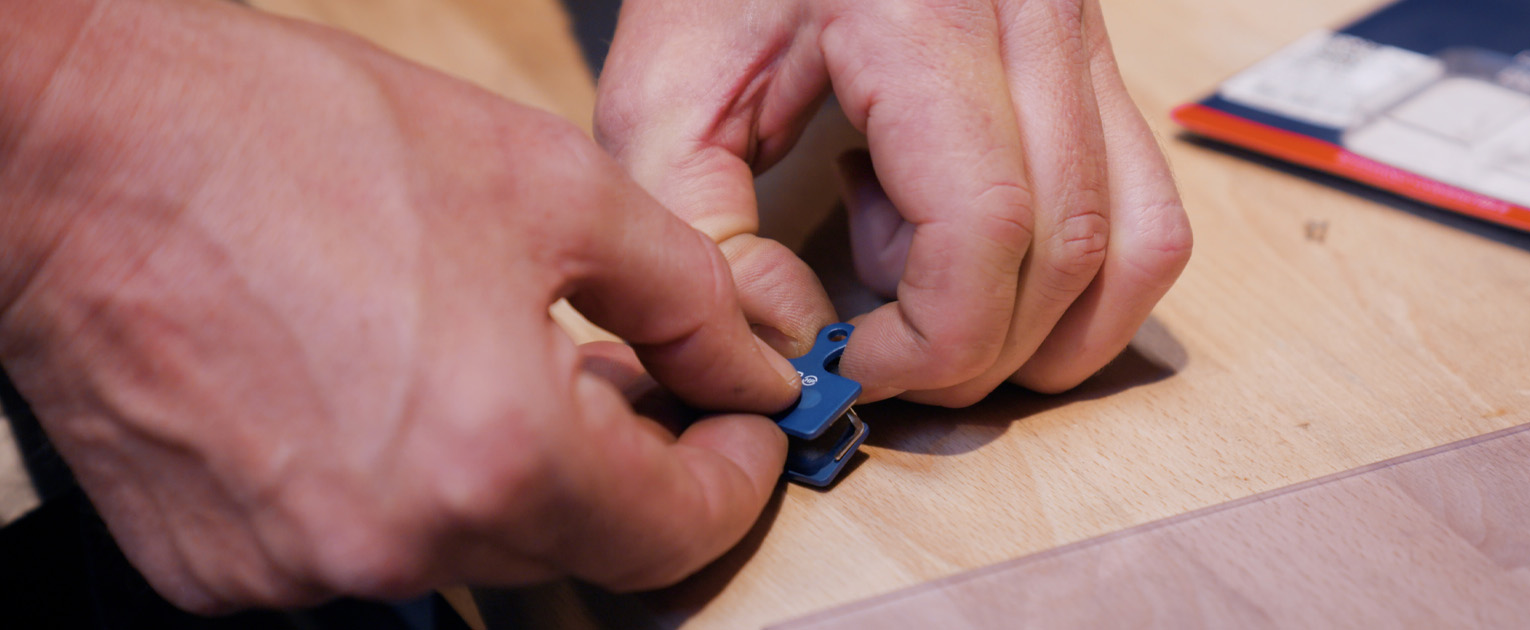
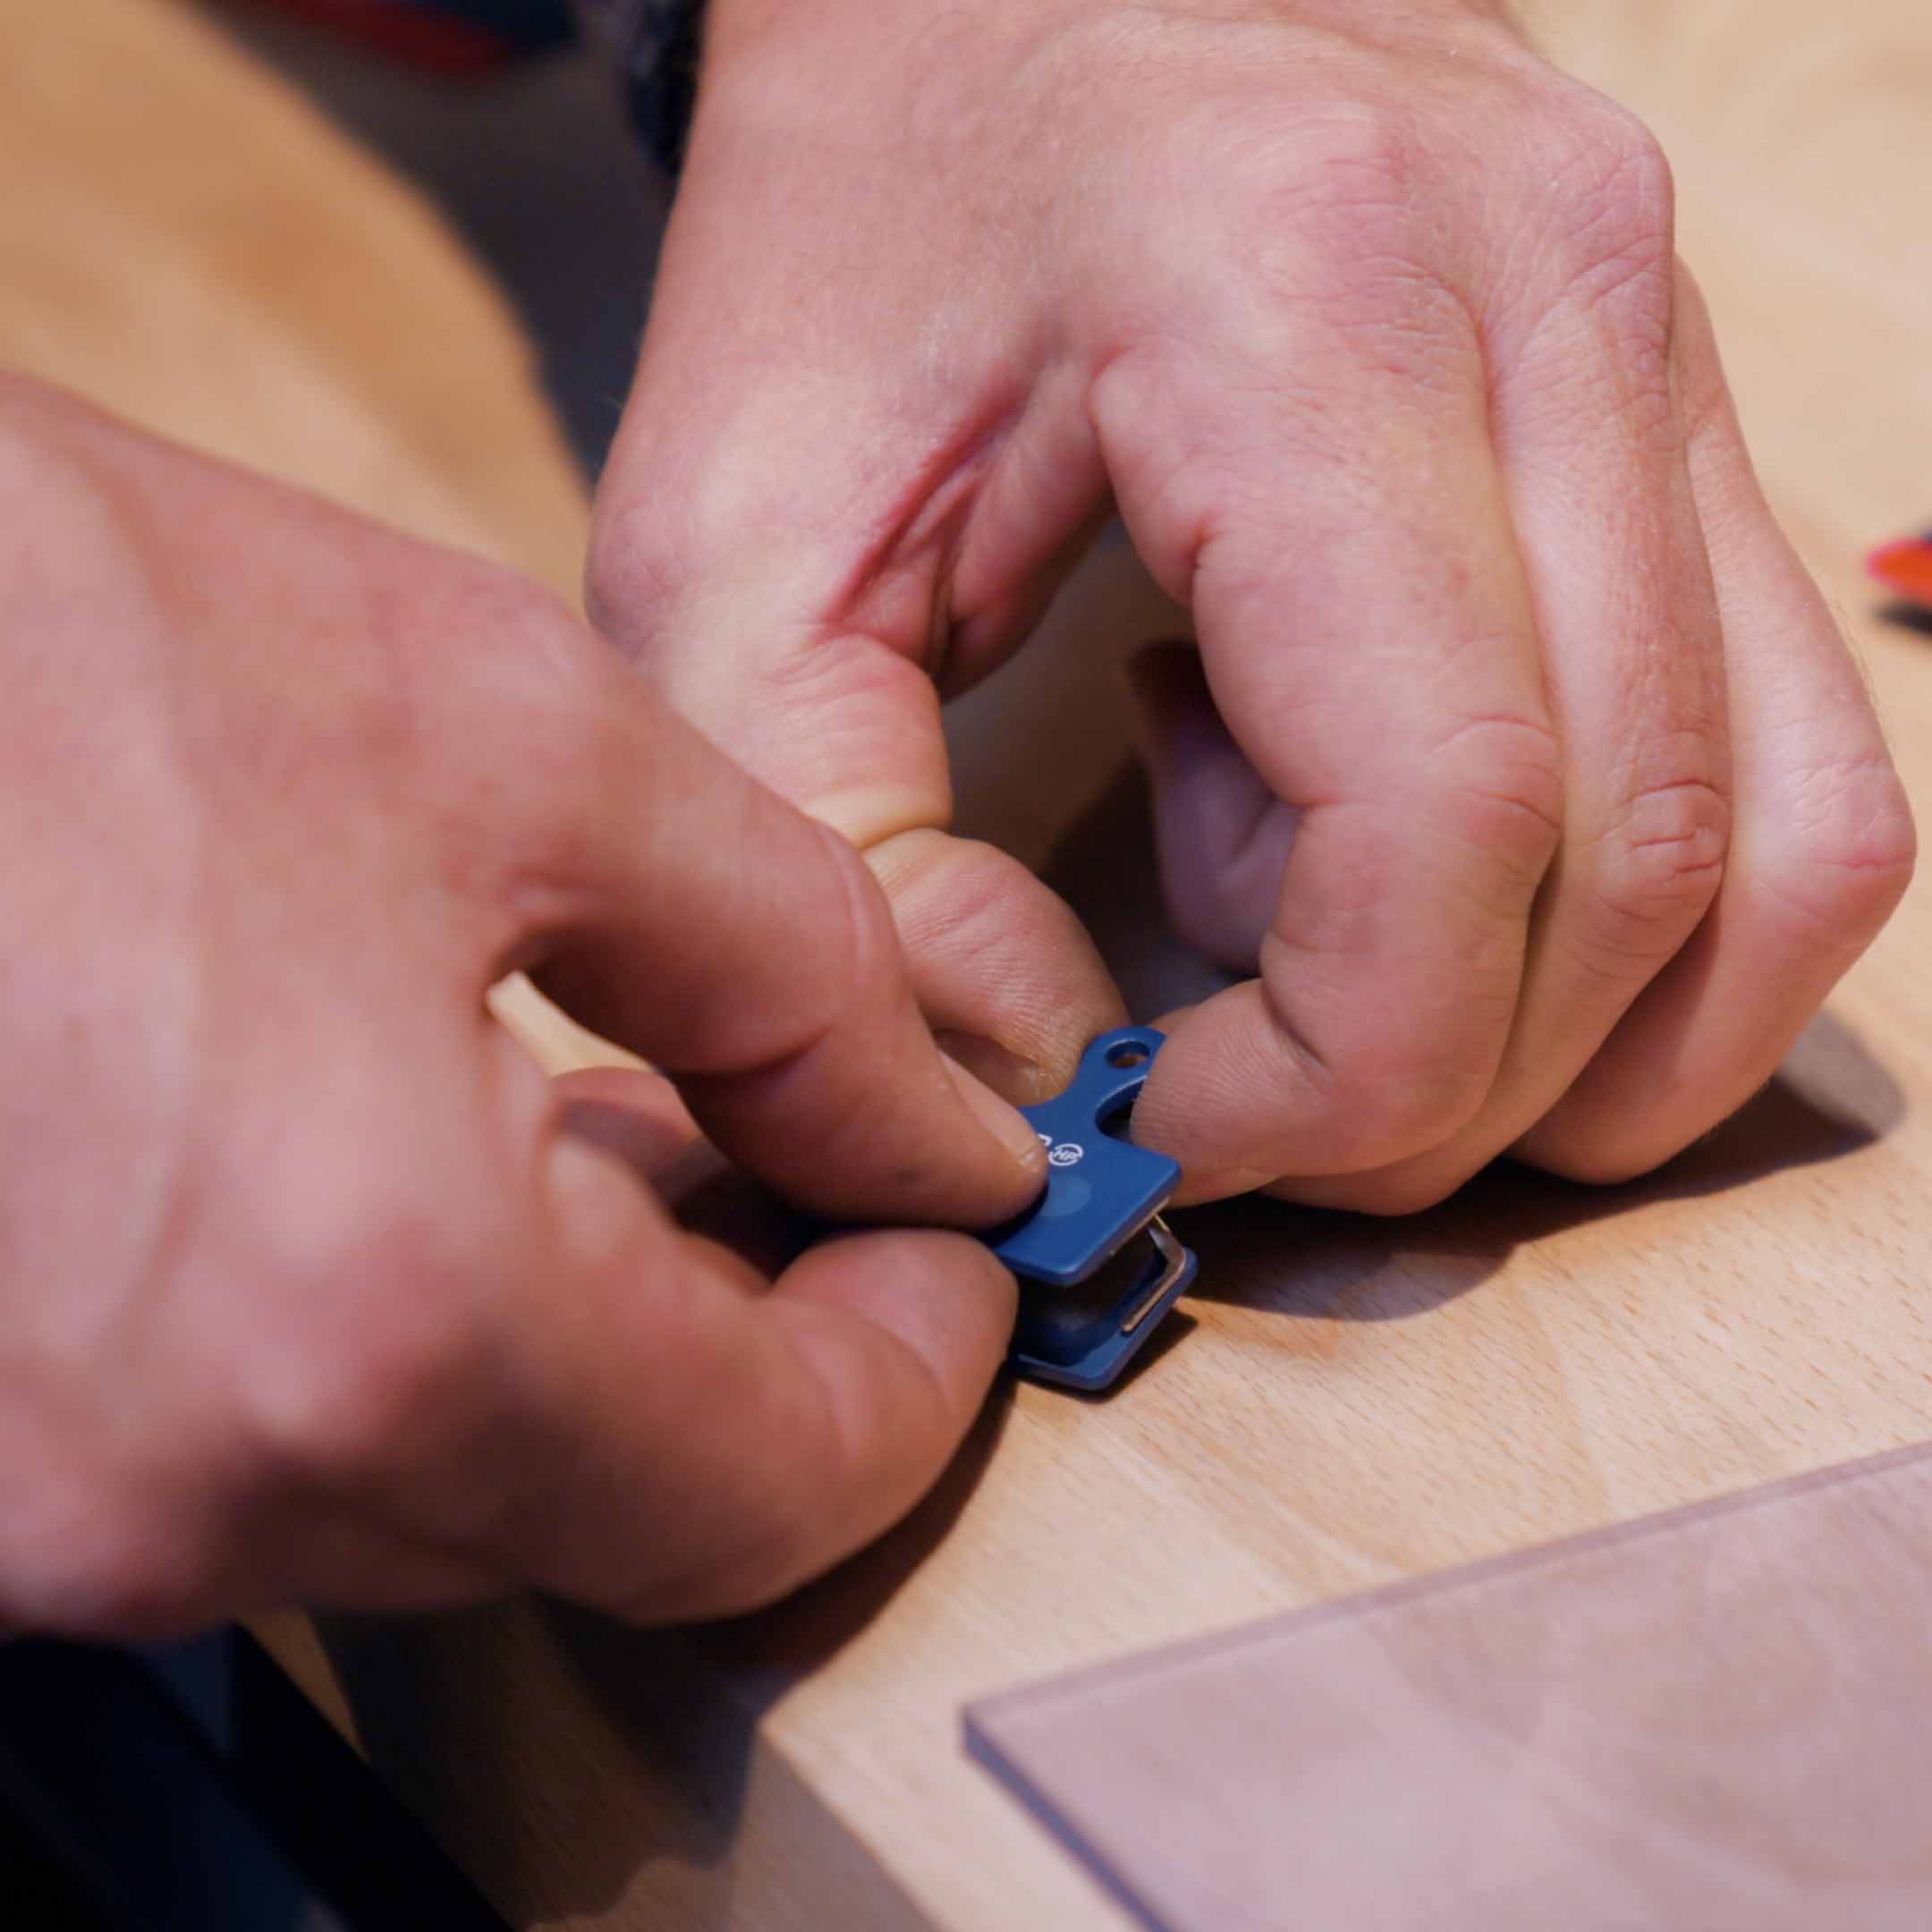
When replacing your brake pads, place the new brake pads on top of each other with the spring in between. This way, your new brake pads can easily be placed correctly into your brake caliper.
Place the brake pad sandwich with the spring inside the caliper, tighten the safety screw back in its place, and don’t forget the little safety clip.
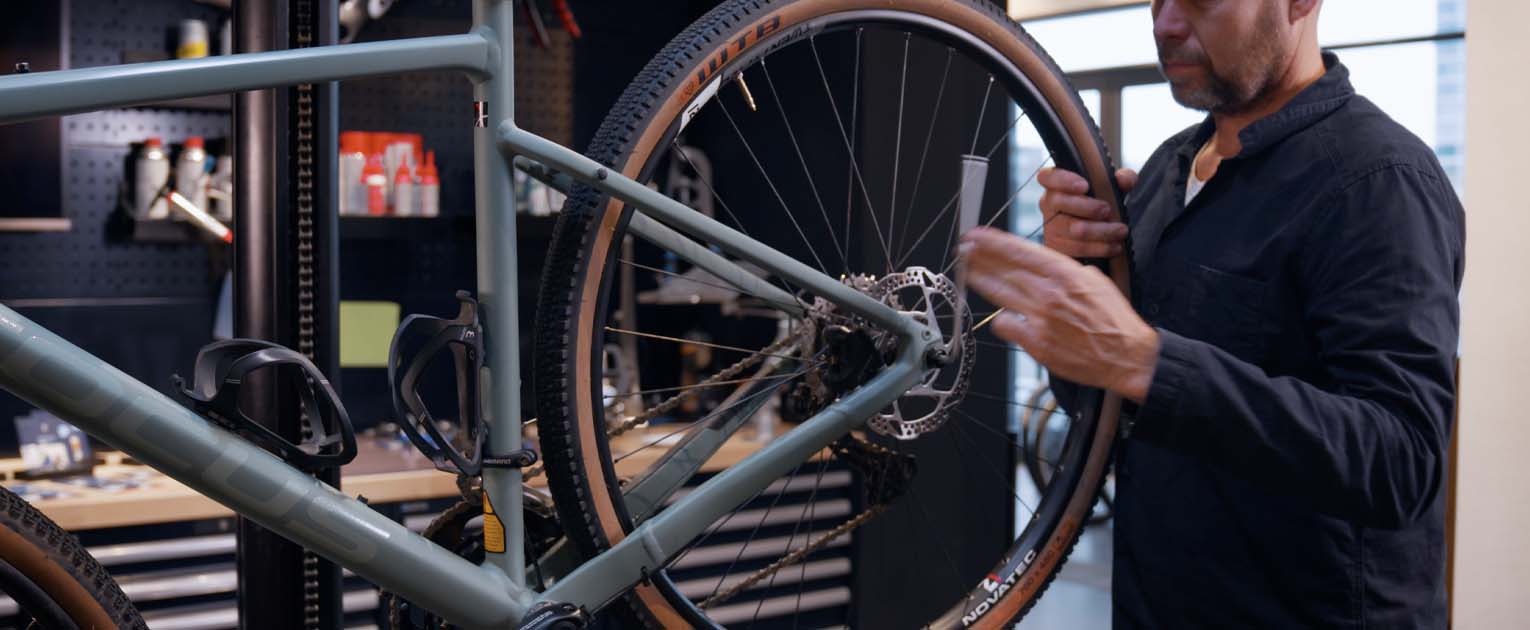
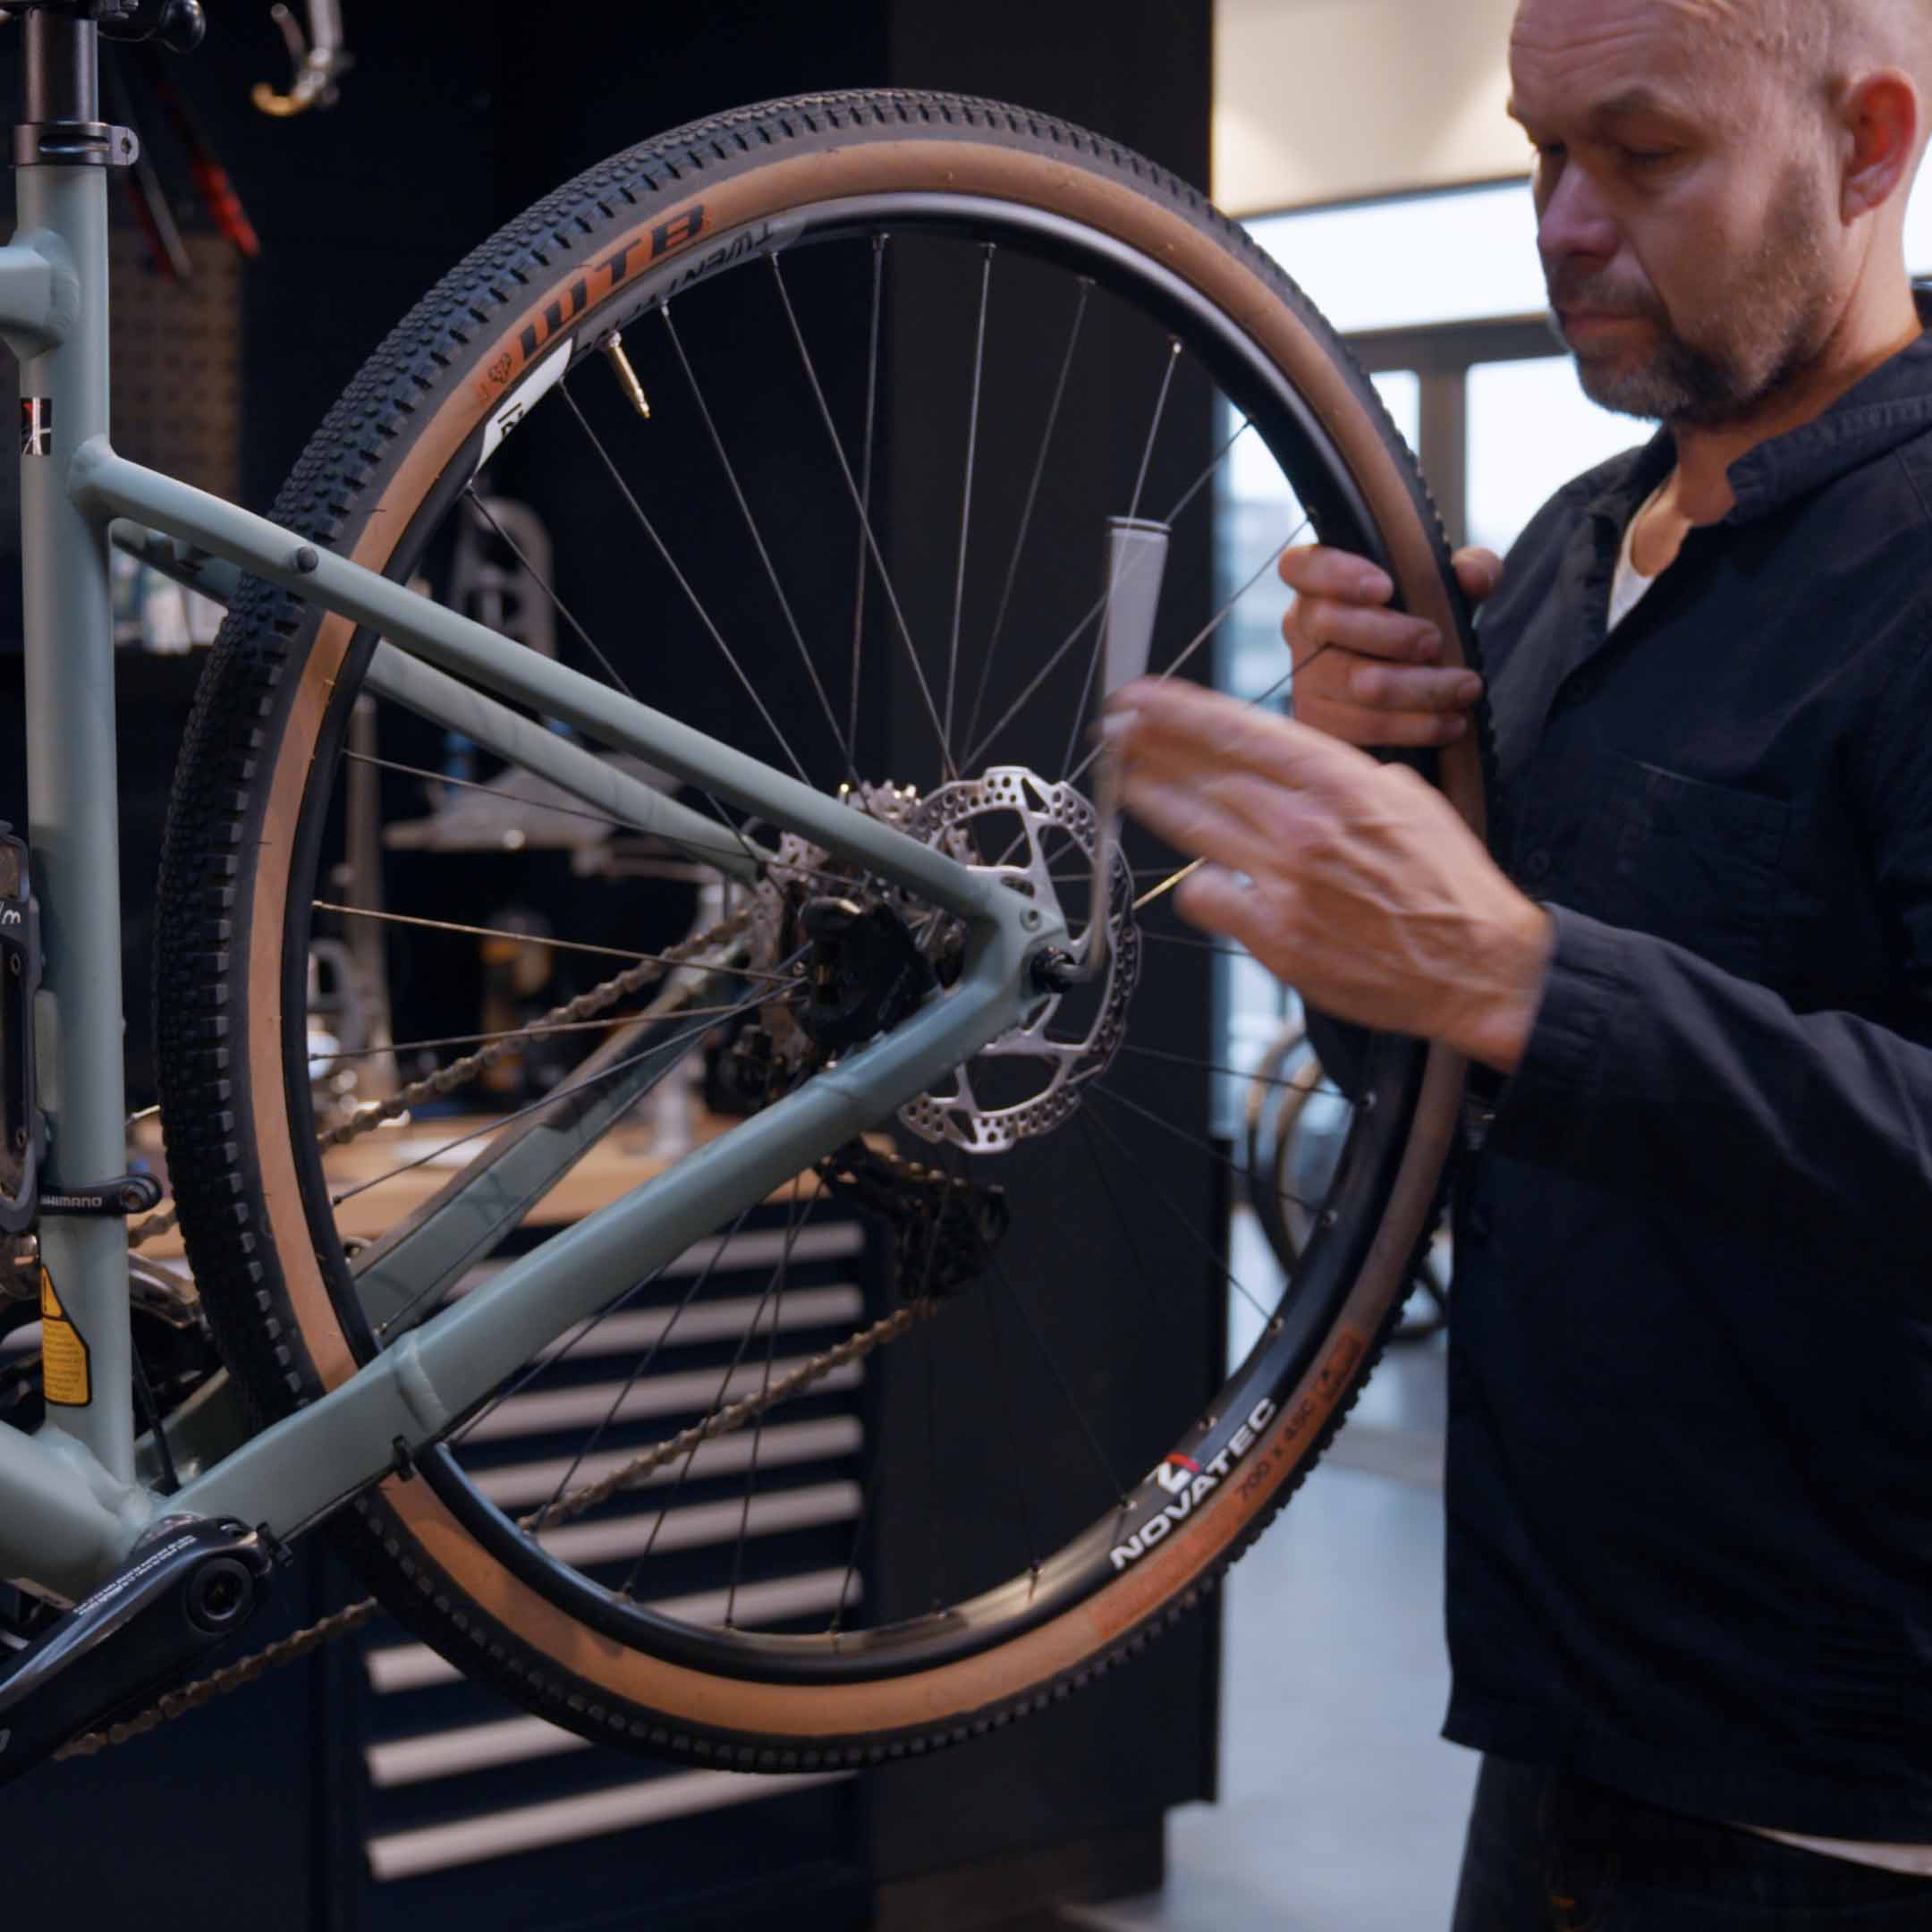
Place your wheel back in your bike frame and check if everything works properly. You might have to realign your caliper, but we will explain that further in another blog.
Your bike should now be ready to go again! Always make sure you properly check your brake before you go for your ride. Please give them a few good tests and you will be ready to enjoy your next ride again!


Watch That Manual | How to replace a bicycle chain?
Ready story
Watch That Manual | How to replace a handlebar stem?
Ready story