Watch That Manual | How to replace bicycle pedals?
Watch That Manual | How to replace bicycle pedals?
Ready story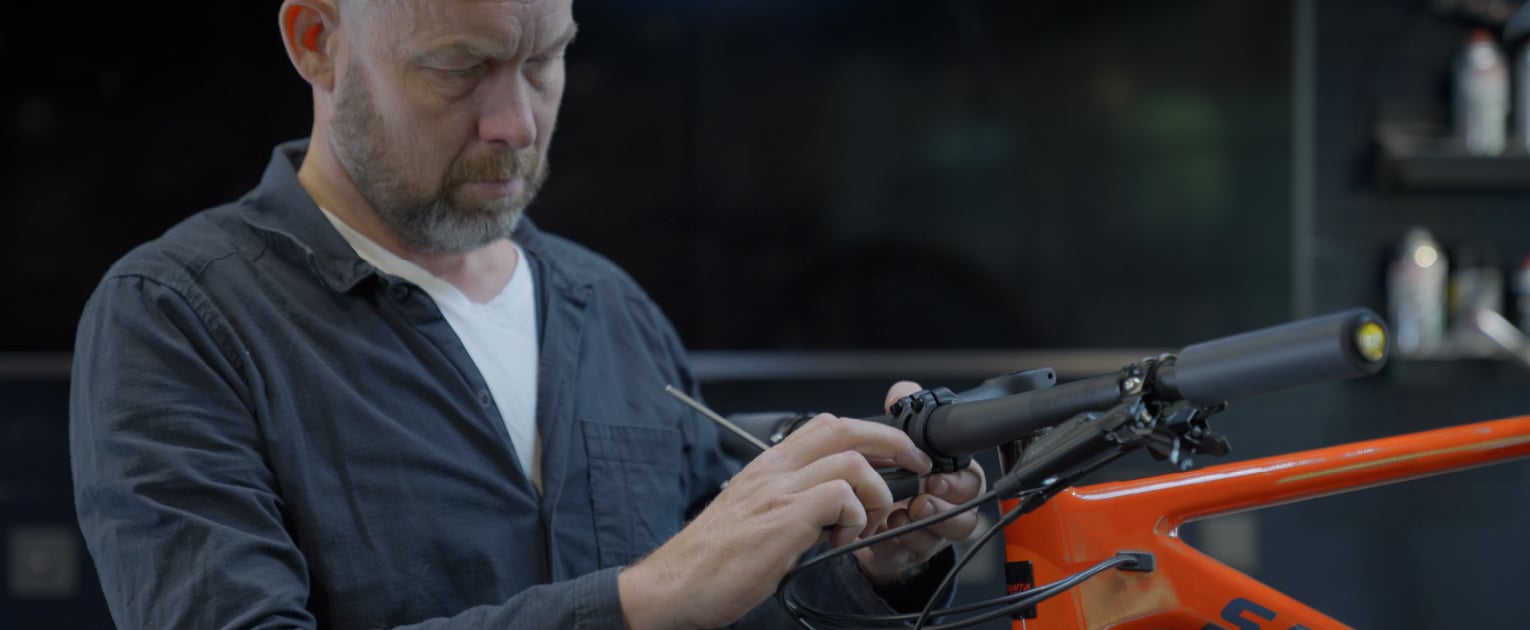
TEXT / BBB CYCLING | PHOTOS / BBB CYCLING
Manuals, you often get them with your new products, but who actually reads them? And even if you do, how much can you still remember of it? Exactly! That's why we make working on your own bike a bit easier, with Watch That Manual! In this series, we show you exactly what to do and what not to do.
Handlebar stems can completely alter your position on the bike. Having the right handlebar stem on your bicycle can make the difference between a comfortable and a very uncomfortable ride. In this blog, we exactly explain to you what you need to know to confidently replace your handlebar stem to make sure every ride is a pleasure.
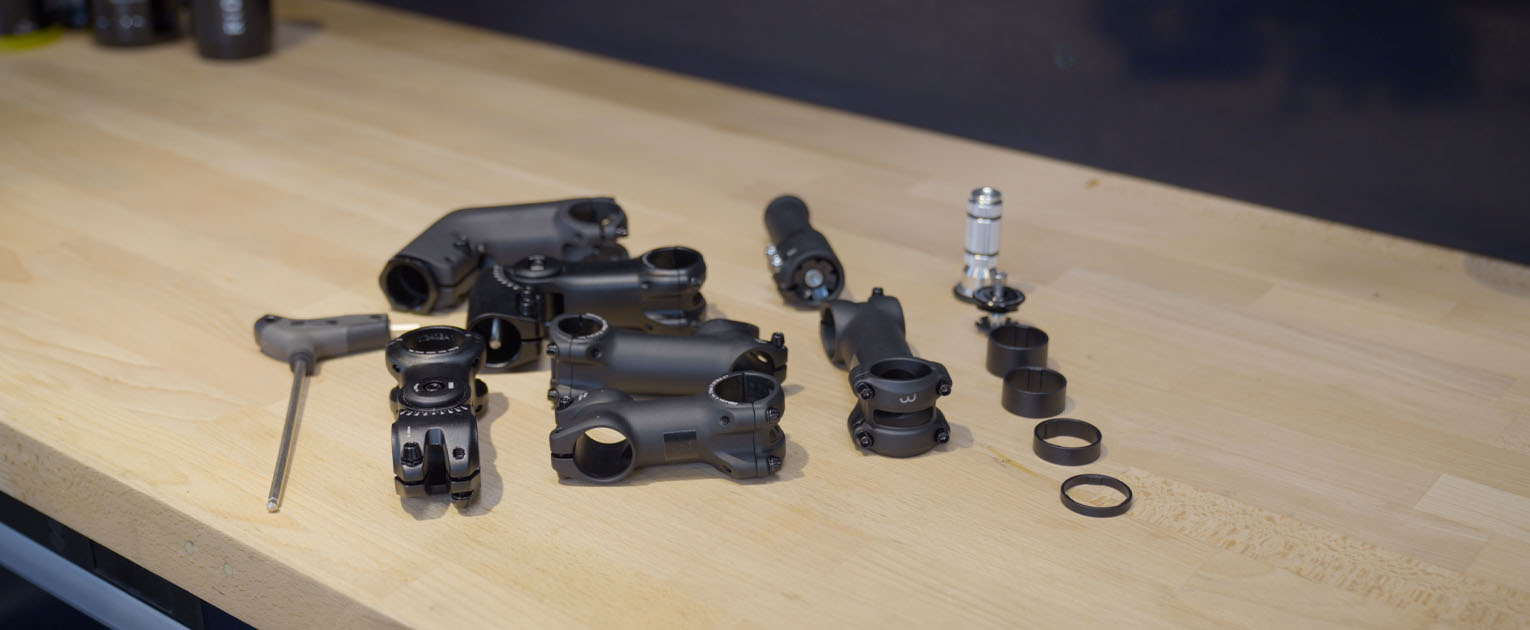
Your desired handlebar stem: take a look at our buyer's guide about stems
If necessary the TubeExtend
Allen key: Hex-T, HexSet of ComboStar
Spacers: UltraSpace of LightSpace

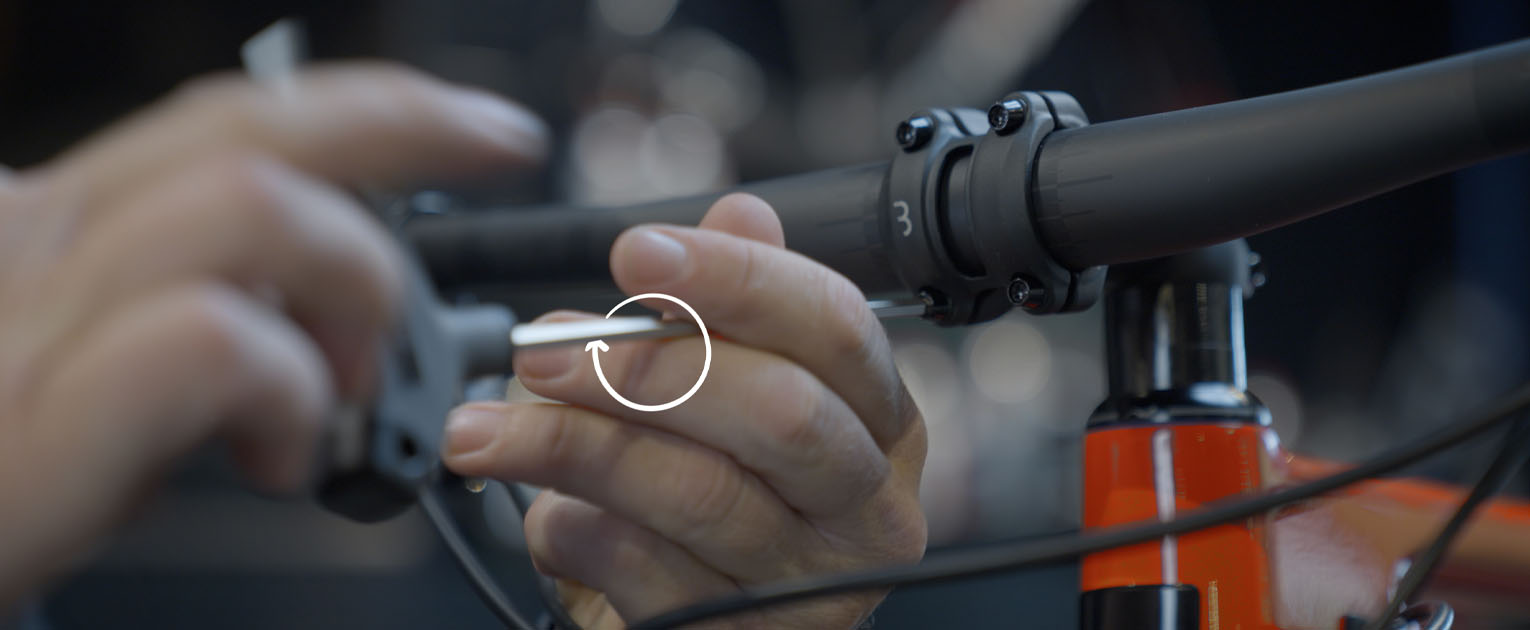
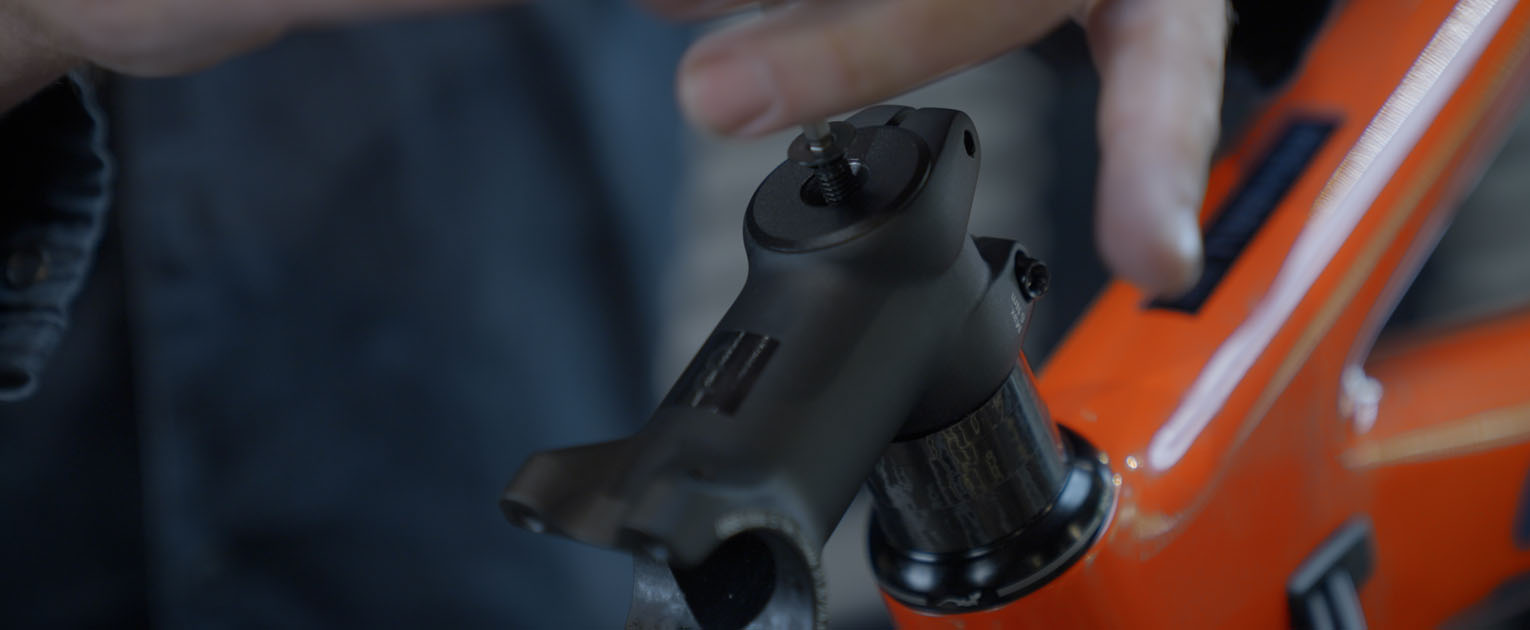
Start with taking the head plate off so that your handlebar comes off your bike. Carefully take your handlebar off and keep an eye on the cables. Then, loosen the screws of the stem on the steerer tube a little bit, and undo the top cap completely. Now you can slide the stem off.

Make sure you place the stem under the right angle (check if you want your handlebar stem facing upwards or downwards). Fill possible space on the steerer tube up with spacers so that your stem sits slightly above the top of the steerer tube.
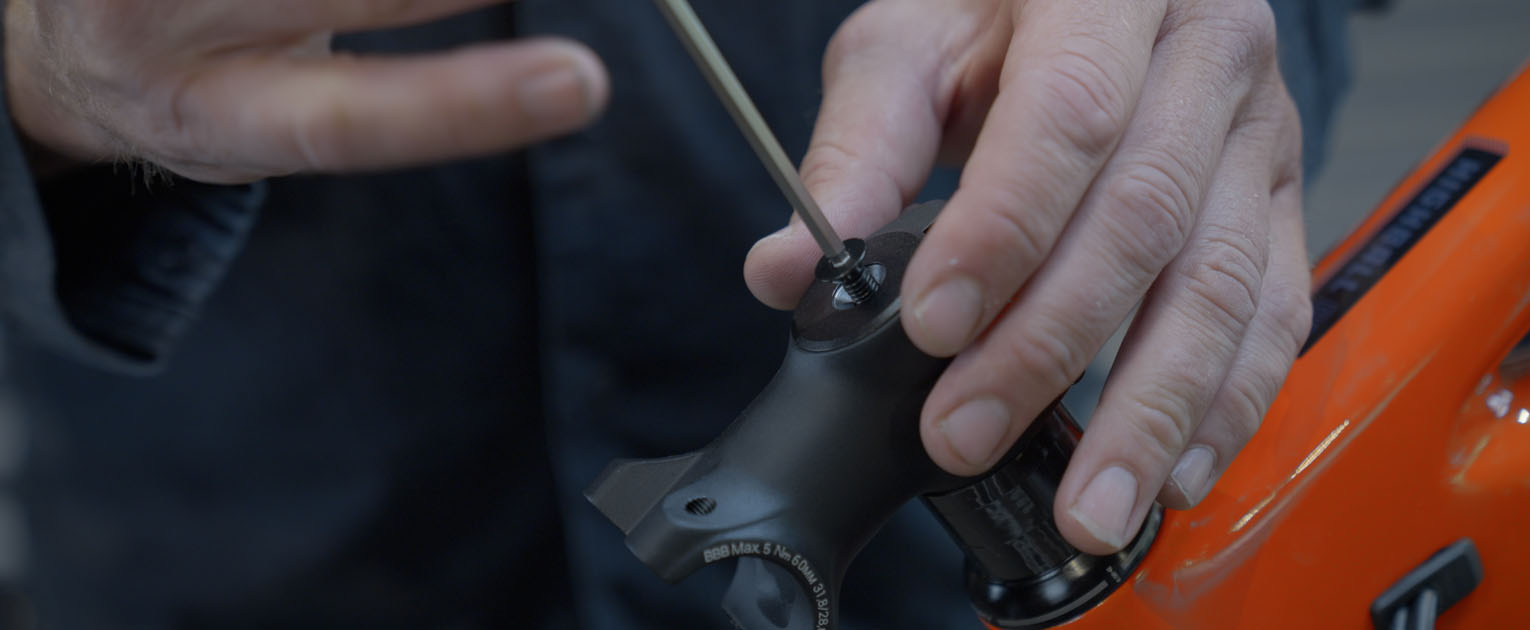

Once the top cap screw is tightened, the bolts on the steerer tube also need to be tightened. Then, place your handlebar back in its position and use the markings on your handlebar to position your handlebar exactly where you want it.

Evenly tighten the screws of the face plate. Make sure that the gap between the faceplate and the stem is even on the top and bottom. We advise you to use a torque wrench to ensure you tighten the screws with the right torque. Especially on a carbon handlebar, this is important.

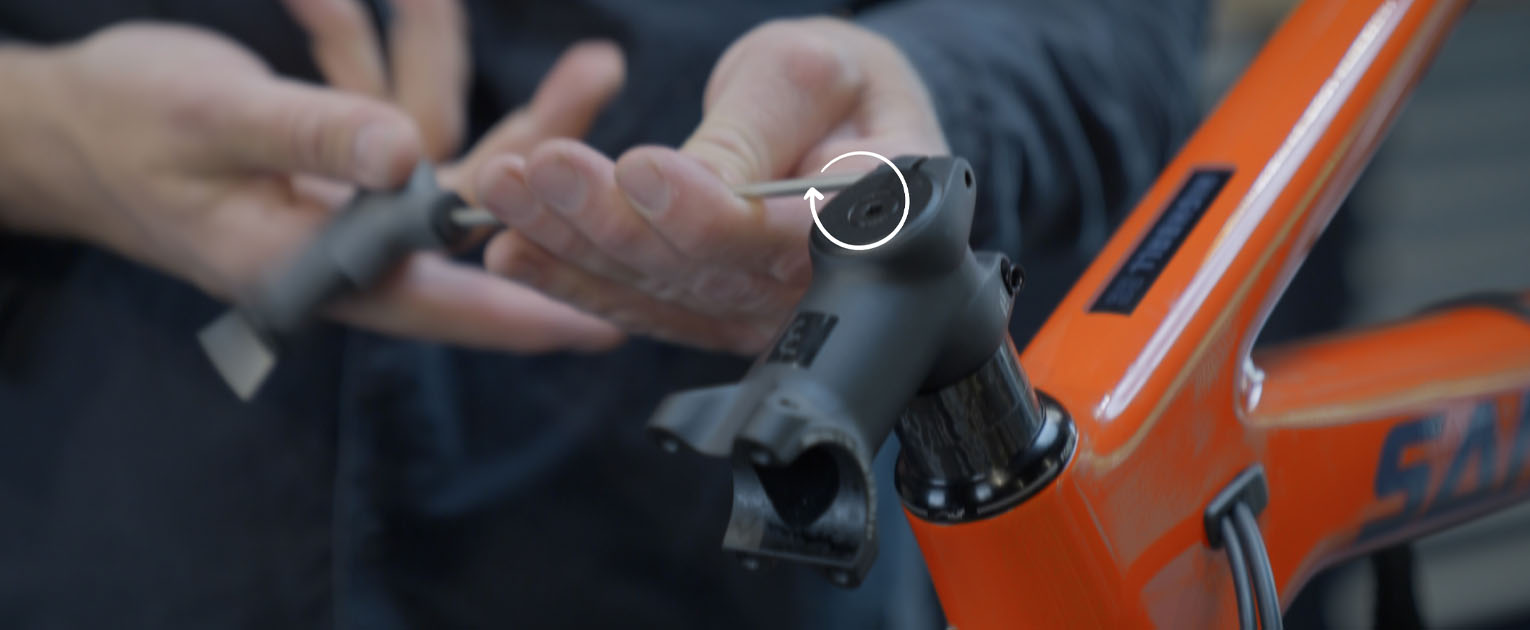
Then, make sure your steerer tube is tightened right and your handlebar is straight. Do this by loosening your stem slightly at the steerer tube and tightening the top cap by wiggling your bike a little bit until there is no play left and you feel a little bit of resistance. Your handlebar should still be able to move and rotate easily from left to right.
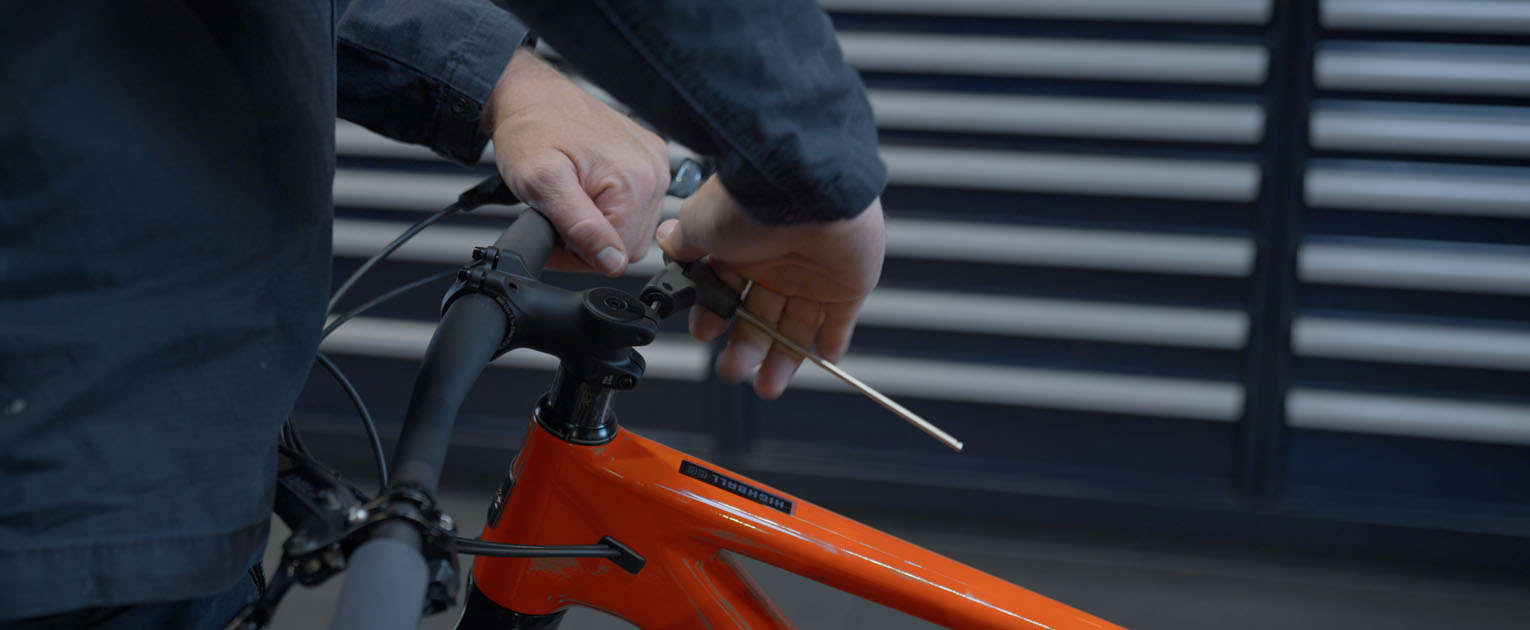

Tighten the bolts on your steerer tube and make sure your handlebar is straightforward while doing that. Check all bolts before you hop back on the bike to make sure you have tightened them all properly.
Now, you should be completely ready to enjoy a nice and comfortable ride on your bike with its adjusted handlebar stem.

Watch That Manual | How to replace bicycle pedals?
Ready story
Watch That Manual | How to replace disc brake pads?
Ready story