PHANTASTIC photochromic
PHANTASTIC photochromic
Ready story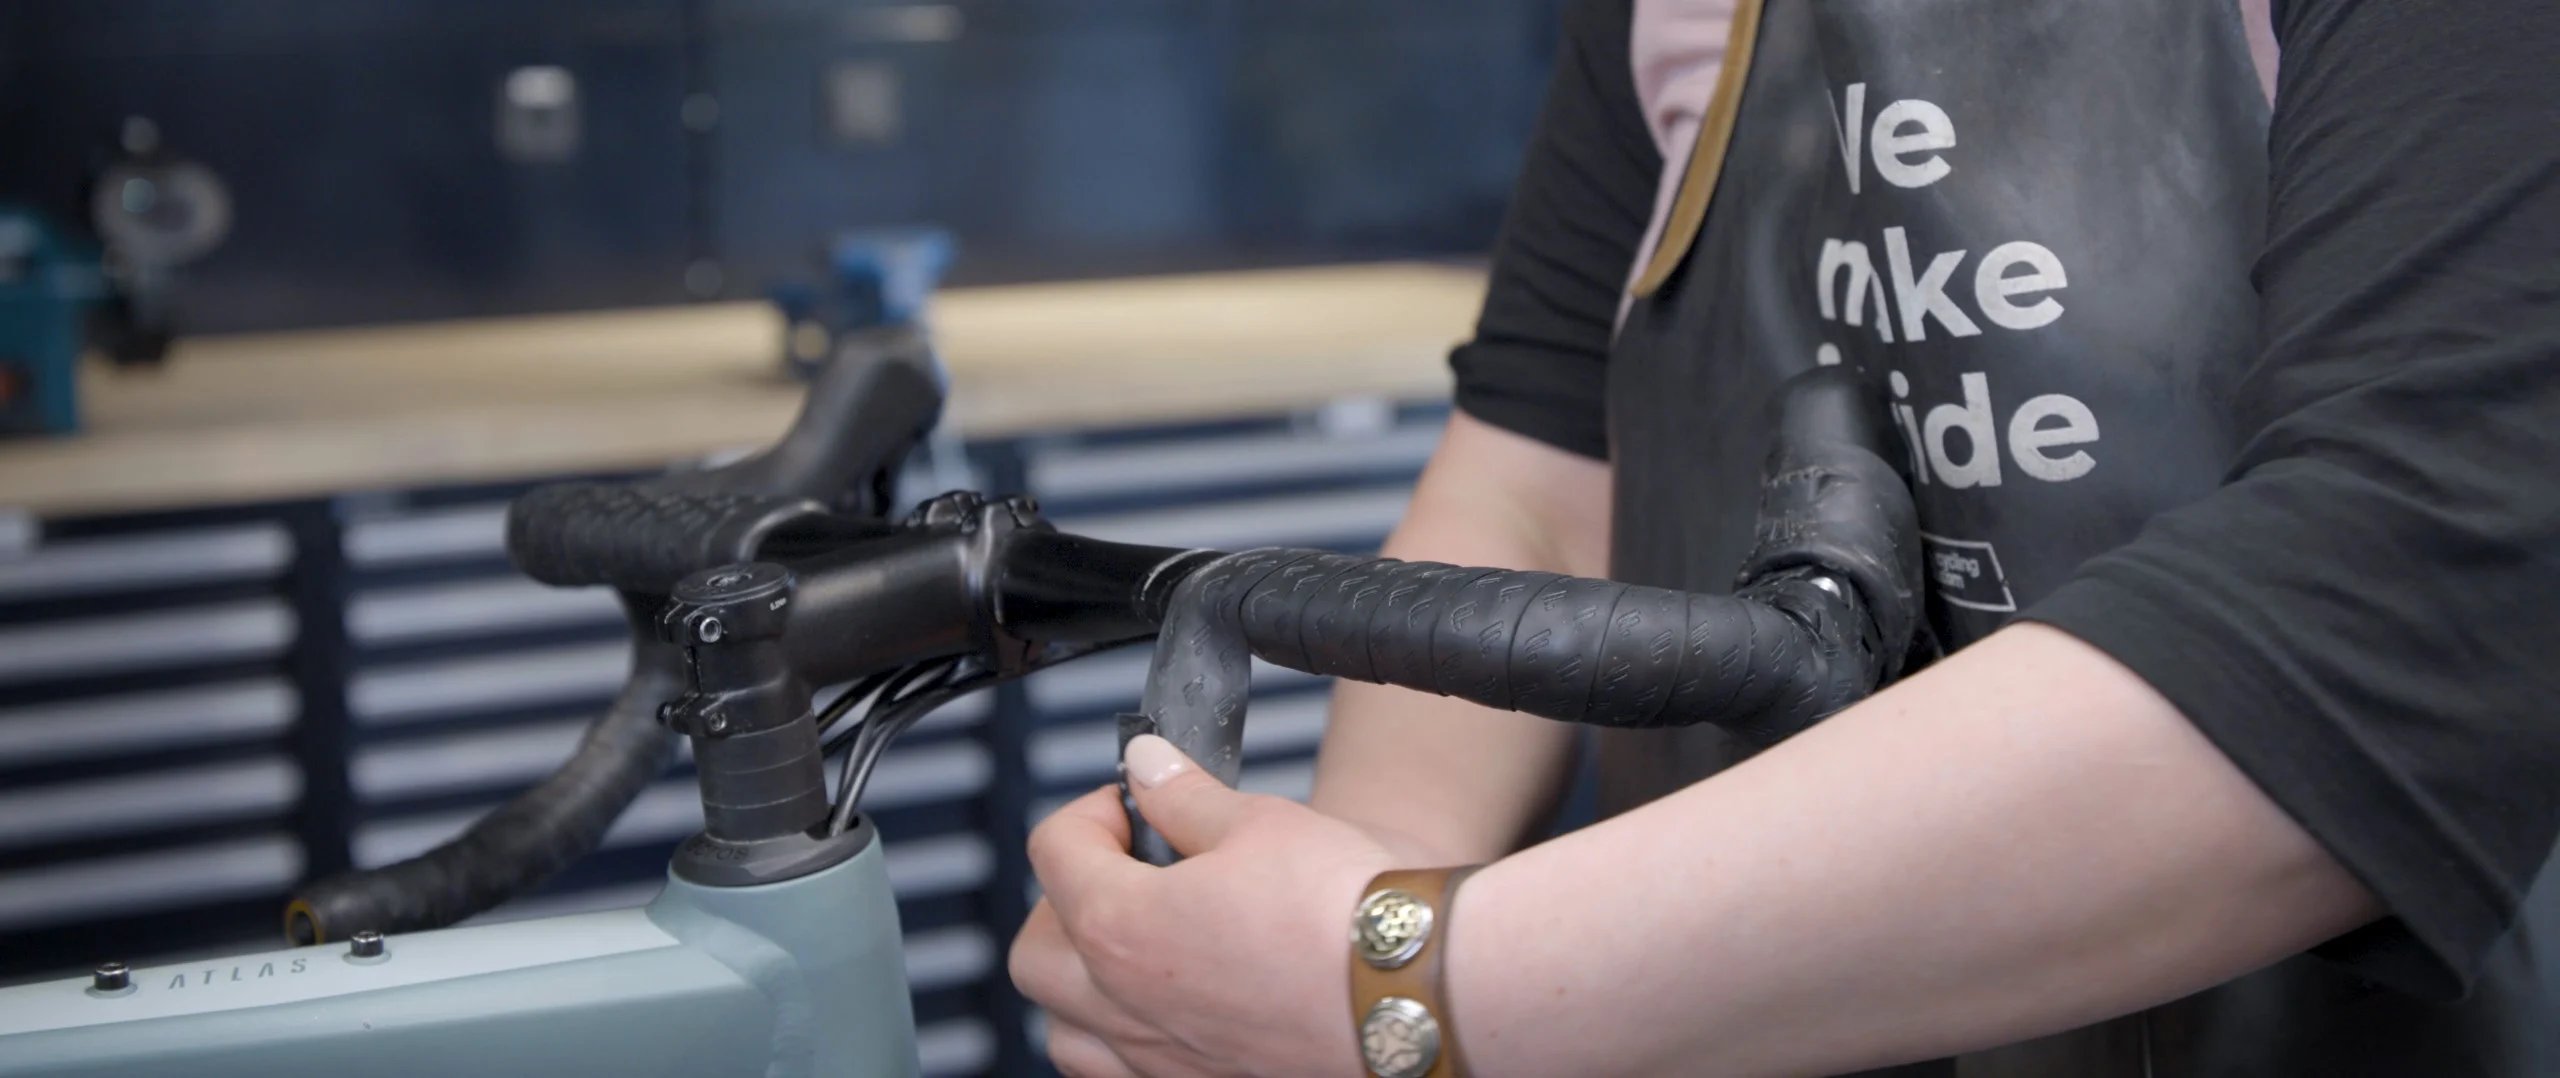
If you enjoy working on your bike yourself, replacing your handlebar tape is a task you can easily tackle on your own. It might seem a bit overwhelming at first, but with the help of this blog and our "Watch That Manual" video below, we'll guide you through the process step by step, showing you how to replace your handlebar tape yourself.
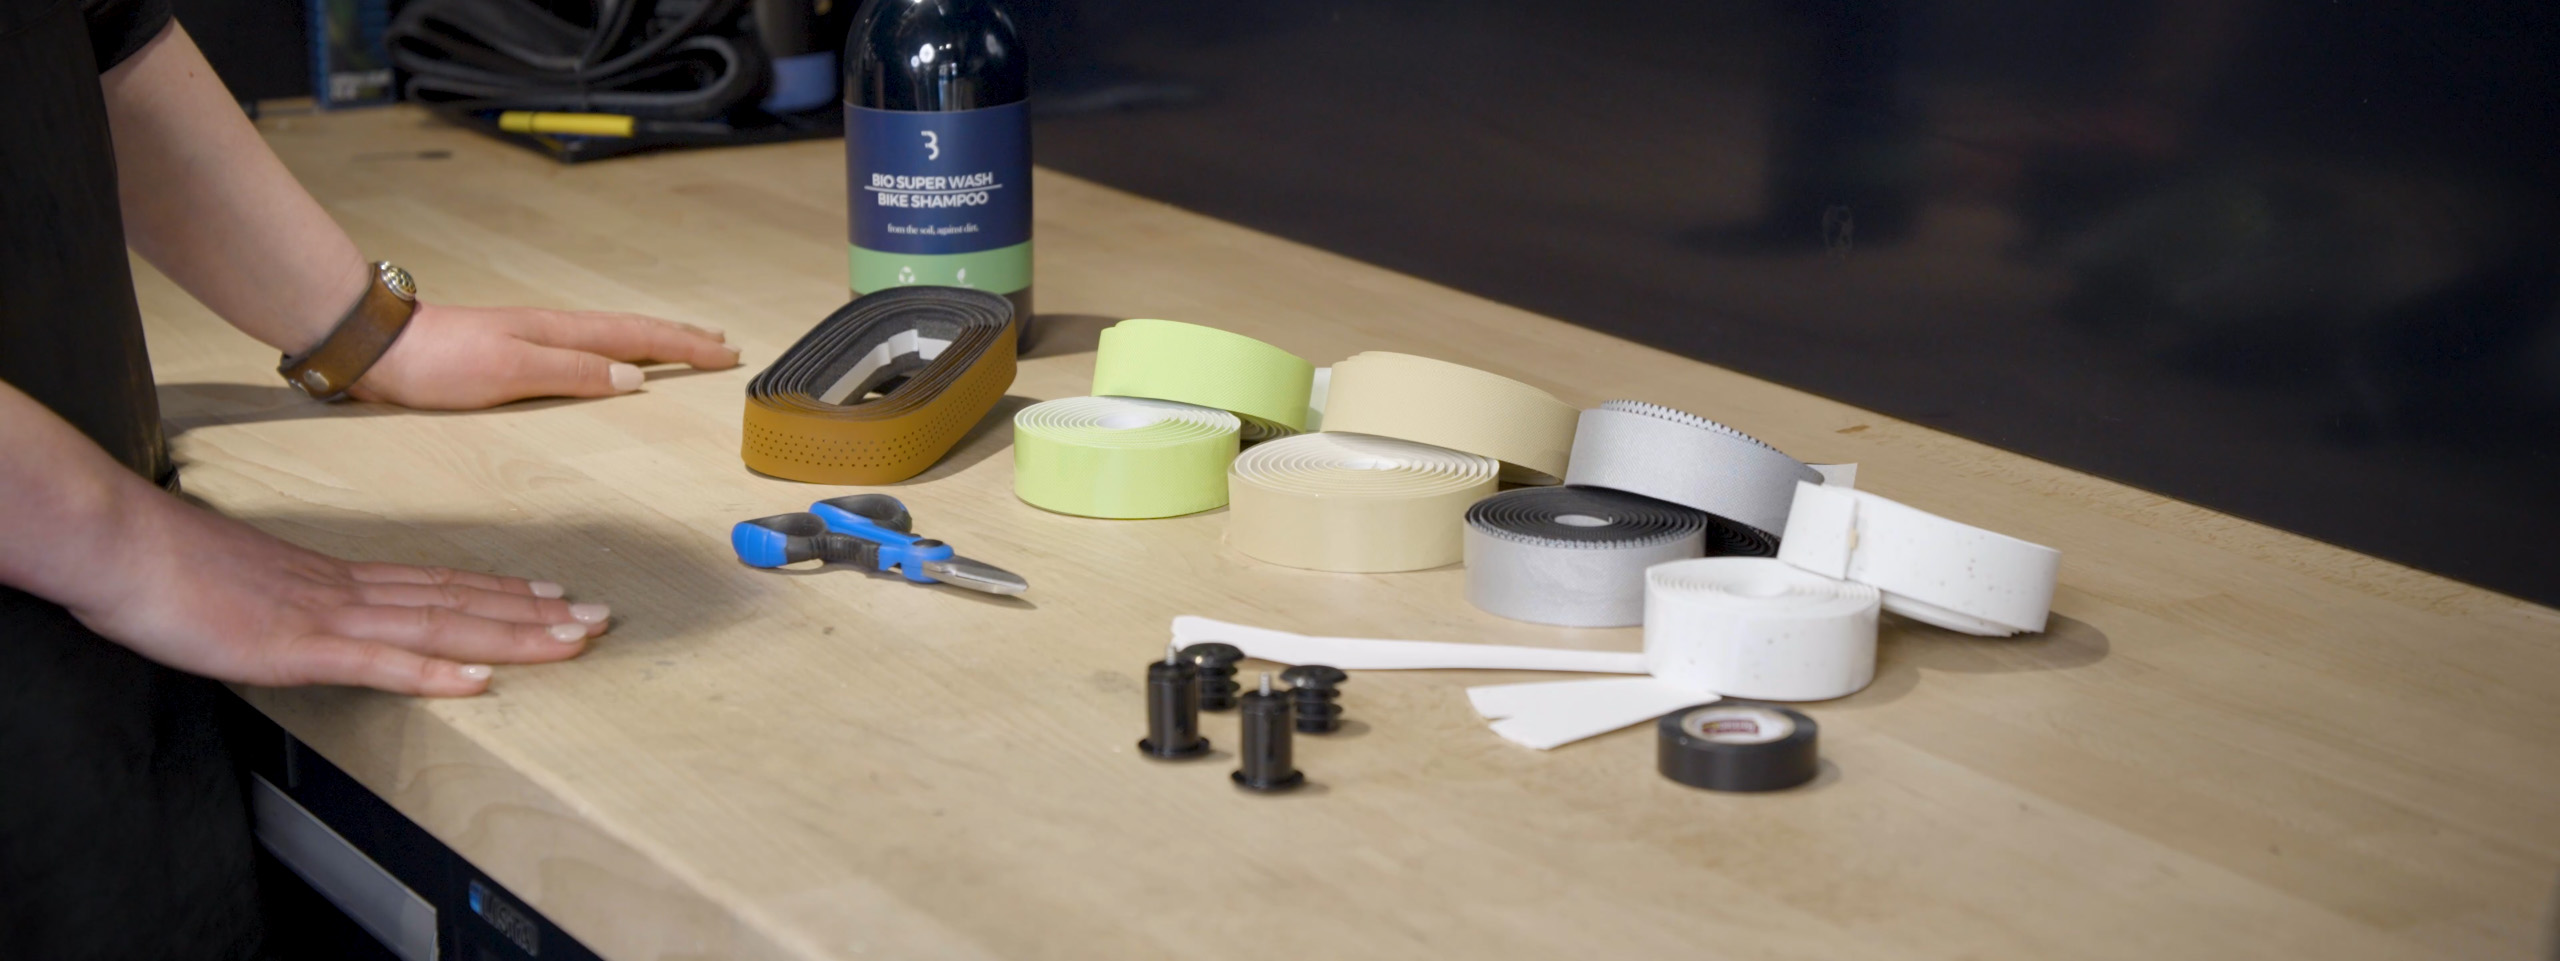
When choosing your handlebar tape, there are three main factors you need to consider: the material, thickness, and texture. While handlebar tape used to be made from cotton, nowadays, most handlebar tapes are crafted from cork, foam, or synthetic materials. These materials provide a pleasant feel for your hands, offer good grip, and reduce vibration during cycling. Additionally, they are durable and resistant to wear and tear.
If you're looking for extra comfort during your ride, pay attention to the thickness and texture of the handlebar tape. Thicker tape generally provides more cushioning. The difference between 2mm and 3mm thickness might seem small, but it results in a significant difference in comfort. However, keep in mind that thicker isn't always better. Personal preference and the type of rides you undertake play a crucial role here.
The outer texture of the handlebar tape also affects the grip and, therefore, the comfort of your handlebar tape. Again, it's mostly a matter of trial and error to discover your personal preference.
And last but not least, handlebar tapes are available in numerous colors! Many cyclists opt for a classic black handlebar tape – practical and suitable for almost any bike. A white handlebar tape is also very popular but requires more maintenance as it gets dirty quickly. Additionally, you can choose from a wide range of "funky" colors to fully personalize your bike! The choice is yours!
Preparation is half the battle, especially when it comes to replacing your handlebar tape! Fold up the rubber covers of your brake levers so that they're out of the way. Remove your old handlebar tape and ensure that the adhesive residue is completely cleared. Make sure your cables are still securely taped in the correct positions or add some extra insulating tape to keep them in place. Degrease your handlebars to ensure proper adhesion of your new handlebar tape.
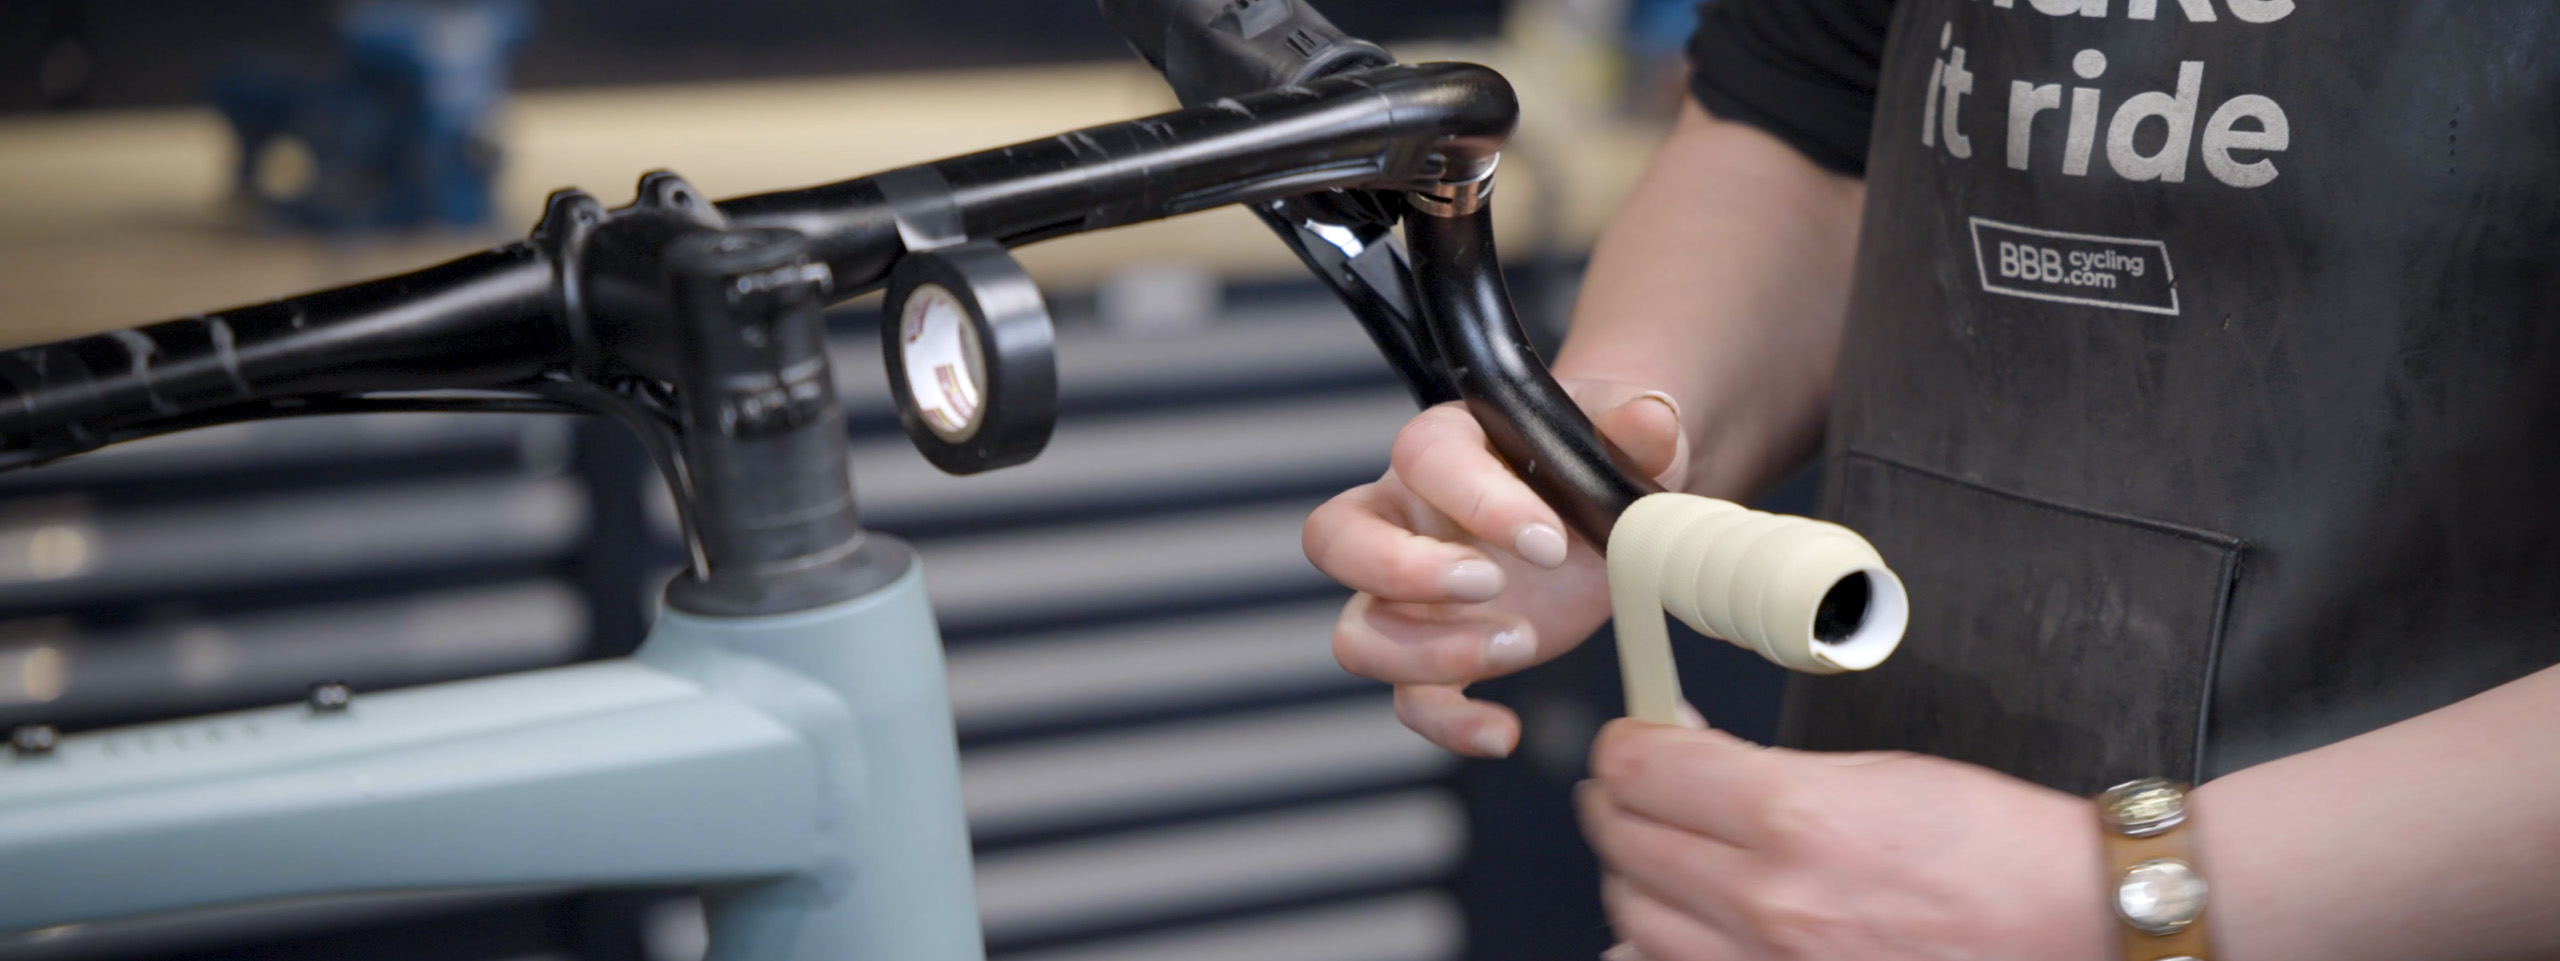
Set aside the two separate pieces of handlebar tape that are included; you'll need these shortly. Start wrapping your handlebar tape on the left side of your handlebar, at the end (where your handlebar plug is located). From here, wrap clockwise, ensuring that the tape slightly overlaps the previous turn. On the right side, begin the same way but twist in the opposite direction (counter-clockwise). Pull the handlebar tape tightly as you wrap for a neat finish.
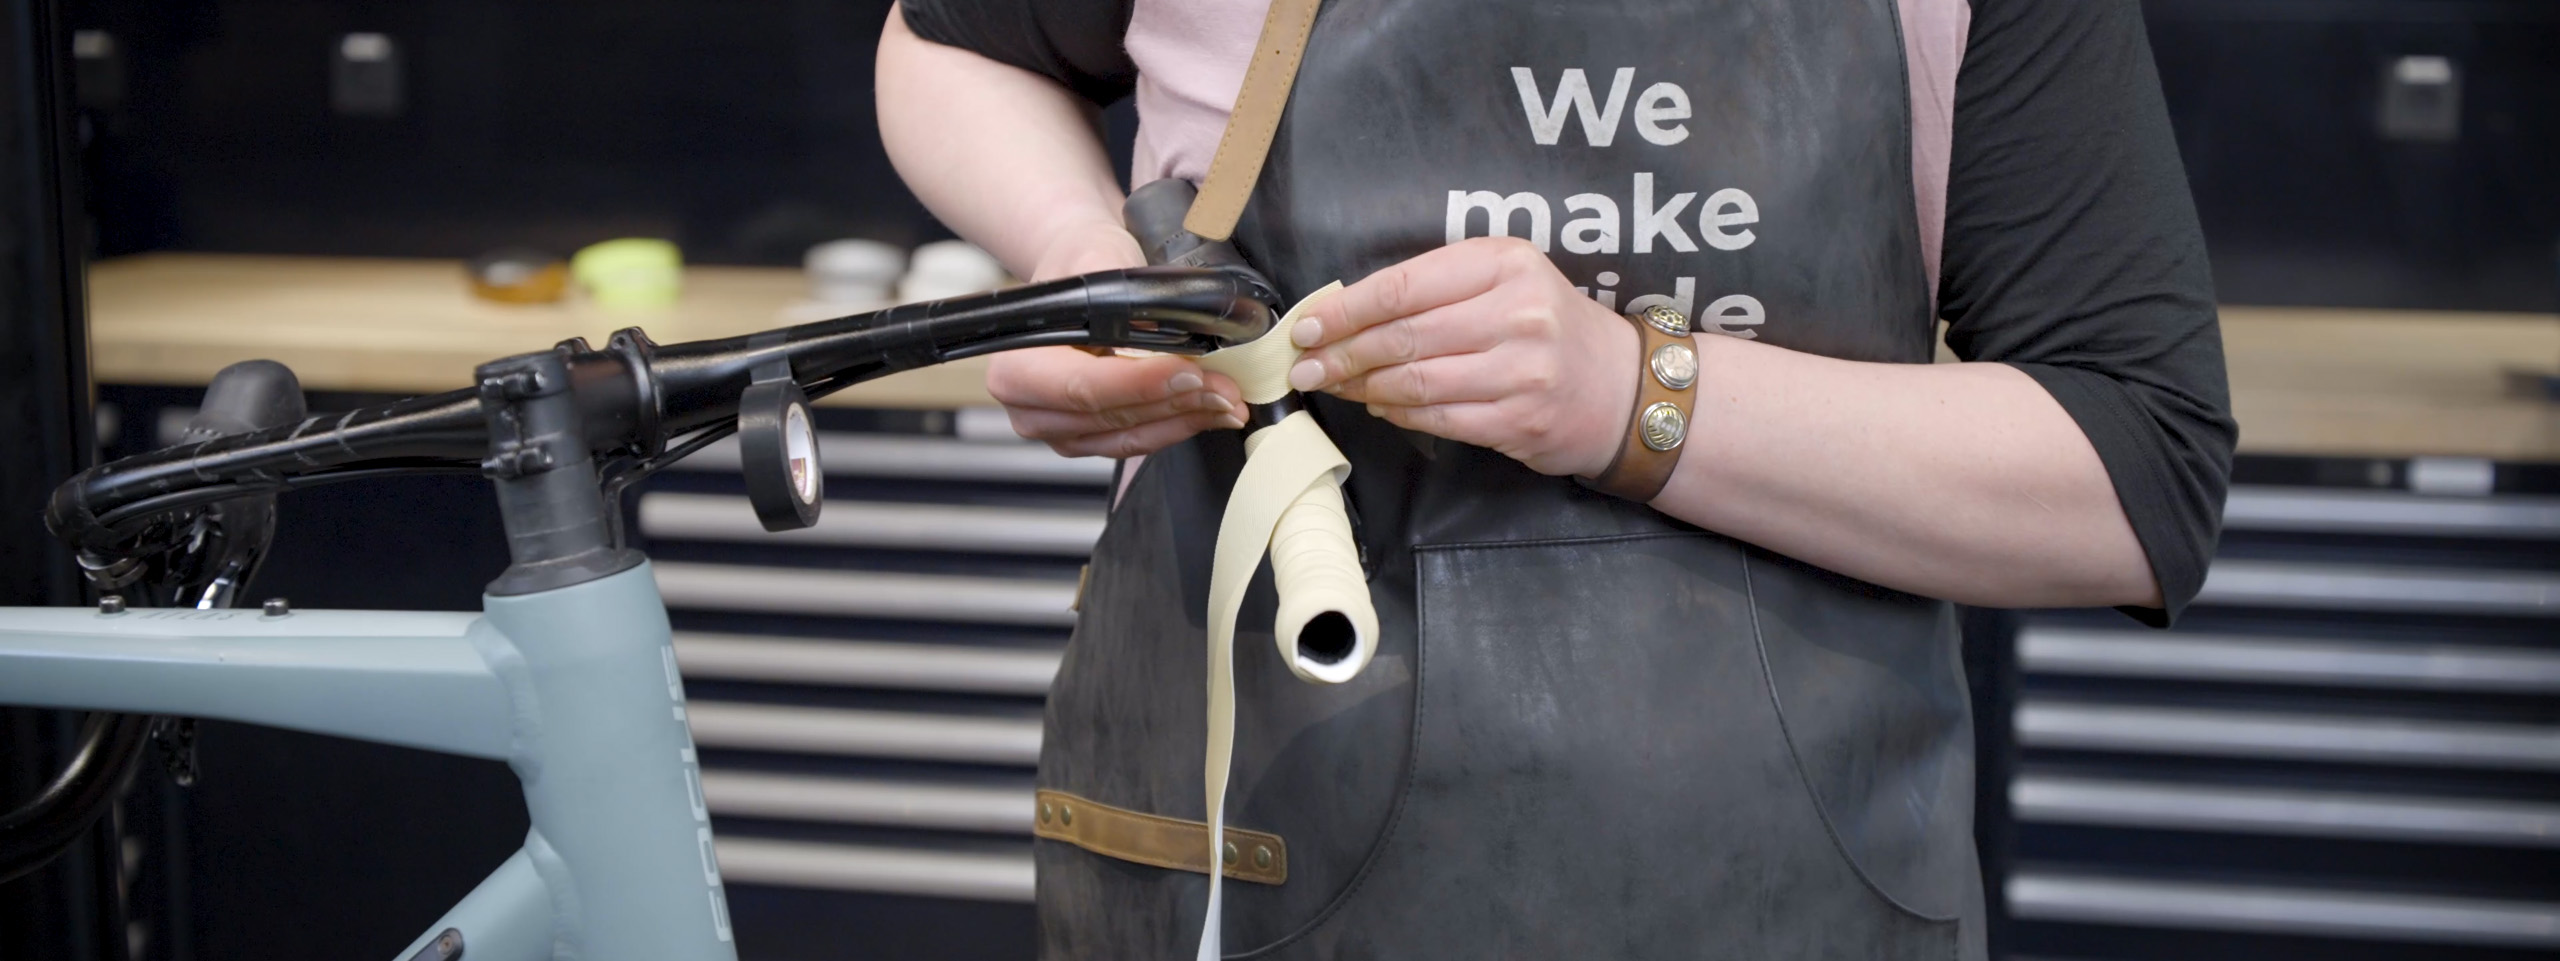
When you reach the brake lever, it's time to grab the separate pieces of handlebar tape you laid aside before. Place these pieces over the metal clamps of your brake levers at the back of your handlebar. Then continue wrapping the handlebar tape, passing over the brake lever with the separate piece of tape underneath. You can choose to wrap the handlebar tape back down and then continue wrapping upwards if you prefer. Regardless of your choice, the goal is to avoid leaving gaps when the rubber covers of the brake levers are placed back on. It's important for the handlebar tape to be tightly wrapped along the brake levers.
Next, continue wrapping on top of the handlebar in the same direction, meaning you're wrapping from the front to the back. This is important because a cyclist tends to apply pressure in a certain direction. By wrapping the handlebar tape this way, you prevent it from unravelling during your ride. On a round handlebar, stop wrapping about 5cm before your stem. On a flat handlebar, you can stop where the flat portion transitions into the round section, or you can choose to leave the flat section completely unwrapped.

Trim the end of your handlebar tape diagonally along its length using scissors. This will result in the last wrap of your handlebar tape being completely straight (perpendicular to the handlebar). Then, secure the end of the handlebar tape by using the provided strip of tape or use your own insulation tape.
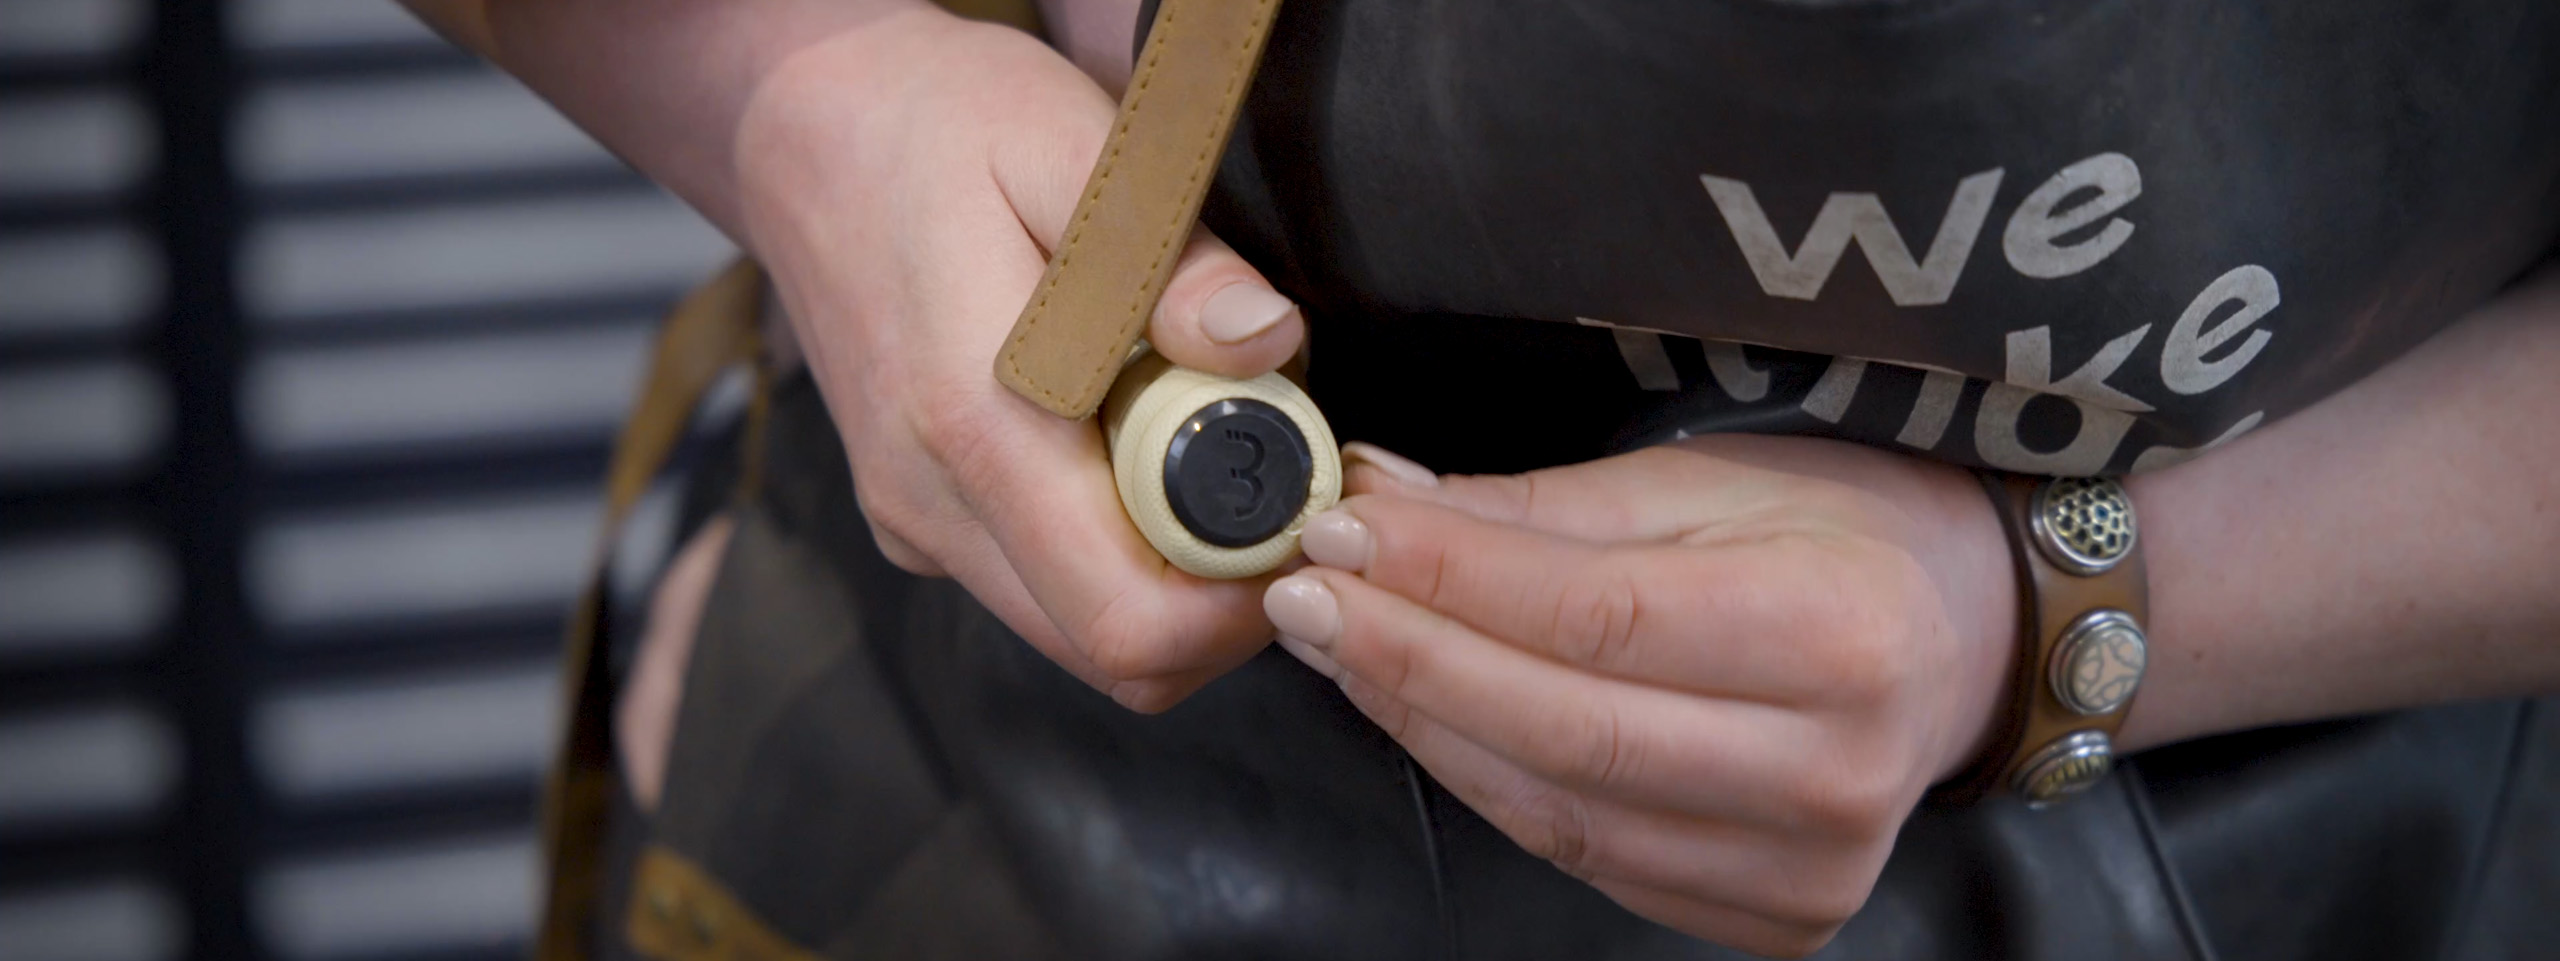
Lastly, you can insert the handlebar plugs back into the ends of the handlebar. Push the overlapping portion of the handlebar tape into the end of the handlebar and then place the handlebar plug over it. If you have screw-in plugs, you can mount them in the same way and then tighten them securely.
A brand-new handlebar tape gives you that extra bit of morale boost we all need from time to time! Now that you've learned how to replace your handlebar tape yourself, you can plan that morale boost whenever you like. If your handlebar tape gets a bit dirty after a while but you'd prefer to wait a bit before replacing it, a bit of water, dishwashing soap, and a sponge or cloth can work wonders! However, we do recommend replacing your handlebar tape regularly because sweat and unseen dirt can seep through the tape and potentially damage your handlebar.


Watch That Manual | How to make your tires tubeless?
Ready story
Watch That Manual | How to pump up a bicycle tire?
Ready story